How to draw the sun
The sun is a circle wearing a crown of triangles, which makes it one of the friendliest drawings on this site. Draw the circle, place the rays in pairs so they stay even, and save the smile for last.
- 8 steps
- 10 minutes
- 4-10 Ages
- Easy

How do you draw the sun?
Sketch one big guide circle with four small circles around it. Trace the big circle for the face, then add eight triangle rays: one up, one down, one on each side and four on the diagonals, all the same size. Finish with two solid oval eyes, two blush lines and a wide smiling mouth. Eight steps.
Watch it drawn, line by line
The whole drawing in under half a minute, in the same order as the steps below. No sound, so play it anywhere.
Draw it step by step
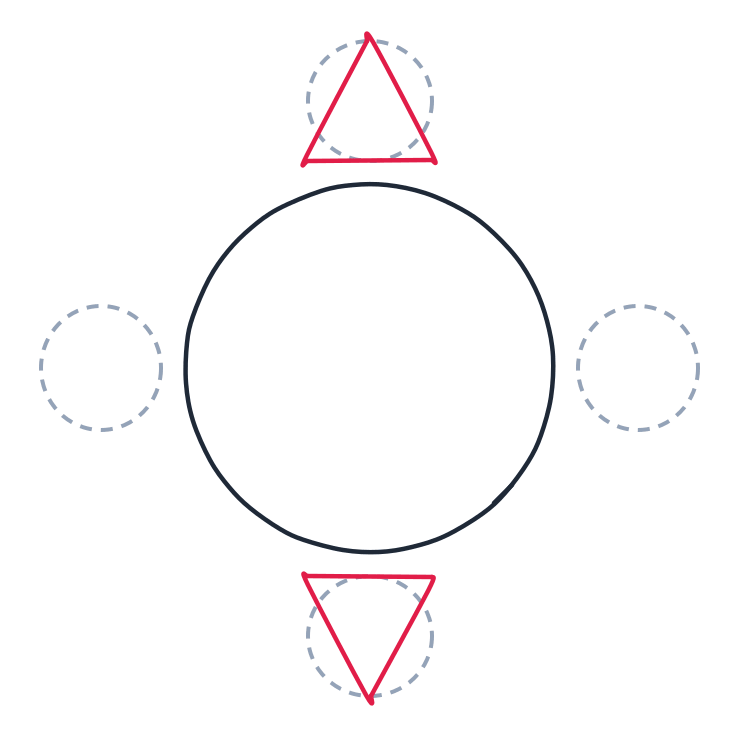
The new lines for each step are drawn in red. The grey dashed shapes are guides, sketch them lightly and rub them out at the end.
-
1 Step 1: Guide shapes
Lightly sketch one big circle in the middle and four small guide circles up, down, left, and right.

-
2 Step 2: Big sun circle
Draw one big circle on the guide for the sun’s face.

-
3 Step 3: Top and bottom rays
Draw two triangles for rays, one pointing up on top and one pointing down below.
-
4 Step 4: Side rays
Draw two triangles for rays, one on the left pointing left and one on the right pointing right.
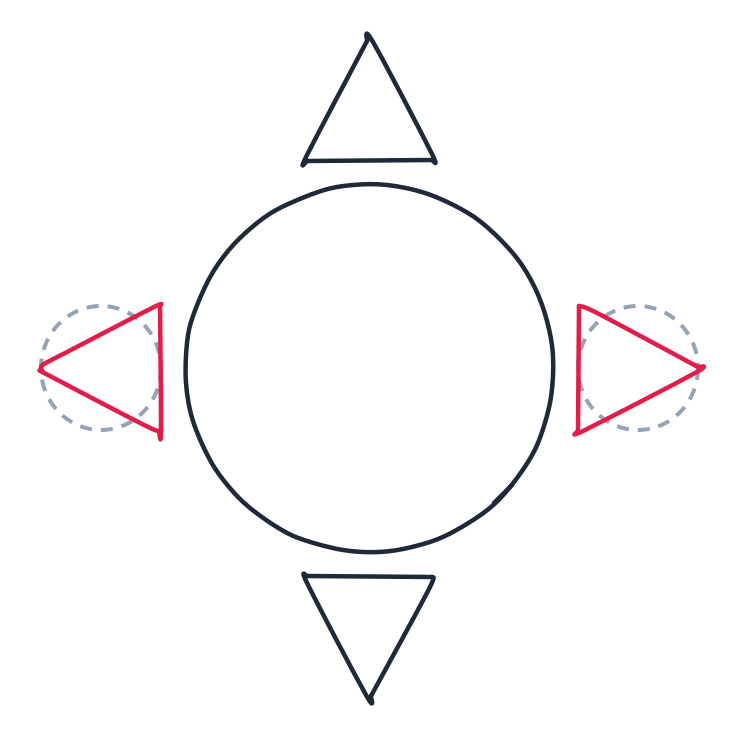
-
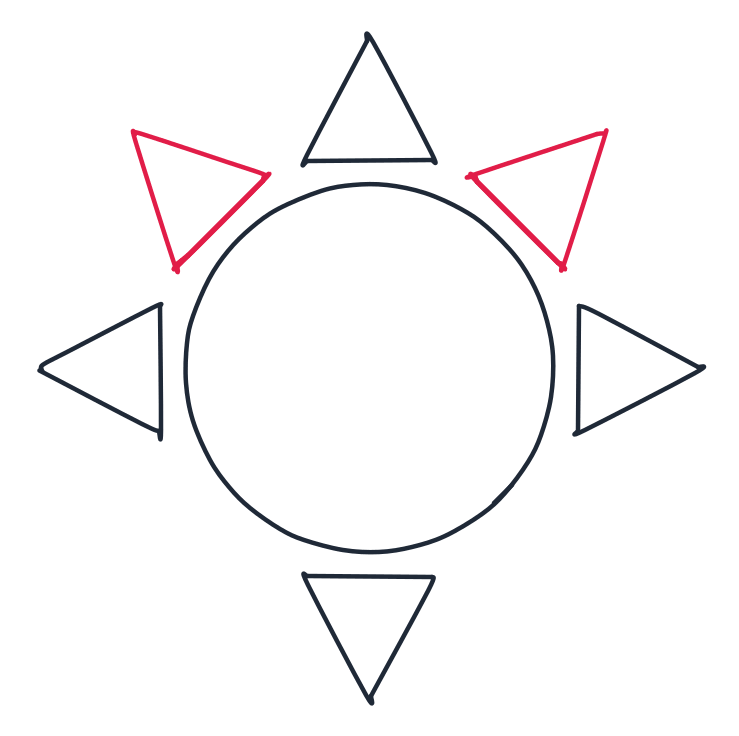
5 Step 5: Top diagonal rays
Draw two triangles for rays on the top left and top right diagonals.
-
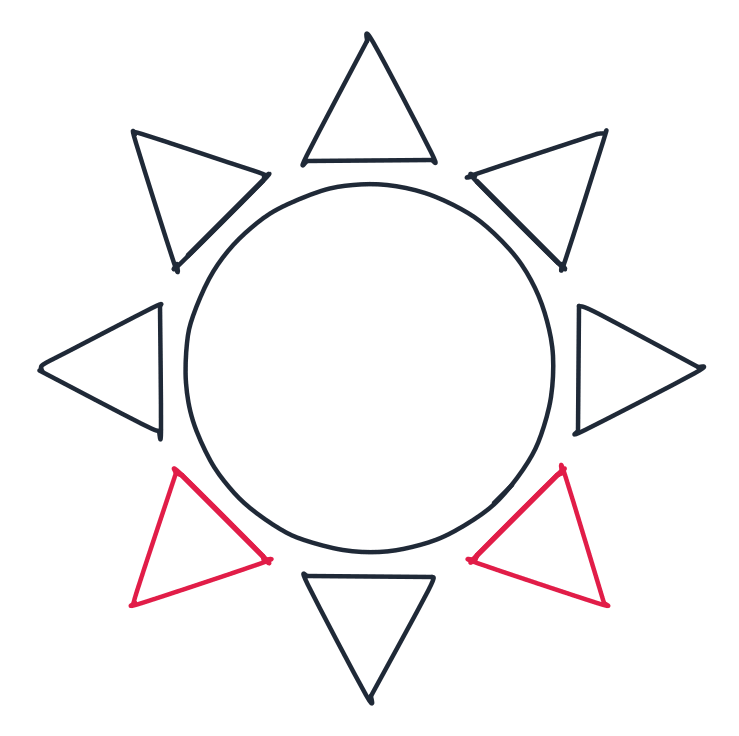
6 Step 6: Bottom diagonal rays
Draw two triangles for rays on the bottom left and bottom right diagonals.
-
7 Step 7: Eyes
Draw two small vertical ovals for the eyes inside the circle.

-
8 Step 8: Face and outline
Add two short curved lines for blush on the cheeks and a wide U shape for the smiling mouth with a small line across its top. Finish the circle with short curved pieces where it passes behind the ray bases.

What you need
A pencil, paper and an eraser. If your freehand circles come out lumpy, borrow something round to trace: a cup, a jar lid or a roll of tape. The big circle is the only line in this whole drawing that needs to be smooth, because every ray is just a triangle.
Before you start
Sketch the guides from step 1 lightly: one big circle in the middle and four small circles marking where the top, bottom, left and right rays will go. Keep the big circle smaller than feels natural. The rays need a wide ring of empty paper all the way around, and the sun is the one drawing where you run out of paper at every edge at once.
The part most people get wrong
Spacing the rays. If you draw them one after another around the circle, each one drifts a little and the last gap never fits. This tutorial dodges that trap by working in pairs: top and bottom first, then left and right, then the four diagonals in the gaps that are left. After the first four rays the circle is quartered like a compass, and each diagonal ray simply lands in the middle of its quarter.
The second thing is the size. Every ray is the same triangle, and all eight tips should sit on one invisible ring around the sun. One ray drawn much longer than the rest reads as a mistake, not a flourish, so check each pair against the pair before it.
Make it your own
- Colour it like fire. A yellow face with orange rays is the classic, and going darker orange at the very tips makes the whole sun glow.
- Alternate the rays. Redraw every second triangle a little shorter and the crown turns into a sparkle.
- Give it sunglasses. Two rounded rectangles joined by a short bar, sitting where the oval eyes are, and your sun is on holiday.
- Make it a sunrise. Draw a straight horizon line across the page first and only the top half of the sun above it, rays and all.
Learn more about the sun
The sun you just drew is a star, the same kind of object as the tiny points in the night sky, only much closer to us. It is so big that about a million Earths would fit inside it, and its light takes roughly eight minutes to fly across space to your page. The rays are the one place where your drawing and the real sun part ways: the real one is a smooth ball of glowing gas with no points at all. Triangle rays are simply how people everywhere agreed to show shine. One safety rule belongs in every sun lesson: never look straight at the real sun, not even to check its colour.
Questions people ask about drawing the sun
Is this a good first drawing for a young child?
It is probably the best one on this site. There is one circle, eight triangles and a simple face, and nothing has to line up perfectly for the sun to look happy. Even the guides are just circles.
How long does it take?
About seven minutes. The circle and the first four rays take most of that, because the diagonals and the face are quick.
Why do my rays look uneven?
Almost always because they were drawn one by one around the circle. Erase the odd ones out, draw the top, bottom, left and right rays first, and fill each diagonal into the middle of its gap. The pairs keep each other honest.