How to draw a skeleton
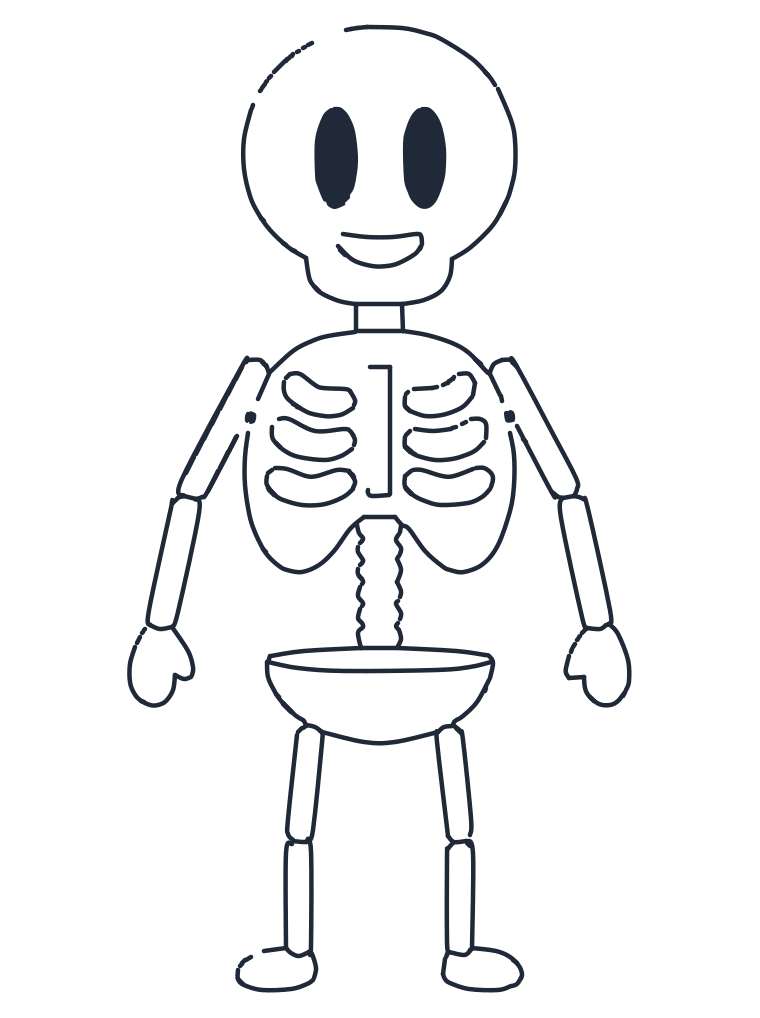
A skeleton is the friendliest spooky thing you can draw: a round skull, a ribcage like a basket, a bowl for the pelvis and sausage bones for the arms and legs. Sketch the two guides, build it from the skull down, and let the gaps between the bones do the work.
- 10 steps
- 12 minutes
- 4-10 Ages
- Easy
How do you draw a skeleton?
Sketch a circle guide for the skull and a bigger oval below it. Trace the skull and jaw, add oval eyes and a smile, then the ribcage with three curved ribs per side and a straight breastbone. Add the bumpy spine, the bowl shaped pelvis, then arm bones, mitten hands, legs and feet. Ten steps.
Watch it drawn, line by line
The whole drawing in under half a minute, in the same order as the steps below. No sound, so play it anywhere.
Draw it step by step
The new lines for each step are drawn in red. The grey dashed shapes are guides, sketch them lightly and rub them out at the end.
-
1 Step 1: Guide shapes
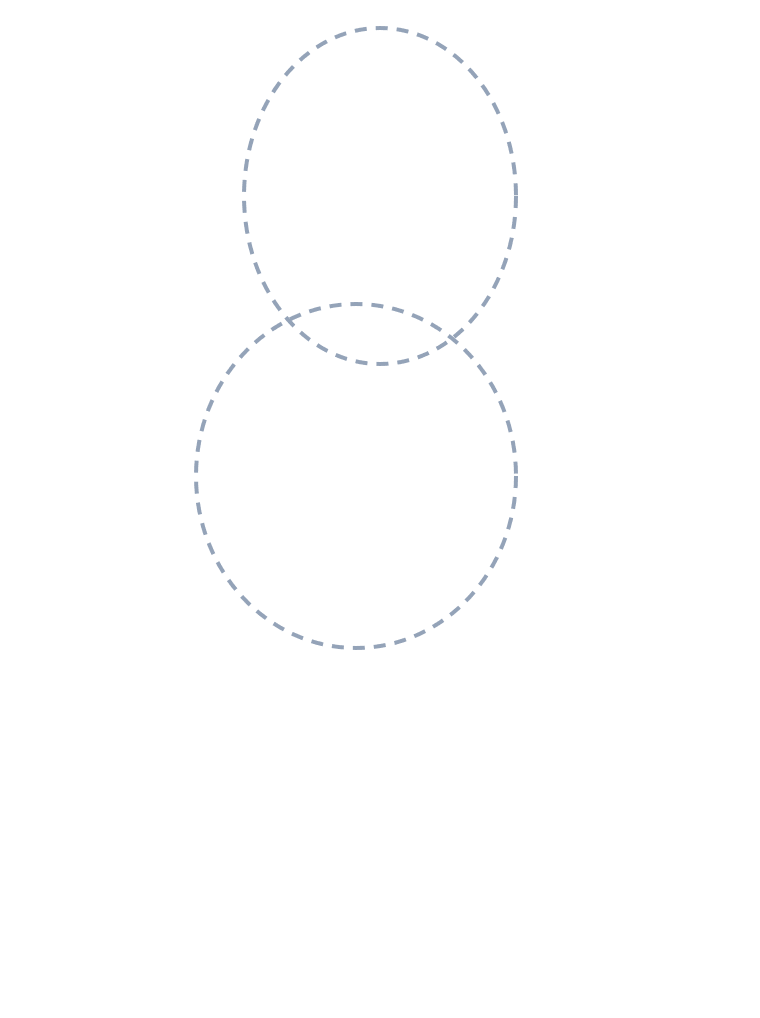
Lightly sketch a big circle for the head and a larger oval below for the body guide.
-
2 Step 2: Big skull outline
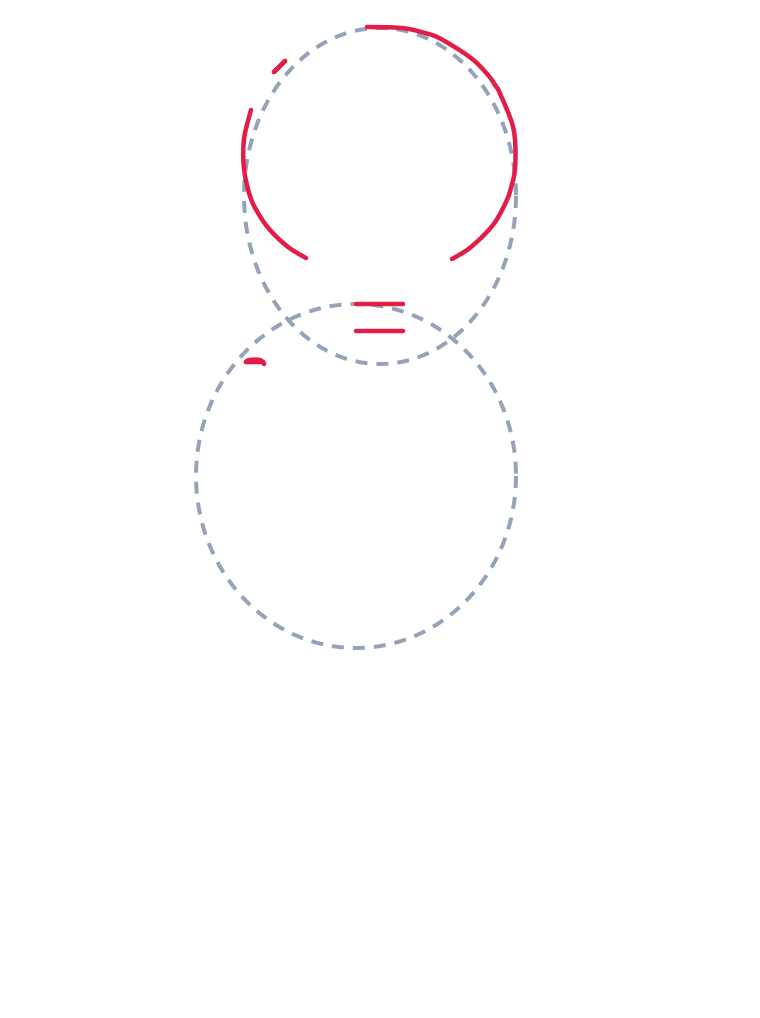
Trace most of the head circle, leave a gap at the bottom. Add two short horizontal neck marks on top of the lower oval.
-
3 Step 3: Eyes and smile
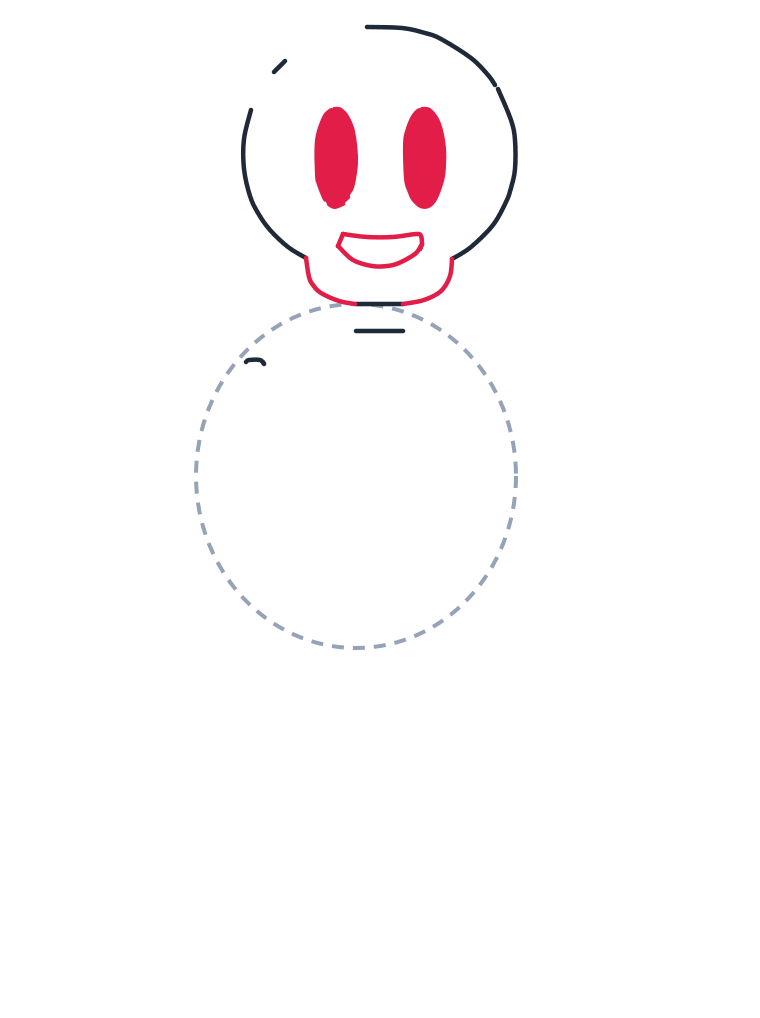
Draw two tall ovals for eyes. Add a small curved smile and a wide U shape for the lower jaw.
-
4 Step 4: Ribcage and neck
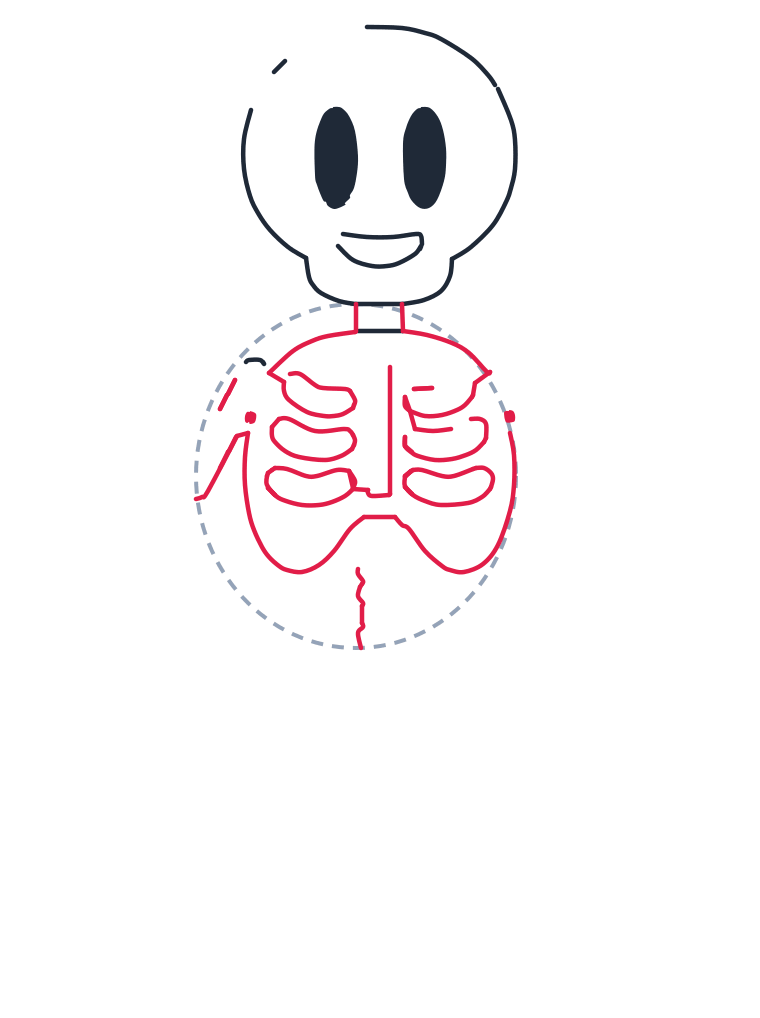
Draw two short neck lines. Make a rounded ribcage, add three curved ribs on each side and a straight breastbone down the center, plus a tiny wiggly start of the spine at the bottom.
-
5 Step 5: Spine segments
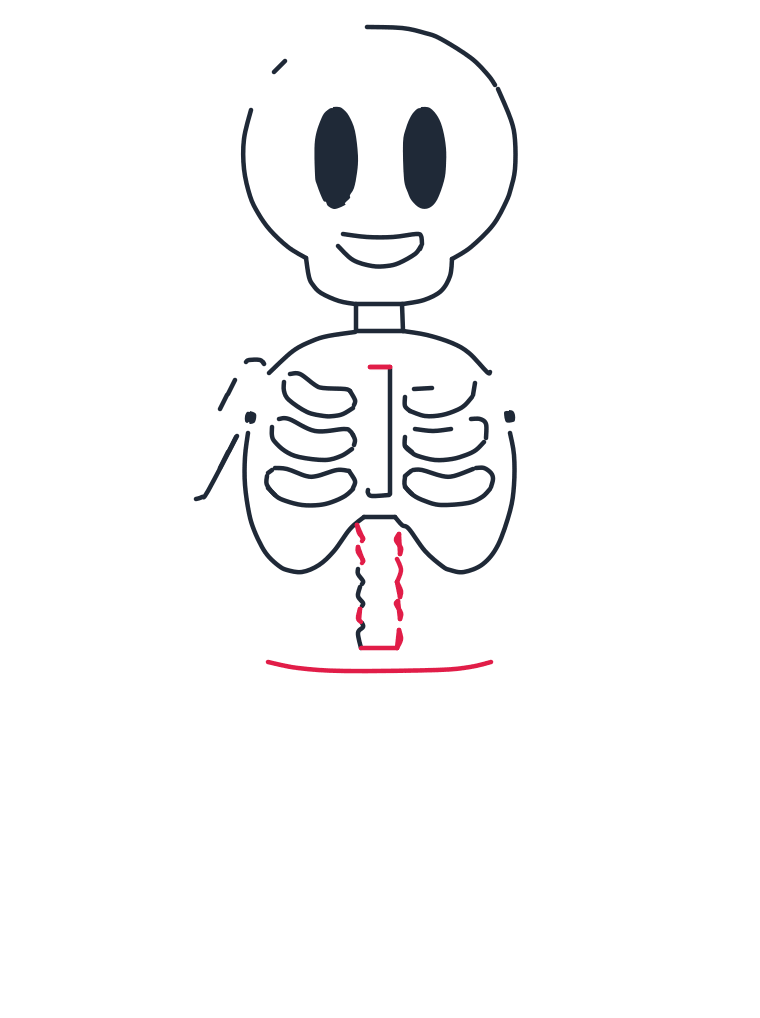
Add more small wiggly segments to lengthen the spine. Draw a long curved line underneath for the top of the pelvis.
-
6 Step 6: Pelvis bowl
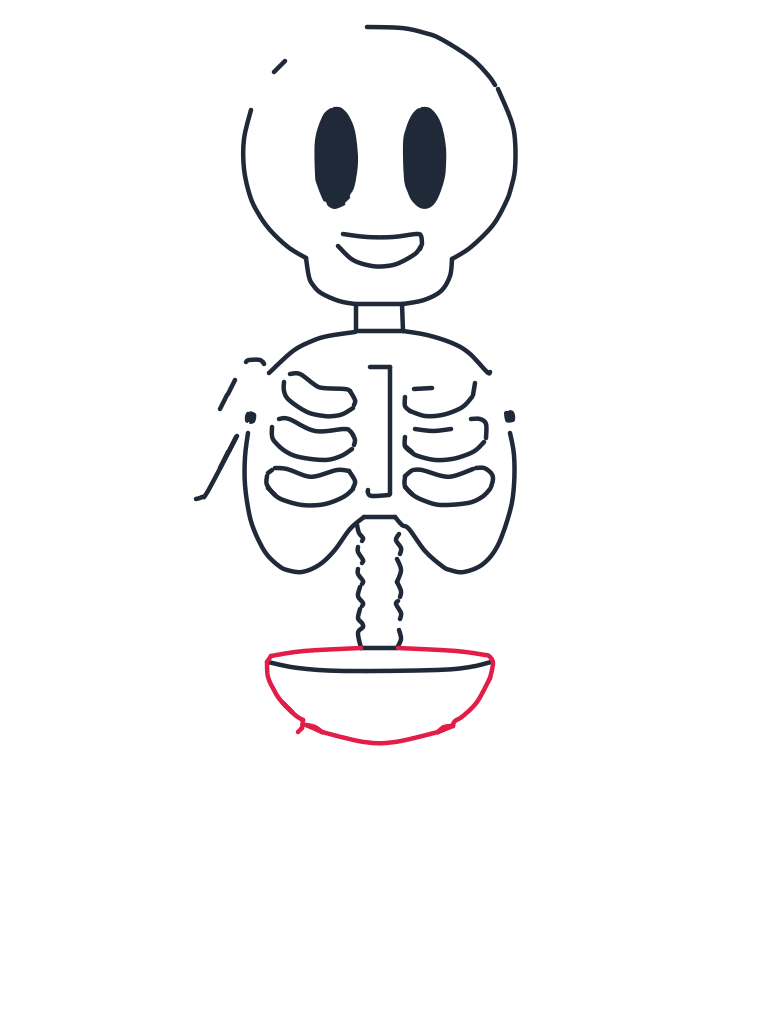
Draw a thin oval rim and a wide U shape below it to make the rounded pelvis.
-
7 Step 7: Arm bones
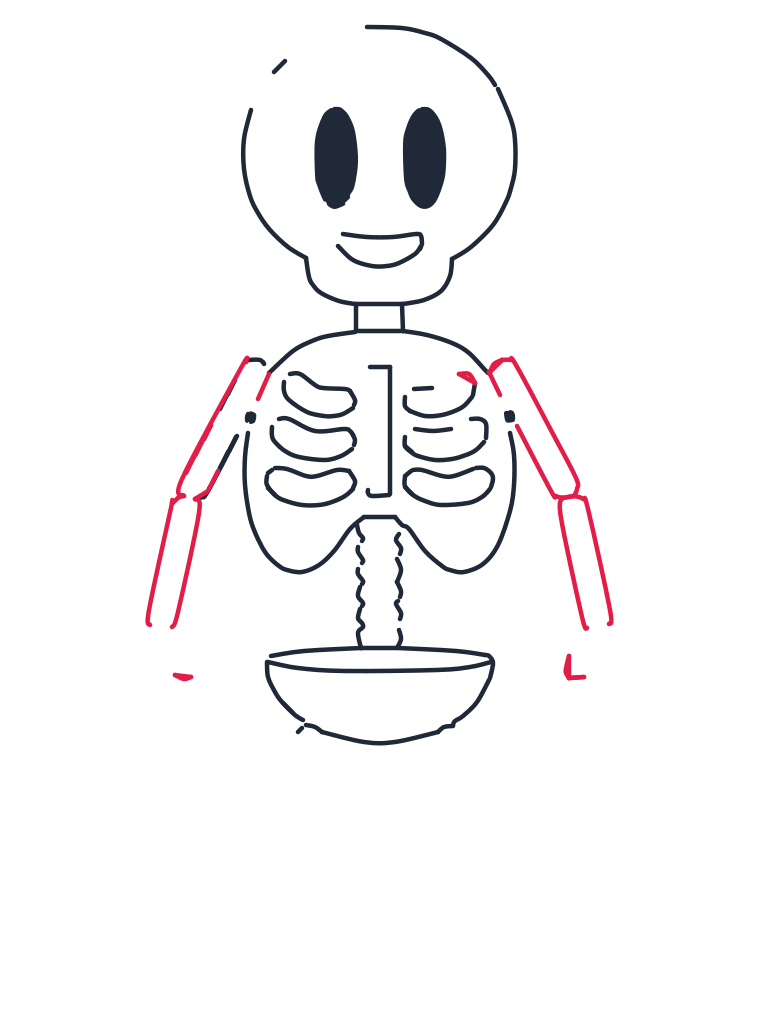
On each side add two long narrow rectangles for the upper arm and the forearm.
-
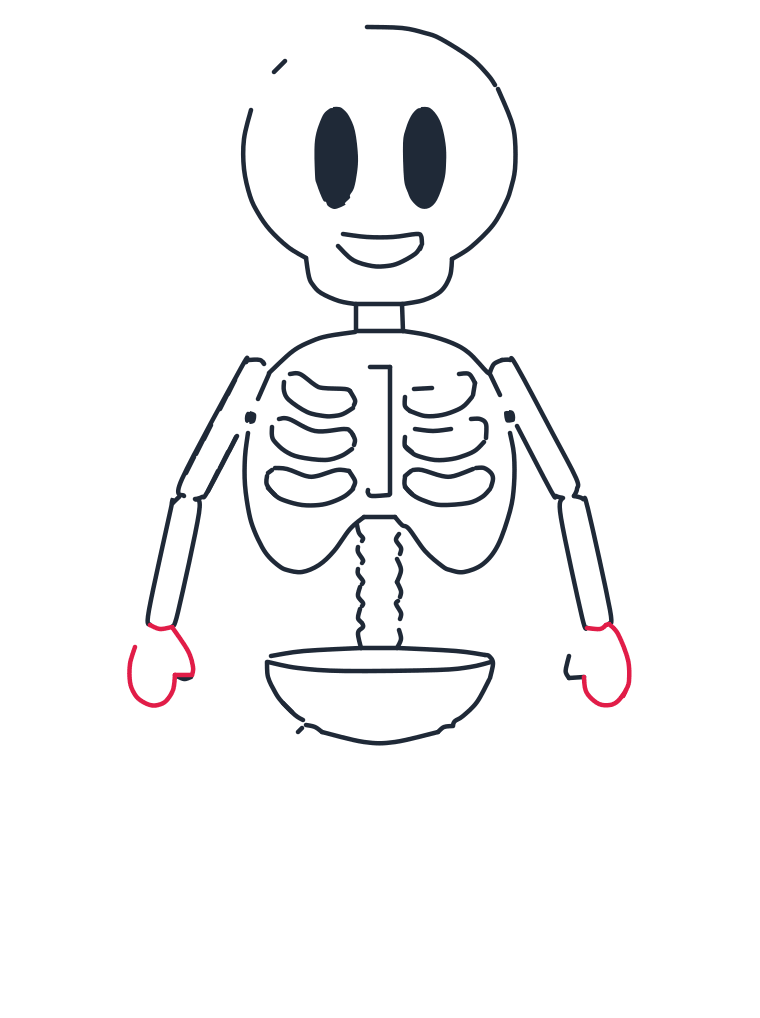
8 Step 8: Mitten hands
At the ends, draw rounded mitten shapes for the hands.
-
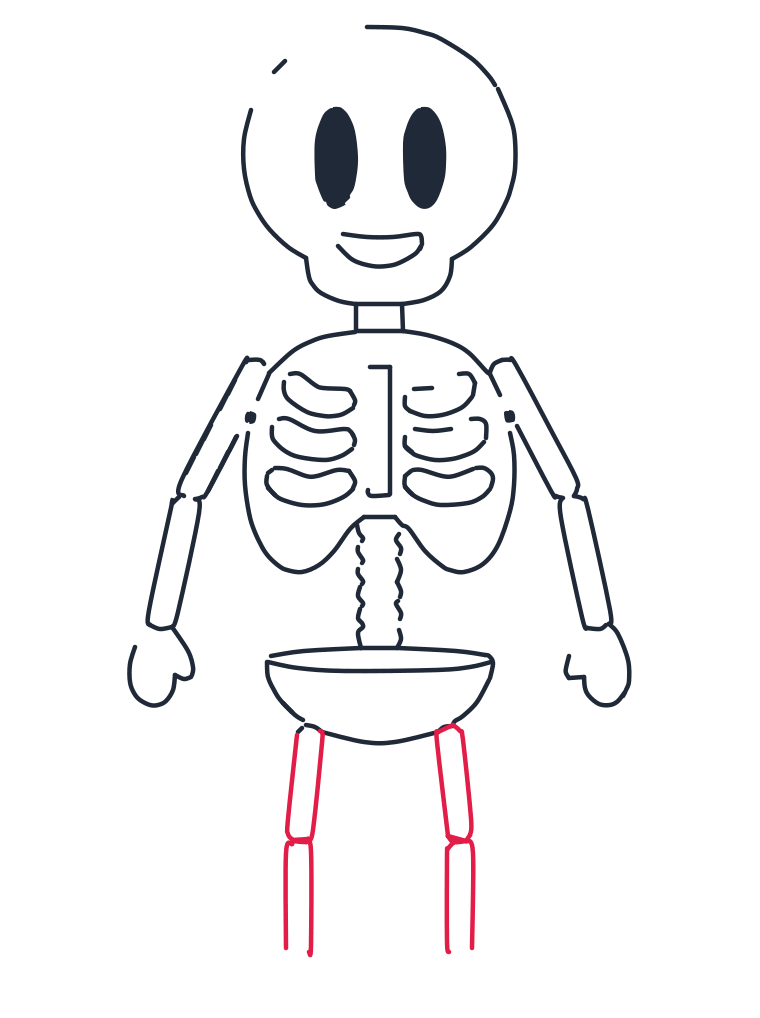
9 Step 9: Leg bones
Under the pelvis add two long rectangles for upper legs, then two more long rectangles for lower legs.
-
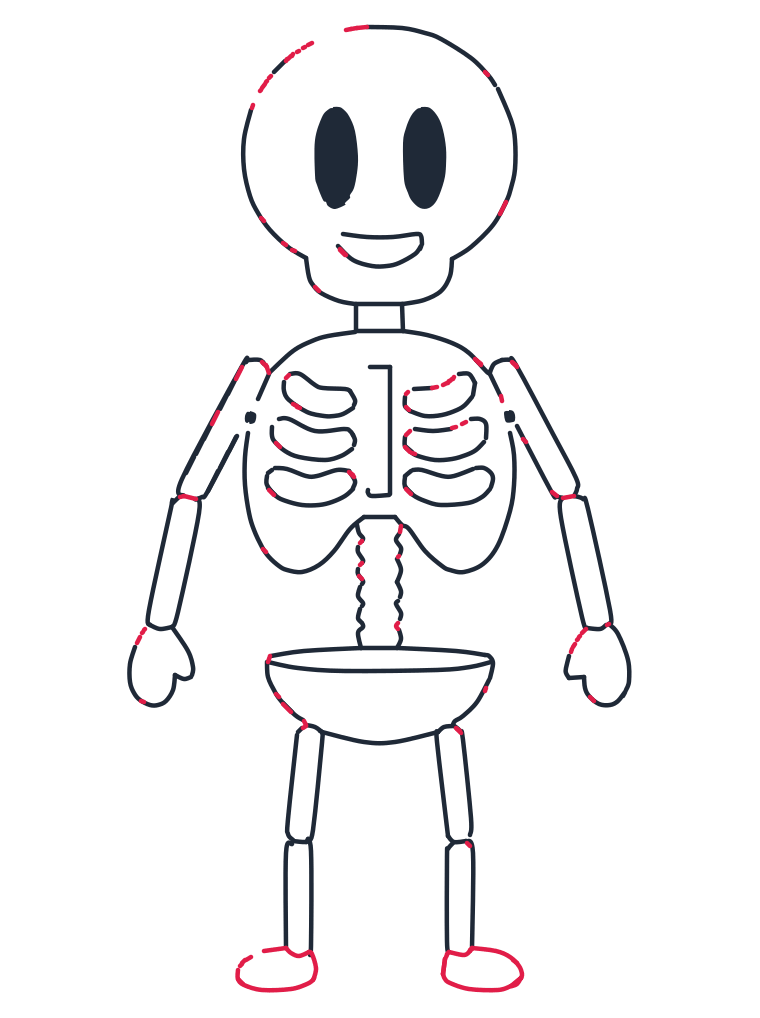
10 Step 10: Feet and details
Draw two rounded foot shapes at the bottoms of the legs. Add small curved lines to smooth the head, ribs, joints, and pelvis.
What you need
A pencil, paper and an eraser. A skeleton looks complicated because it has so many bones, but every bone in this drawing is a simple closed shape: circles, ovals, rectangles and one friendly bowl. If you can draw a sausage, you can draw every arm and leg bone on this page.
Before you start
Sketch the two grey guide shapes from step 1 lightly: a big circle for the skull and a bigger oval below it for the body. Leave a small gap between them for the neck, and leave the whole bottom half of the paper empty, because the pelvis and the legs need more room than people expect. A skeleton is tall and thin, so this drawing runs out of paper at the bottom, never at the sides.
The part most people get wrong
The middle. The instinct is to draw the body as one solid blob, but a skeleton is the one drawing where the gaps ARE the picture. Look at step 5: the spine is a short bumpy column standing on its own, with open air on both sides of it, and in step 6 the pelvis bowl floats free below it. Keep those gaps open. The empty paper around the bones is exactly what makes your drawing read as a skeleton instead of a snowman.
The ribs are the other trap. They are not straight lines drawn across the chest. Step 4 builds each one as its own curved bean shape, three on each side, hanging beside the straight breastbone line, and none of them touch each other.
Make it your own
- Colour the background, not the bones. A skeleton stays white, so flip the usual rule: fill the background with midnight blue or purple and leave every bone empty. It pops instantly.
- Make it a Halloween card. Add a pumpkin at its feet or a small bat above the skull, fold the paper, and the tutorial becomes the front of the card.
- Give it a pose. The arms are just two rectangles and a mitten, so redraw one arm pointing up and it waves. That is the whole trick behind dancing skeletons.
- Add a hat. A tall top hat or a witch hat sitting on the round skull turns it into a character with no extra difficulty.
Learn more about skeletons
Your drawing has around twenty bones. A real adult has 206, and a newborn baby starts with about 300 that slowly fuse together as they grow. More than half of a person's bones are packed into the hands and feet, 27 in each hand alone, which is why cartoonists invented the mitten hand you drew in step 8. And the smallest bone in your body, the stirrup, sits deep inside your ear and is about the size of a grain of rice.
Questions people ask about drawing a skeleton
Is this a good Halloween drawing?
It is the classic one. The same ten steps work for party decorations, cards and posters, and because the bones are big simple shapes, it still looks right cut out with scissors.
How long does it take?
About ten minutes. Ten steps sounds like a lot, but the arms, hands, legs and feet arrive in mirrored pairs, so your hand learns each bone shape once and repeats it on the other side.
Why does my skeleton look like a robot?
Almost always because the bones touch each other. Round off the ends of every bone and leave a sliver of white space at each joint, the way steps 7 to 10 do, and the stiffness disappears.