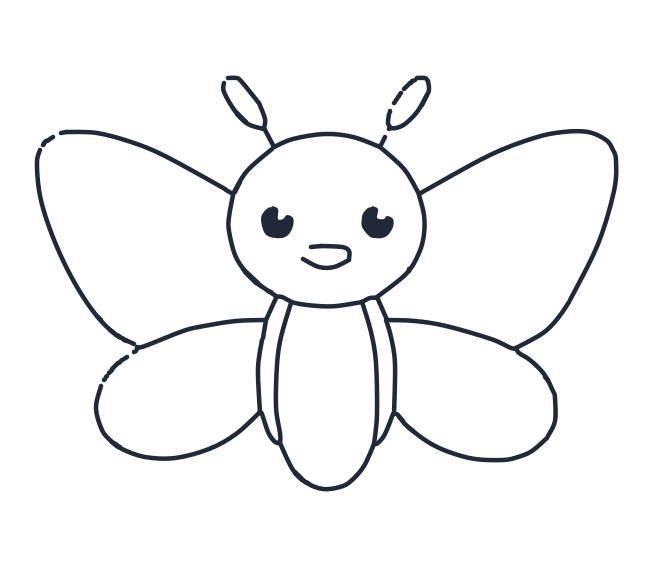
How to draw a butterfly
A butterfly is one wing drawn twice. Get the first wing right and the second is just the same shape flipped over, which is why this is the best subject to practise symmetry on.
- 10 steps
- 12 minutes
- 4-10 Ages
- Easy
Draw it step by step
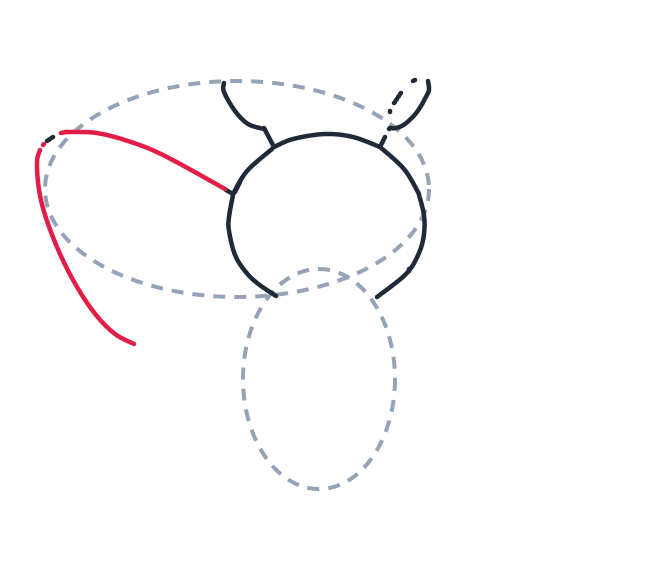
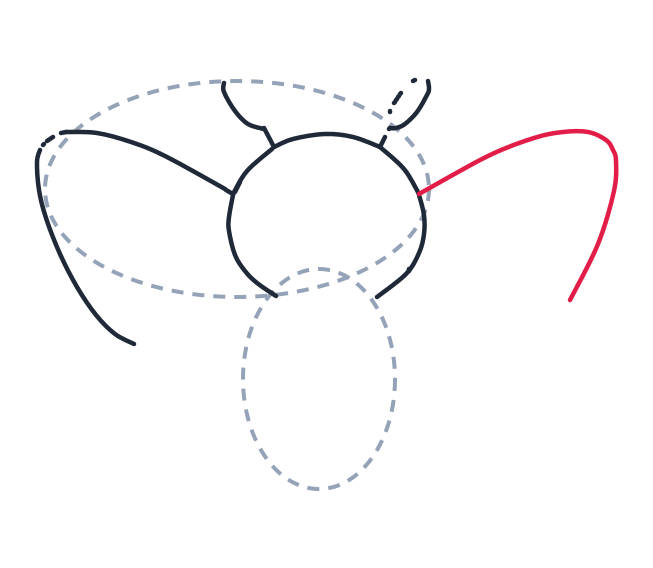
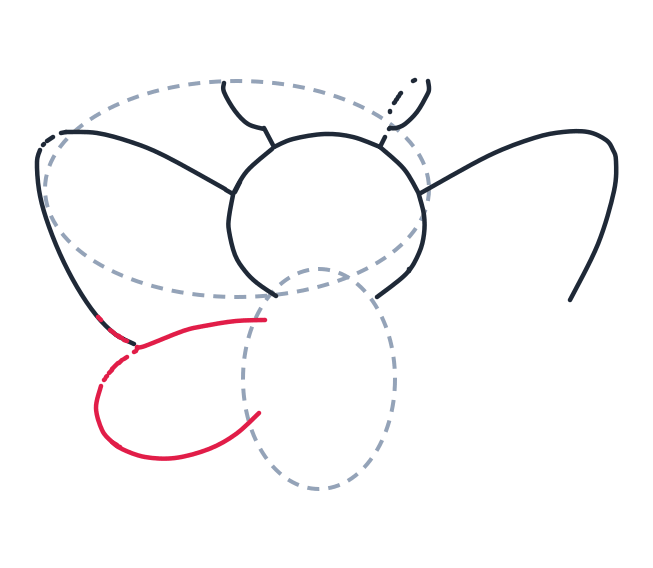
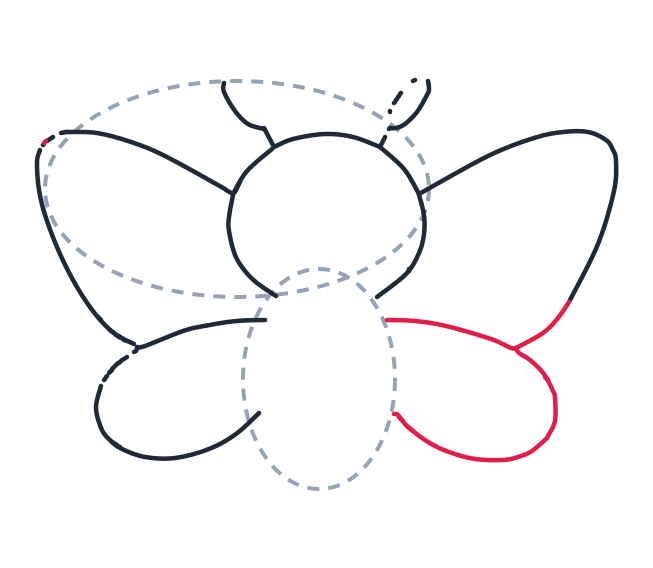
The new lines for each step are drawn in red. The grey dashed shapes are guides, sketch them lightly and rub them out at the end.
-
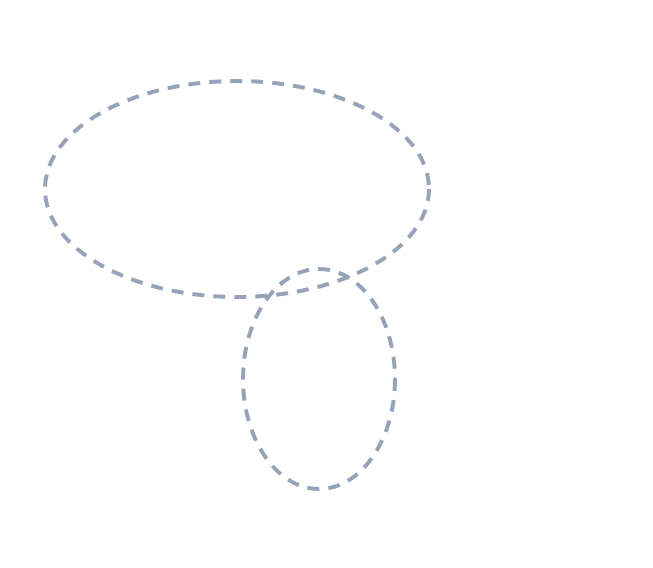
1 Step 1: Guide shapes
Lightly sketch the big oval and the small vertical oval as guides.
-
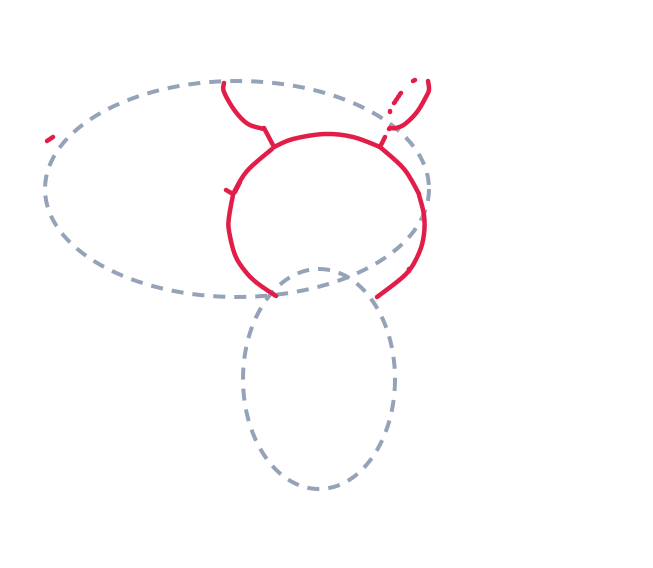
2 Step 2: Head and stems
Draw a round head, plus two short antenna stems on top.
-
3 Step 3: Left top wing
Add a long curved line from the head to form the left top wing.
-
4 Step 4: Right top wing
Draw a long curved line for the right top wing.
-
5 Step 5: Left bottom wing
Make a rounded teardrop shape for the left bottom wing.
-
6 Step 6: Right bottom wing
Make another rounded teardrop shape for the right bottom wing.
-
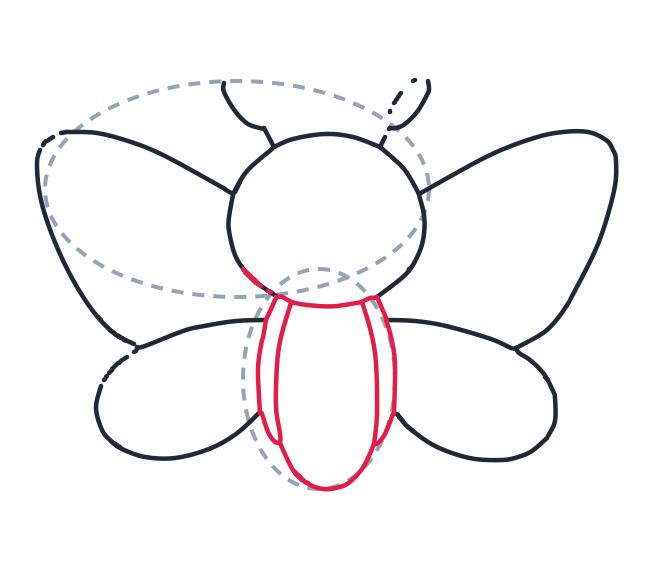
7 Step 7: Body and collar
Draw a short curved collar under the head, then two long curved lines and a U shape to make the body.
-
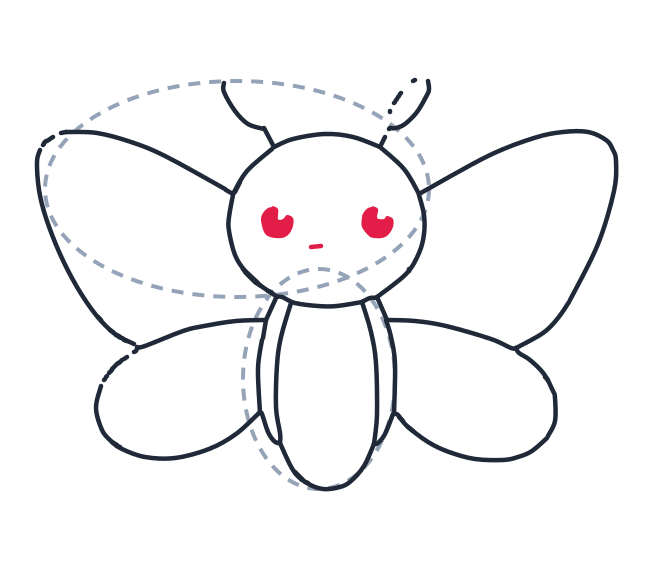
8 Step 8: Eyes and nose
Add two small heart shapes for eyes and a tiny dash for the nose.
-
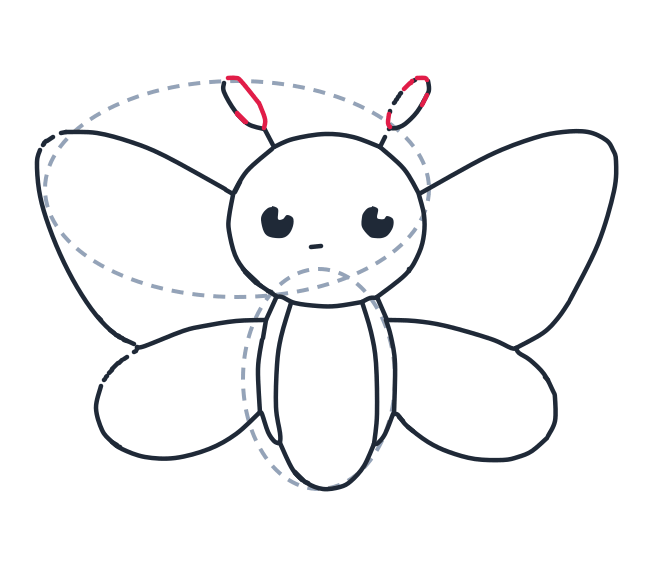
9 Step 9: Antenna tips
Draw two small ovals at the ends of the antenna stems.
-
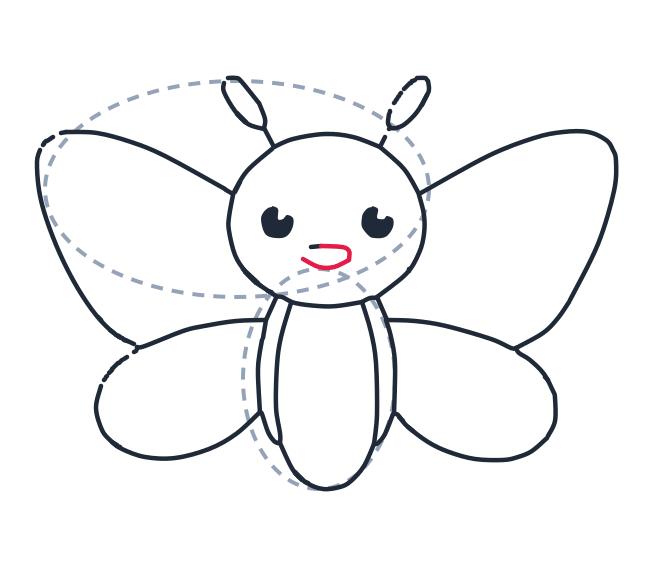
10 Step 10: Smile
Draw a curved smile, then add a tiny dash right above it.
What you need
A pencil, paper and an eraser. Nothing else, though this is a lovely one to colour in afterwards, because real butterflies come in any colour you like.
Before you start
Sketch the grey guide shapes lightly, and draw the body FIRST, right down the middle of the page. The body is the line of symmetry: everything else is measured off it. If the body is crooked, both wings will be crooked, and no amount of care afterwards will save it.
The part most people get wrong
Making the second wing match. The trick is not to draw better, it is to draw in the right order. Do the top half of both wings first, then the bottom half of both wings. If you finish one wing completely and only then start the other, the second one always comes out a different size, because you have nothing to compare it to as you go.
And keep the wings BIG. Beginners draw them far too small for the body. A butterfly's wings are much larger than they feel like they should be.
Make it your own
- Change the wing shape. Rounded wings for a cabbage white, long pointed wings for a swallowtail, with two little tails at the bottom.
- Add patterns. Spots, stripes or a big eye shape on each wing. Whatever you put on one wing, mirror it on the other.
- Draw it from the side. Wings up and together, like two sails.
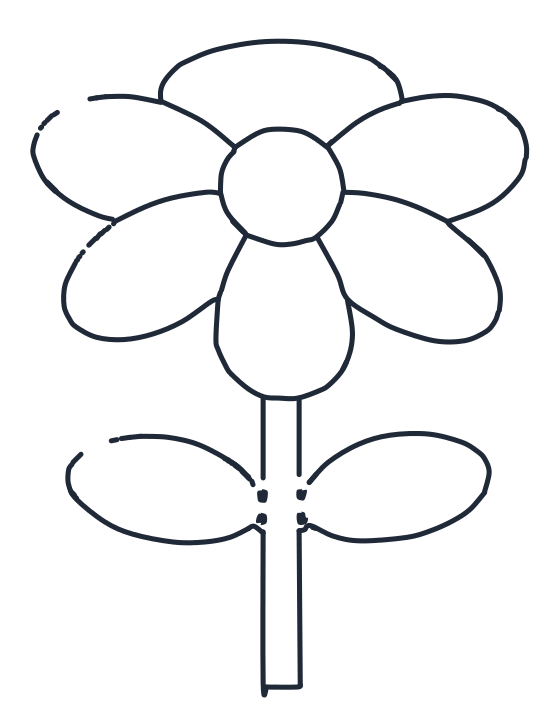
- Put it somewhere. Land it on the flower from our flower tutorial.
Learn more about butterflies
A butterfly tastes with its feet. It lands on a leaf and knows instantly whether it is the right plant to lay eggs on. Those wings you just drew are covered in thousands of tiny scales, like roof tiles, and the colours are often not paint at all: the scales bend the light so that the wing looks blue or green from one angle and dull brown from another. And the two antennae have little clubs on the ends, which is the easiest way to tell a butterfly from a moth.