How to draw a brain
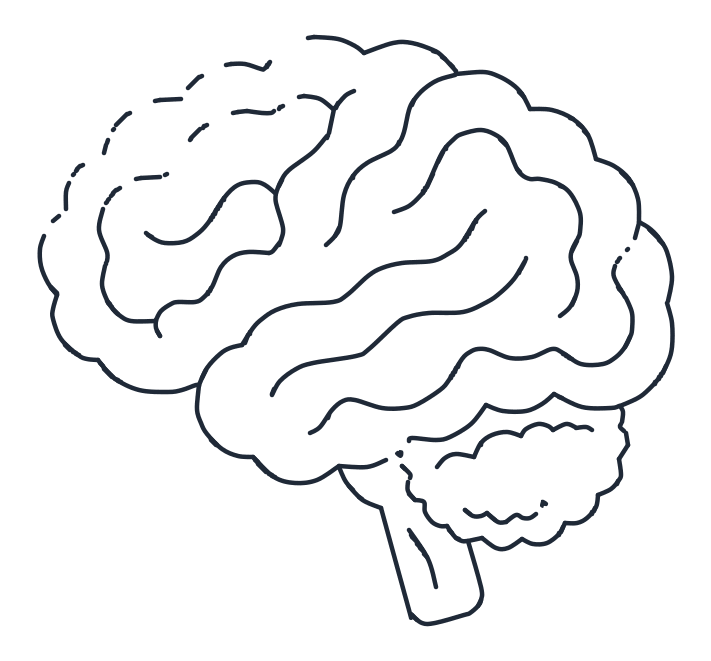
A brain seen from the side is one big bumpy shape with two small helpers: the cerebellum tucked in at the lower back and the short brainstem hanging below it. Sketch the guide oval, build the bumpy outline, and save the best part for the end, the long wavy fold lines that make it unmistakably a brain.
- 6 steps
- 8 minutes
- 4-10 Ages
- Easy
How do you draw a brain?
Sketch a big sideways oval with a small circle at its lower back as guides. Draw the bumpy cerebrum outline around the oval, fit the cerebellum inside the small circle, and hang the short brainstem below. Then add long wavy fold lines across the cerebrum and the last little bumps. Six steps.
Watch it drawn, line by line
The whole drawing in under half a minute, in the same order as the steps below. No sound, so play it anywhere.
Draw it step by step
The new lines for each step are drawn in red. The grey dashed shapes are guides, sketch them lightly and rub them out at the end.
-
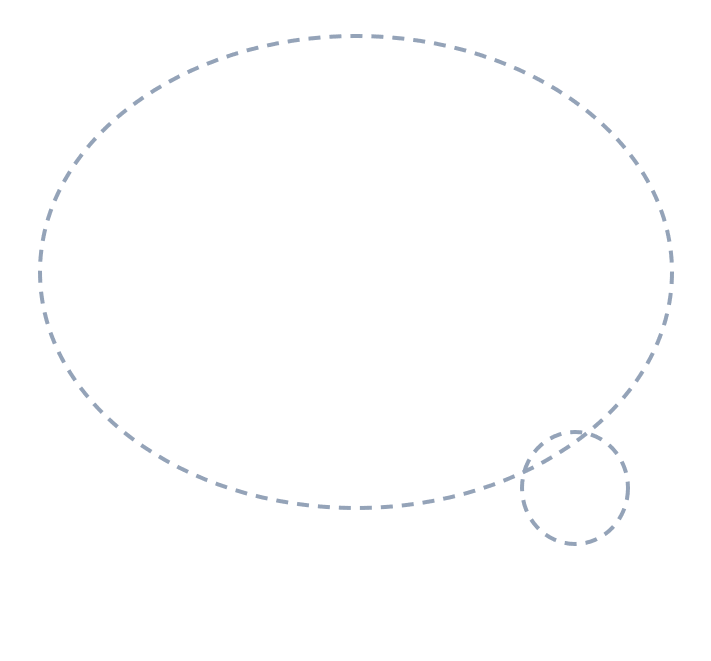
1 Step 1: Guide shapes
Lightly sketch a big sideways oval and a small circle touching its lower back. These are just guides.
-
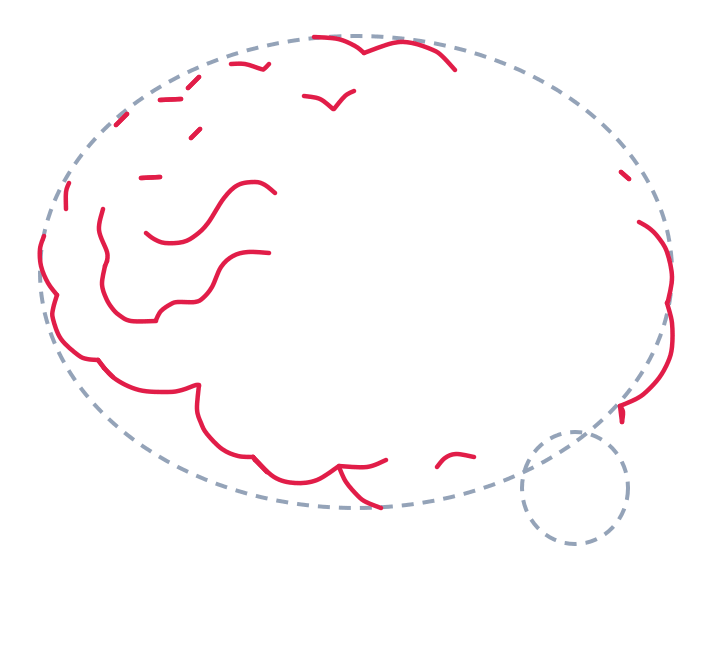
2 Step 2: Cerebrum outline
Draw a long bumpy curved line around the left, bottom, and back of the big oval for the cerebrum. Add a few short wavy lines inside it for folds.
-
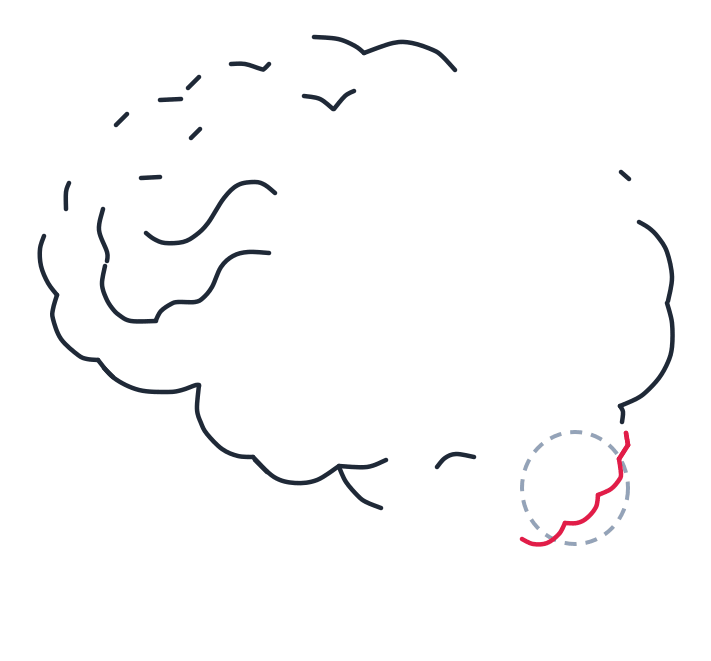
3 Step 3: Cerebellum outline
Make a small bumpy C shape inside the little circle to form the front edge of the cerebellum.
-
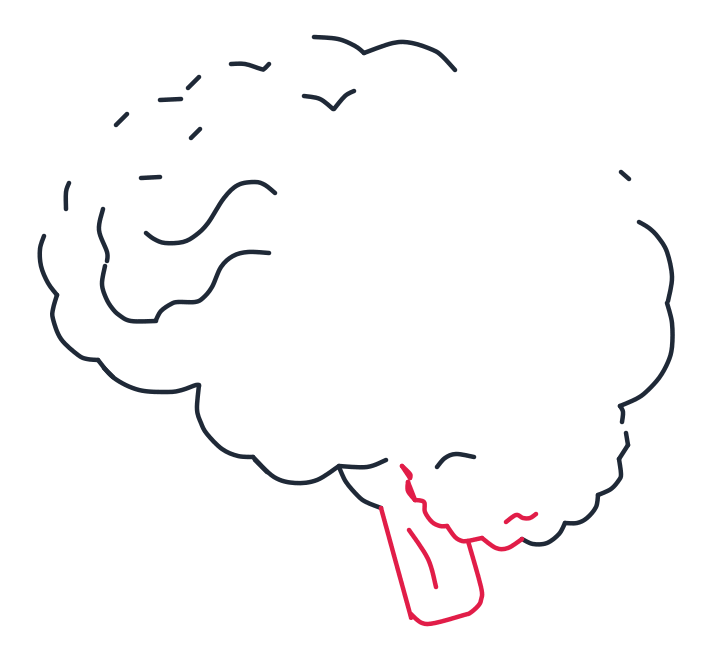
4 Step 4: Brainstem
Draw a short curved rectangle under the brain for the brainstem, touching the cerebellum. Add two tiny curved lines inside the stem.
-
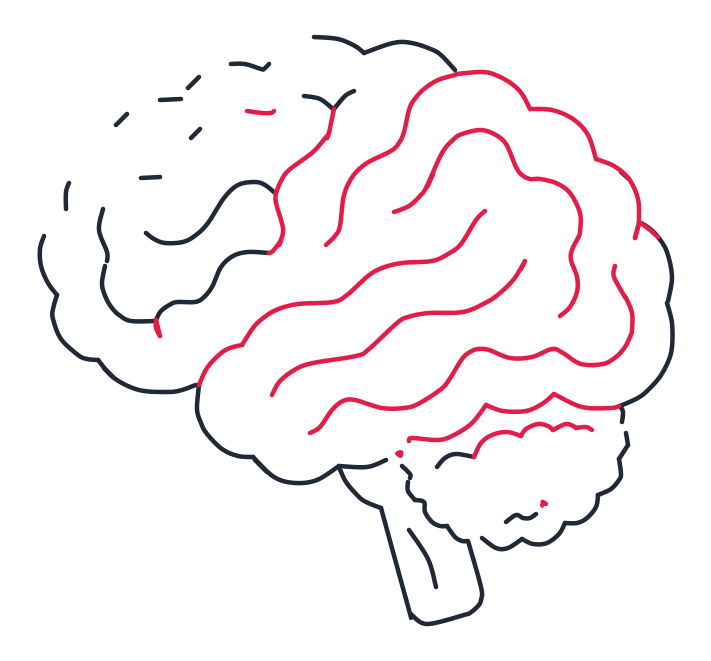
5 Step 5: Big folds
Add long wavy lines that curve across the cerebrum to make big folds. Draw a bumpy wavy line along the top of the cerebellum.
-
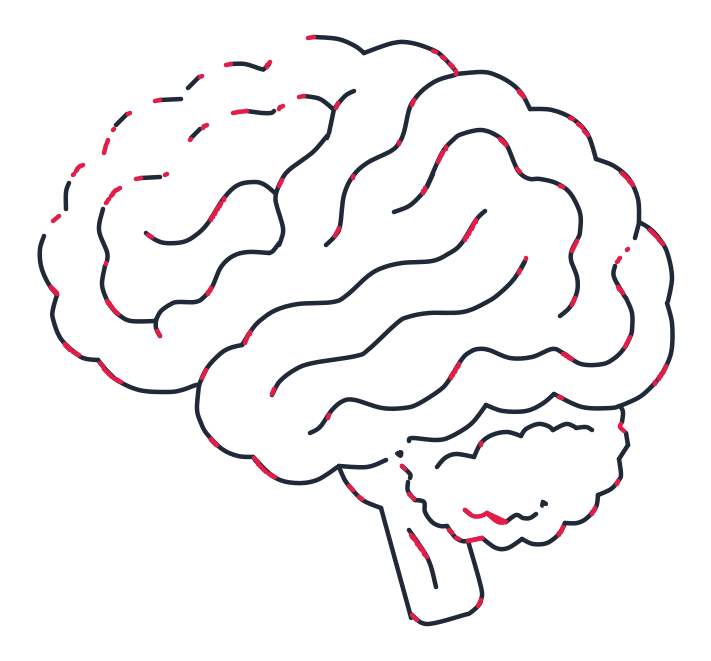
6 Step 6: Finish details
Close small gaps with short curved lines along the edges and folds. Add tiny bumps on the bottom of the cerebellum and a short curve at the tip of the stem.
What you need
A pencil, paper and an eraser, and something to colour with at the end. The brain is the most forgiving subject on this whole site: every single line in it is supposed to be bumpy and wavy, so a wobble that would ruin a car or a house here just makes the brain look more real.
Before you start
Sketch the big grey oval lightly, lying on its side, and then the small circle touching its lower back. The oval is the cerebrum, the big folded part you picture when you hear the word brain. The small circle is the cerebellum, and the place where it sits matters: it tucks in UNDER the back of the oval, overlapping it, not floating beside it. Get those two guides down and the hard decisions are already made.
The part most people get wrong
The folds, and the mistake is always the same: scribbling short random squiggles all over the middle. Look at step 5 instead. The folds are LONG wavy lines, each one a lazy S that flows across the cerebrum in the same diagonal direction, from the lower front toward the upper back, like rivers running down the same hill. Draw five or six of those long lines and the brain organises itself; scribble fifty short ones and it turns into a bowl of noodles.
The outline is the other trap. Do not draw a smooth oval first and then try to add bumps on top of it. The outline IS the bumps: one long curved line that rises and dips the whole way around, like a chain of little hills. If your bumps come out different sizes, even better, real ones are.
Make it your own
- Label the parts. An arrow to the cerebrum, one to the cerebellum, one to the brainstem, and your drawing is ready for the science fair or the class poster.
- Split it into lobes. Colour the front, top, side and back areas in different colours and you have drawn a real anatomy diagram without changing a single line.
- Give it a face. Two dot eyes and a smile on the front turn the same drawing into a friendly mascot for a school notebook cover.
- Add a thought. A small cloud with a lightning bolt or a light bulb above the brain says thinking better than any caption.
Learn more about the brain
The folds you drew in step 5 are not decoration, they are the whole trick: the brain folds itself up so that more thinking surface fits inside the skull, the way a big sheet of paper fits in a pocket once it is crumpled. The cerebellum, the small shape you tucked in at the back, means little brain in Latin, and it looks after balance and smooth movement, including the hand movements you are practising right now. And the brainstem you hung underneath connects everything to the spinal cord and quietly runs breathing and heartbeat without being asked. The whole thing weighs about as much as three cans of soup.
Questions people ask about drawing a brain
Can I use this for my science homework?
Yes, and it is the fastest way to a clean result. The side view you drew is the same view textbooks use, so add the three labels from the list above and it works as a diagram. Keep the folds as long lines and it will read clearly even photocopied.
How long does it take?
About eight minutes the first time. The outline and the folds are the slow parts, and both forgive wobbles, so the second attempt usually comes out faster and better.
Is a brain hard to draw?
No, it only looks hard. There is no symmetry to keep, no straight line to hold and no face to get right. If you can draw a bumpy cloud and a few wavy lines, you can draw a brain.