How to draw a shark
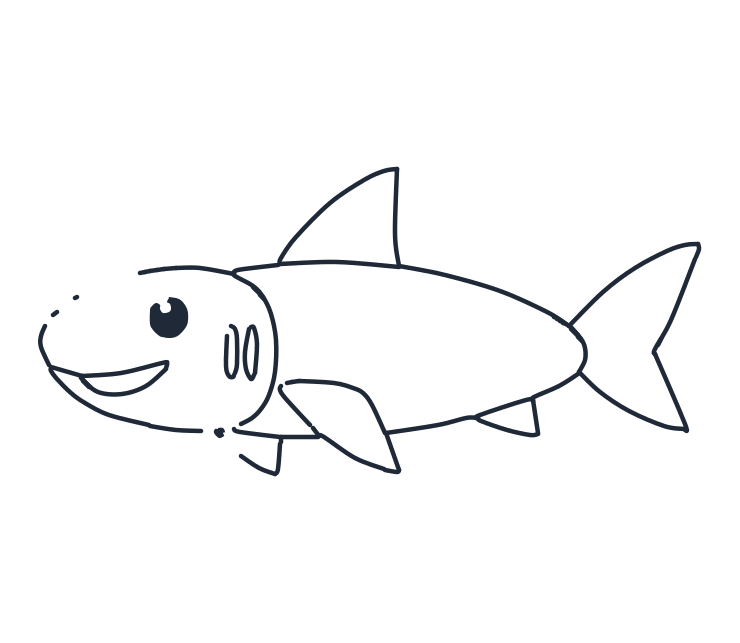
A shark is two overlapping ovals and five triangles. Get the long back curve right and the rest is fins, which are the easiest shape there is.
- 7 steps
- 9 minutes
- 4-10 Ages
- Easy
Watch it drawn, line by line
The whole drawing in under half a minute, in the same order as the steps below. No sound, so play it anywhere.
Draw it step by step
The new lines for each step are drawn in red. The grey dashed shapes are guides, sketch them lightly and rub them out at the end.
-
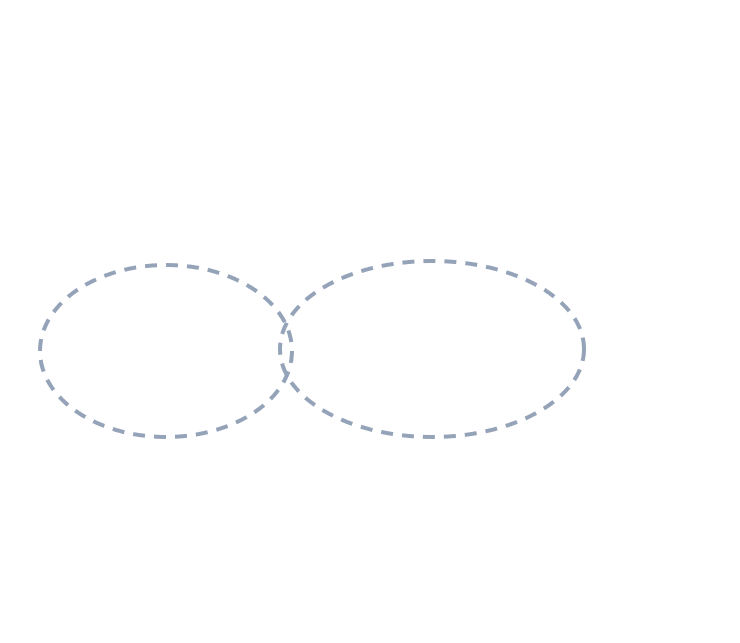
1 Step 1: Guide shapes
Lightly sketch two overlapping ovals for the head and body guides.
-
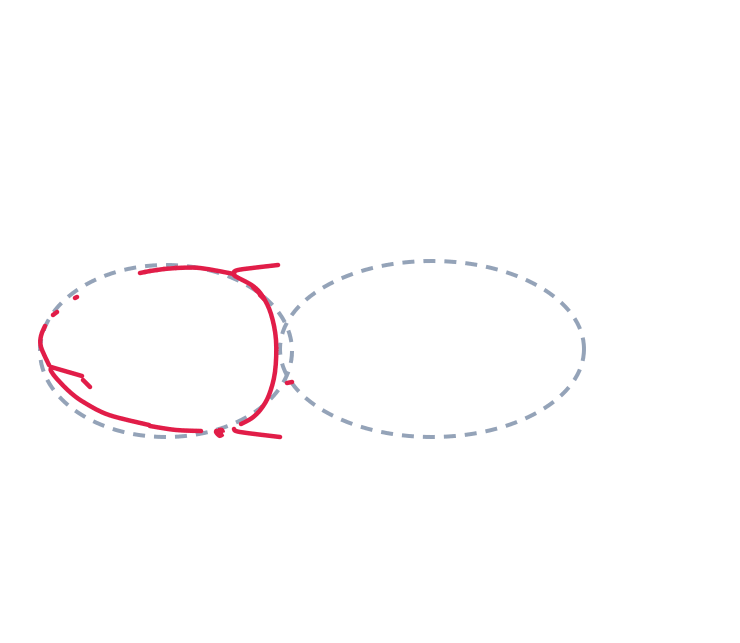
2 Step 2: The head
Trace most of the left oval to make the head. Add one short little line on top and one on the bottom where it meets the body.
-
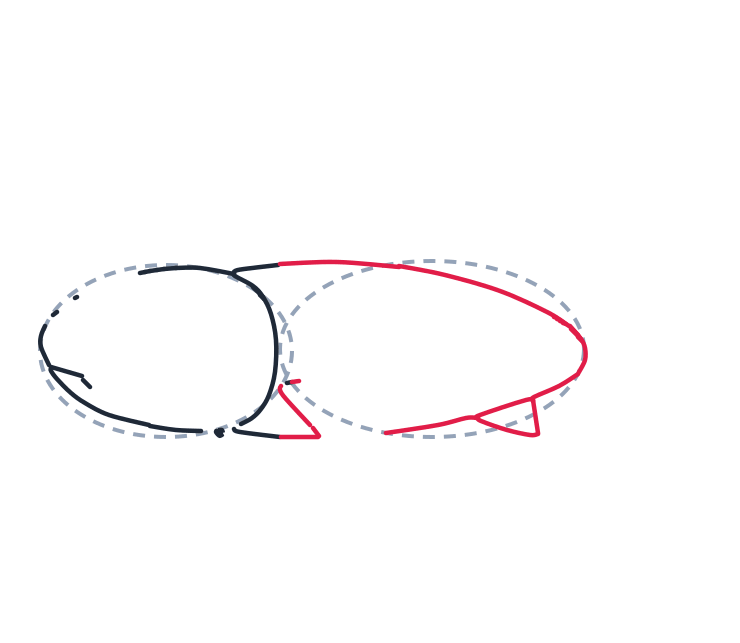
3 Step 3: Back and belly
Draw a long curved line on top for the back, and another long curved line below for the belly. Add a small triangle under the front.
-
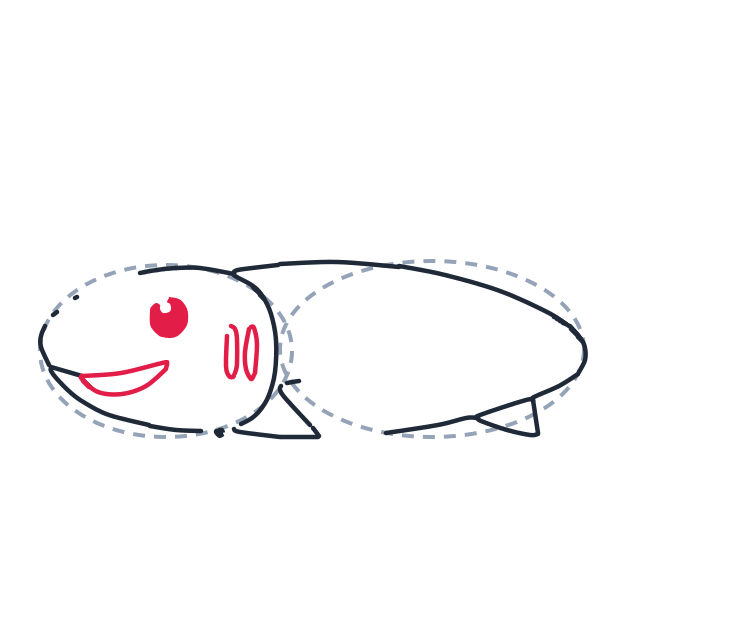
4 Step 4: Eye, mouth, gills
Draw a circle for the eye, a curved smile with a second curve under it, and two thin oval gill slits.
-
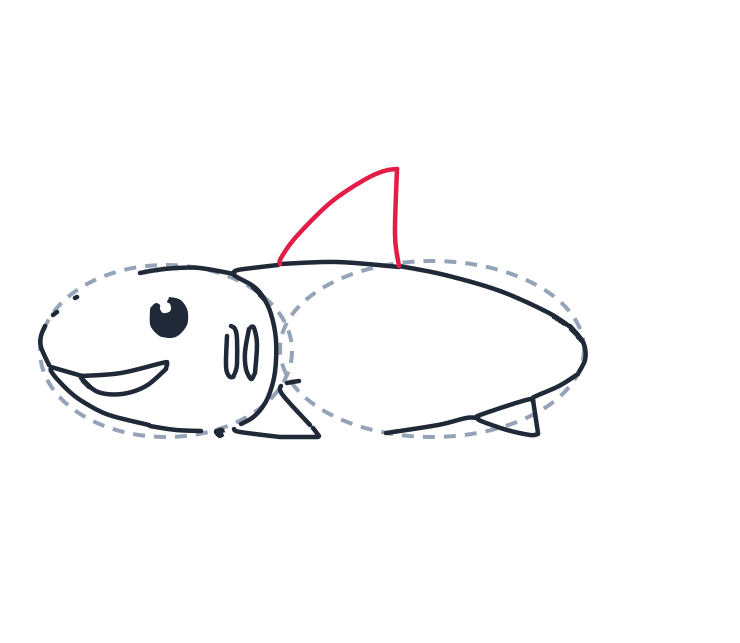
5 Step 5: Dorsal fin
On top, draw a tall triangle for the dorsal fin.
-
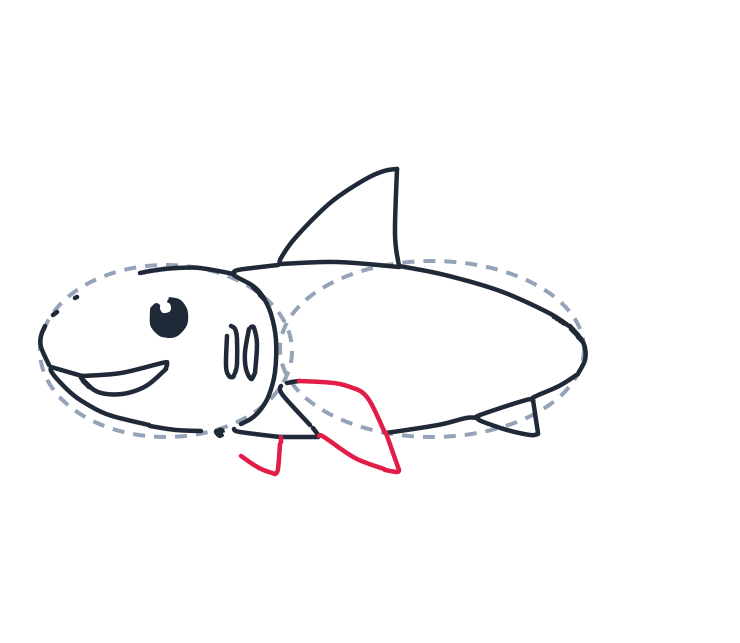
6 Step 6: Side fin and chin
Add a big curved triangle on the side for the fin. Draw a short curved line under the head.
-
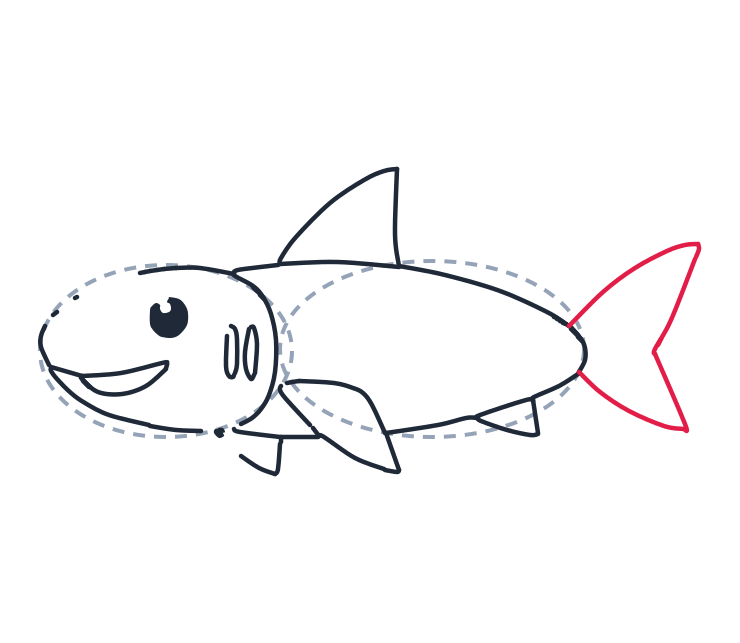
7 Step 7: Tail fin
Draw a wide V tail with two long triangles meeting at the back.
What you need
A pencil, paper and an eraser. A shark is all long curves and straight fins, so a ruler is not needed and would make it worse.
Before you start
Sketch the two grey guide ovals lightly and let them overlap a lot. The left one is the head, the right one is the body. Overlapping is the whole trick: a shark has no neck and no waist, it is one smooth torpedo, so guides drawn far apart give you a dolphin with a gap in the middle.
The part most people get wrong
The mouth. On a real shark the snout sticks out IN FRONT of the mouth, so the smile sits underneath the nose, not at the tip of it. Draw the smile too far forward and you get a dolphin. Tuck it under, add the second short curve below it, and the shark appears immediately, before you have drawn a single tooth.
Second thing: the tail. It is a wide V made of two long triangles, and the top one is LONGER than the bottom one. Two equal triangles read as a fish tail. That difference in length is what makes it look like a shark from across the room.
Make it your own
- Add teeth. Small triangles along the smile, pointing down. Three or four is plenty.
- Put it in the water. One wavy line behind the dorsal fin and a few bubbles rising from the mouth.
- Add a stripe. A long curved line from the nose to the tail splits the dark back from the white belly, which is how most sharks are actually coloured.
- Make a hammerhead. Keep everything, widen the head into a T shape, move the eyes to the ends.
Learn more about sharks
Those two little oval slits you drew behind the head are gills, and they are the reason many sharks can never stop swimming: water only flows through the gills while the shark is moving forward, so swimming is how it breathes. The big fin on the back does not push, it only keeps the shark from rolling over, exactly like the fin on a surfboard. And the skin is not smooth: it is covered in tiny tooth-shaped scales, so a shark feels like sandpaper if you stroke it the wrong way.