How to draw a dog
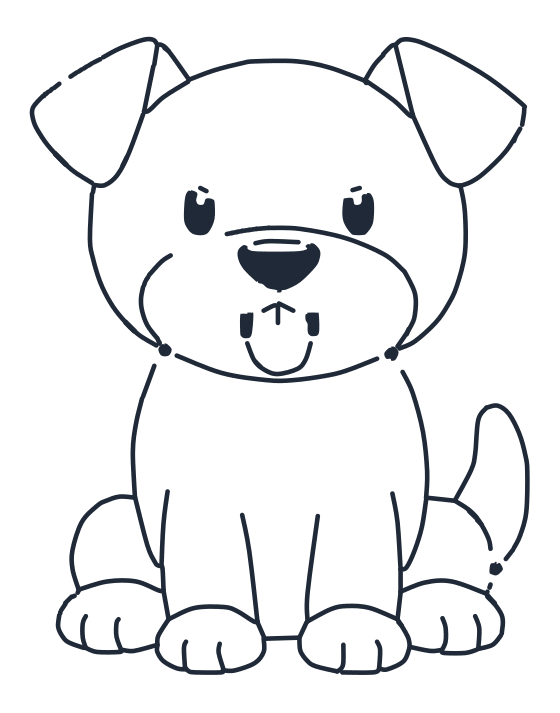
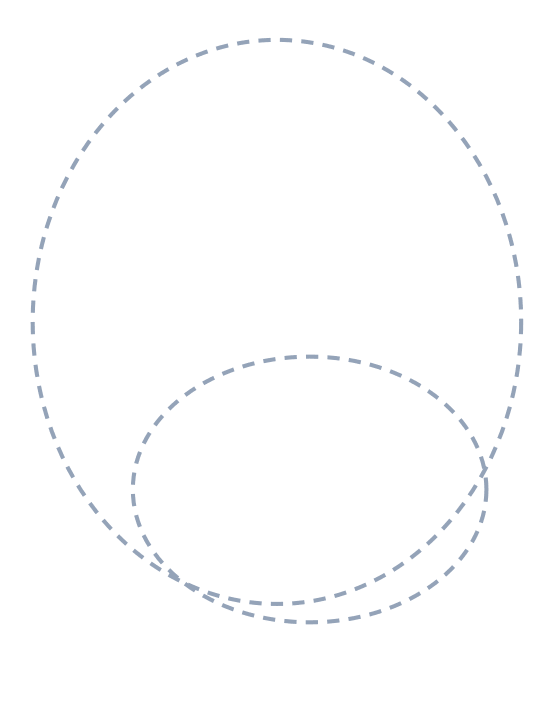
A sitting dog is a circle on top of an oval. Once those two guides are down, everything else is a part you add on top: the floppy ears, the muzzle, the paws.
- 10 steps
- 12 minutes
- 4-10 Ages
- Easy
Draw it step by step
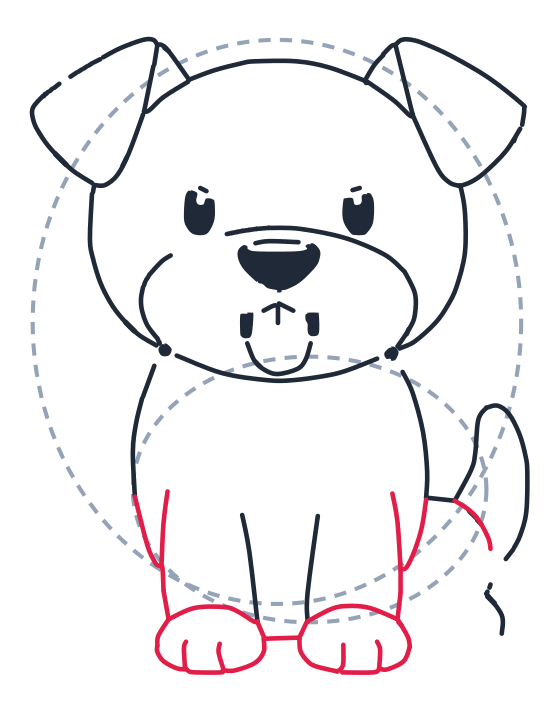
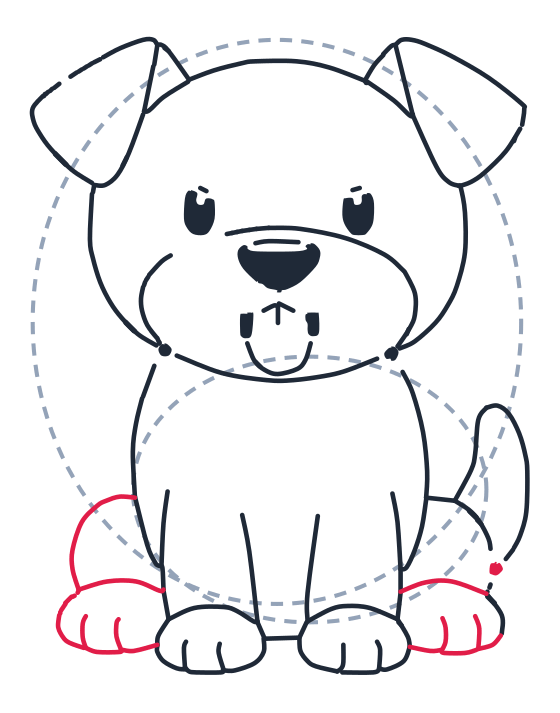
The new lines for each step are drawn in red. The grey dashed shapes are guides, sketch them lightly and rub them out at the end.
-
1 Step 1: Guide shapes
Lightly sketch a big tall oval, then a smaller sideways oval at the bottom.
-
2 Step 2: Head and cheeks
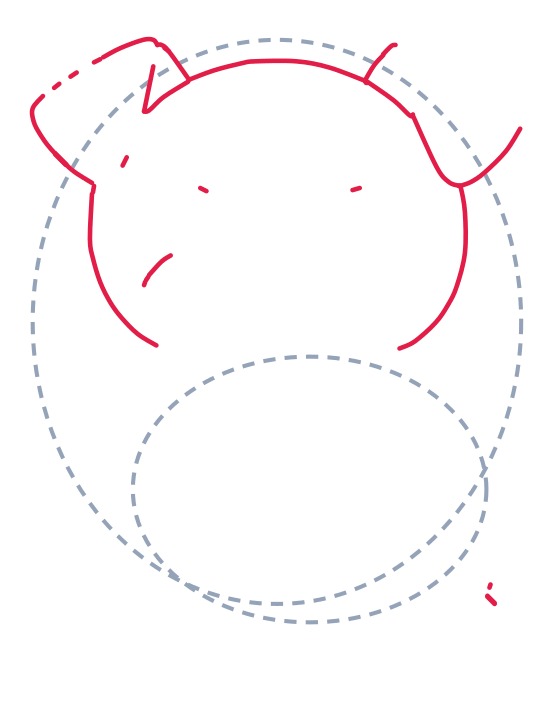
Draw a curved cap on top and two long curved lines down for the cheeks. Add two tiny dash marks for the eyes.
-
3 Step 3: Floppy ears
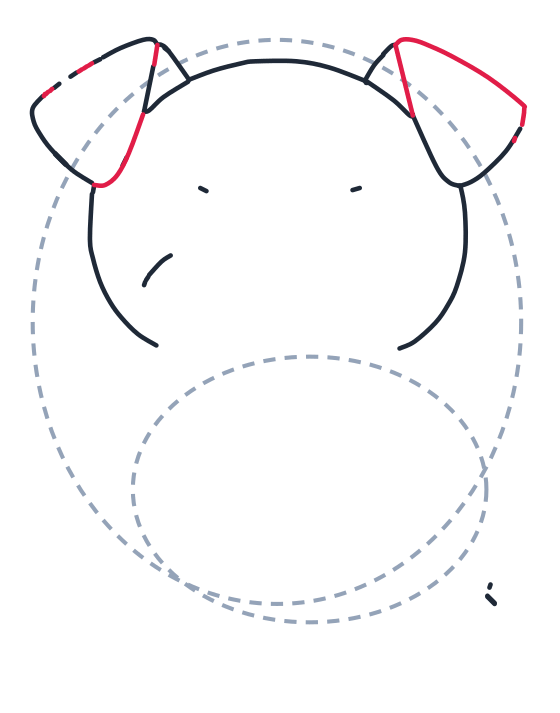
Add two big rounded triangles for the ears.
-
4 Step 4: Muzzle and mouth
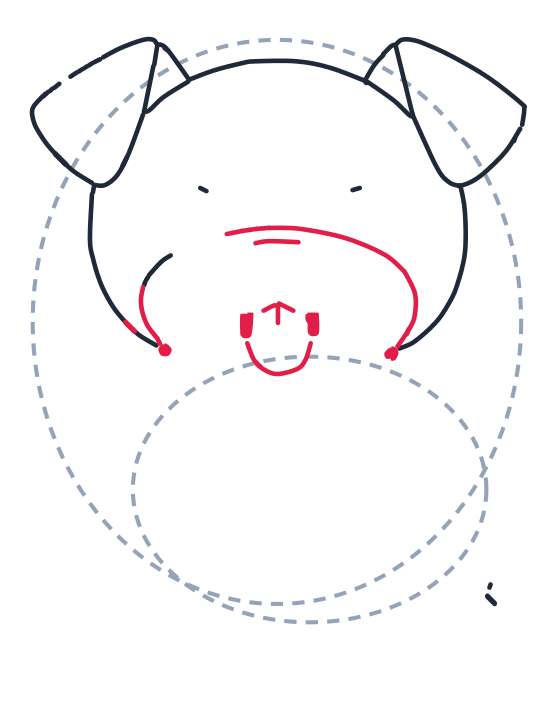
Draw a wide curved line for the muzzle with a short line above it. Add a small U for the mouth and a tiny V on top for the nose bridge, plus two little ovals beside the mouth.
-
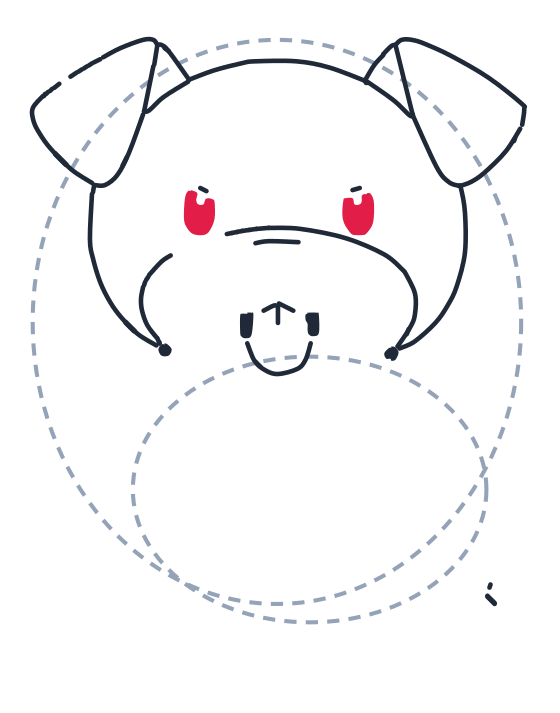
5 Step 5: Eyes
Draw two small oval eyes.
-
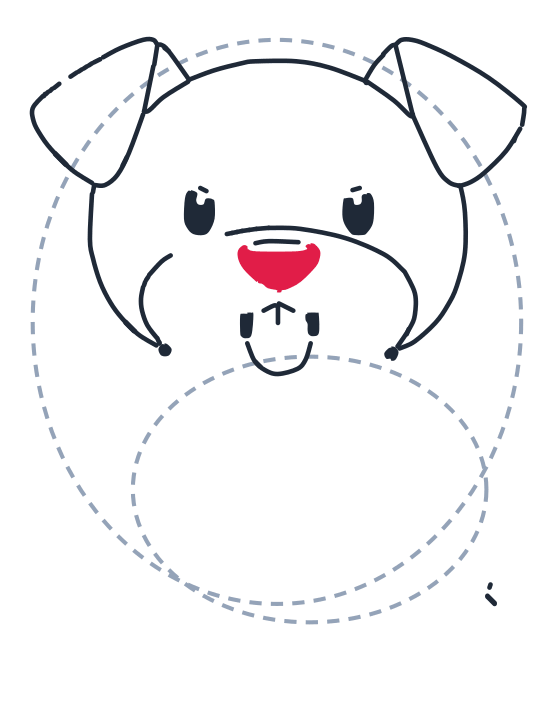
6 Step 6: Nose
Add a small upside-down triangle with rounded corners for the nose.
-
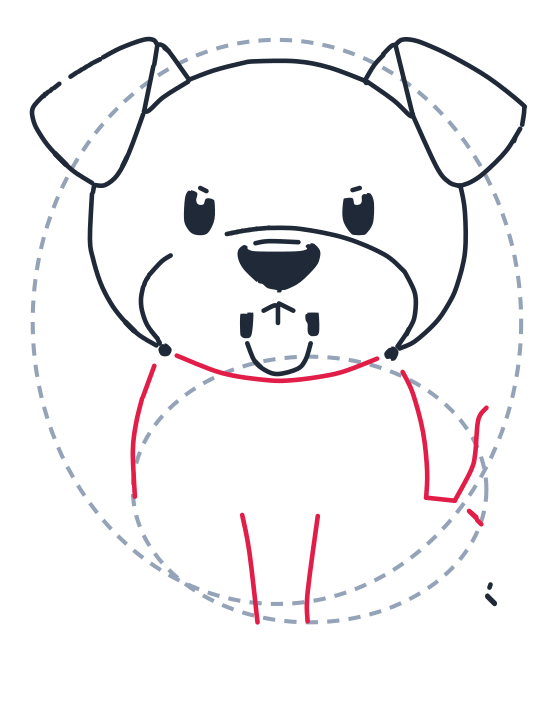
7 Step 7: Chest and legs
Draw a curved line for the chest. Add two long lines for the front legs and two short curved lines for the sides.
-
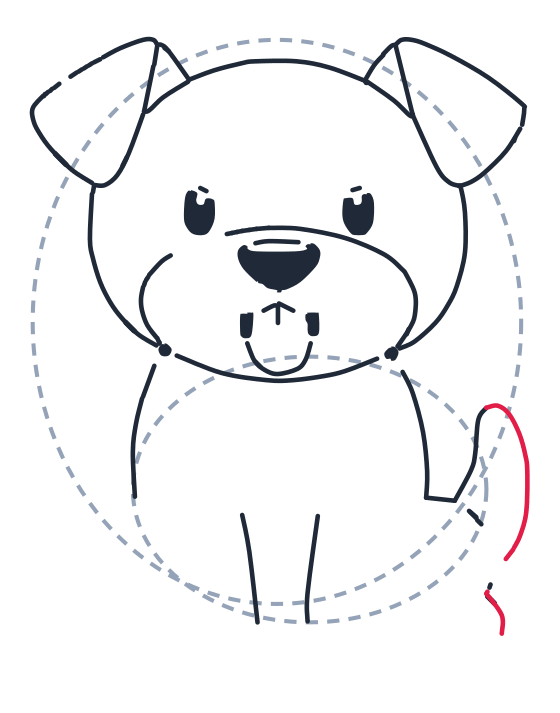
8 Step 8: Curly tail
Draw a long curved line up for the tail and a small curve for its tip.
-
9 Step 9: Front paws
Draw two big U shapes for the front paws and add three short toe lines on each. Add a small curved line to join the body to the tail.
-
10 Step 10: Back paws
Add two round mounds at the sides for the back paws and draw short toe lines.
What you need
One pencil, one sheet of paper and an eraser. Nothing else. If you want to colour the dog in afterwards, have crayons or felt tips ready, but do the drawing in pencil first so you can rub out the guide shapes.
Before you start
Sketch the two grey guide shapes lightly. They are scaffolding, not part of the drawing, so press softly and rub them out at the end. The circle is the head, the oval below it is the body, and they overlap a little. That overlap is what makes the dog look like it is sitting rather than floating.
The part most people get wrong
The muzzle. It sits low on the head, not in the middle, and it is a wide U rather than a circle. Children almost always draw it too small and too high, which makes the dog look like a bear. Put the muzzle in the bottom third of the head circle and let it be generous. If the muzzle looks right, the dog looks like a dog, and everything else can be a bit wonky without anyone noticing.
The second thing to watch is the ears. They hang outside the head circle, they do not sit inside it. Start each ear on the top curve of the head and let it flop down past the cheek.
Make it your own
- Make it a puppy. Bigger head, shorter legs, ears a size too large. Puppies are drawn with wrong proportions on purpose.
- Add a collar. A band across the neck with a small circle hanging from it, drawn after step 7.
- Change the tail. A curly tail for a happy dog, a straight low tail for a calm one.
- Add spots. Three or four soft blobs on the body. Never draw them in a straight line, scatter them.
Learn more about dogs
A dog has 42 adult teeth, ten more than we do. Its nose print is unique, like a human fingerprint, and shelters have used nose prints to identify lost dogs. Dogs sweat through the pads of their feet, which is why they pant to cool down, and that panting mouth is exactly the open, happy shape you drew in step 4. Their sense of smell is somewhere between ten thousand and a hundred thousand times sharper than ours, which is why the muzzle you just drew is the biggest feature on the face.