How to draw a dragon
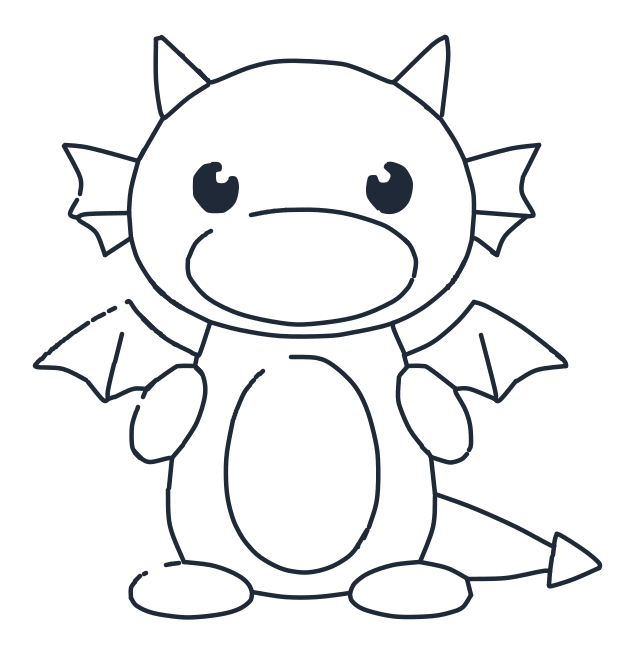
Dragons look like the hardest thing on this page and they are not. Draw a friendly animal first, then bolt on the wings, the horns and the spiky tail.
- 10 steps
- 12 minutes
- 4-10 Ages
- Easy
Draw it step by step
The new lines for each step are drawn in red. The grey dashed shapes are guides, sketch them lightly and rub them out at the end.
-
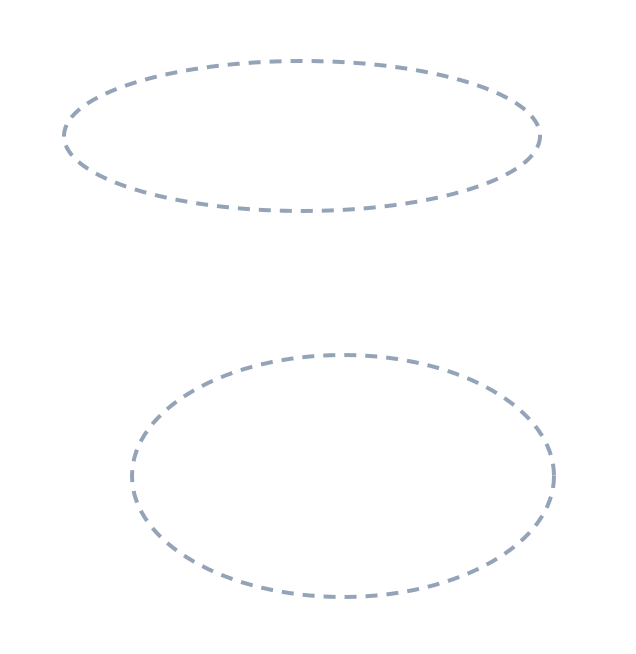
1 Step 1: Guide shapes
Lightly sketch two big ovals, one for the head and one for the body.
-
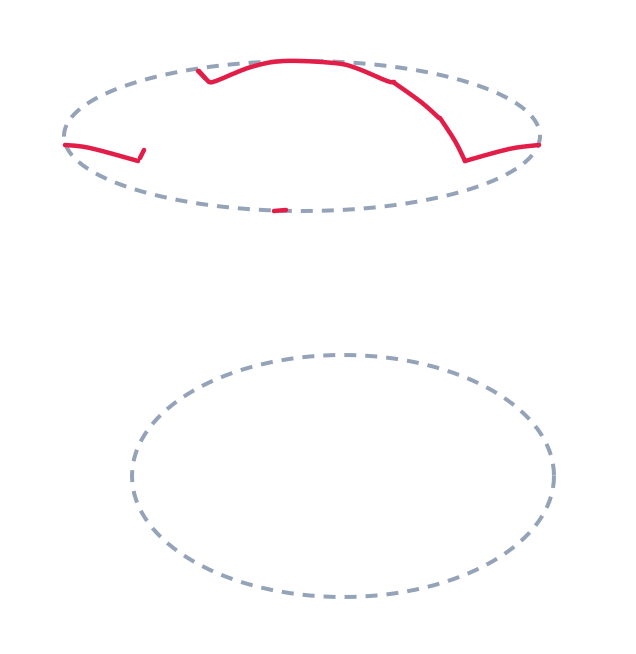
2 Step 2: Head outline
Draw a long curved line across the top of the head oval, add short curved lines for both cheeks, and a tiny dash under the head.
-
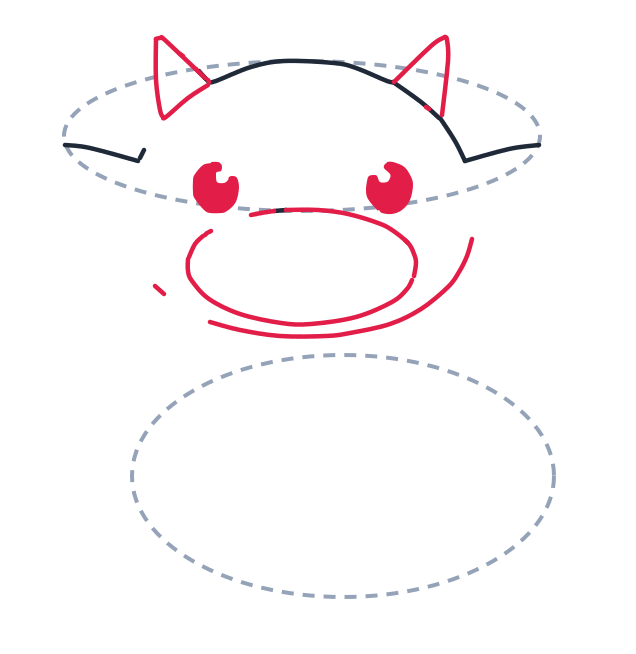
3 Step 3: Horns, eyes, snout
Add two small triangles for horns, two small circles for eyes, a big oval for the snout, and a long curved smile under it.
-
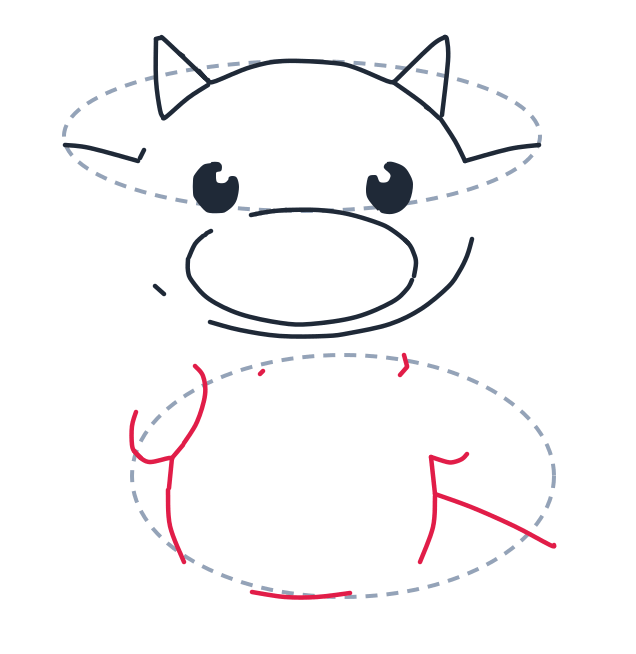
4 Step 4: Arms and body
Draw a U shape for the left arm and a long curved line down the left side of the body. Add a short angled line for the right arm and a small curve at the bottom.
-
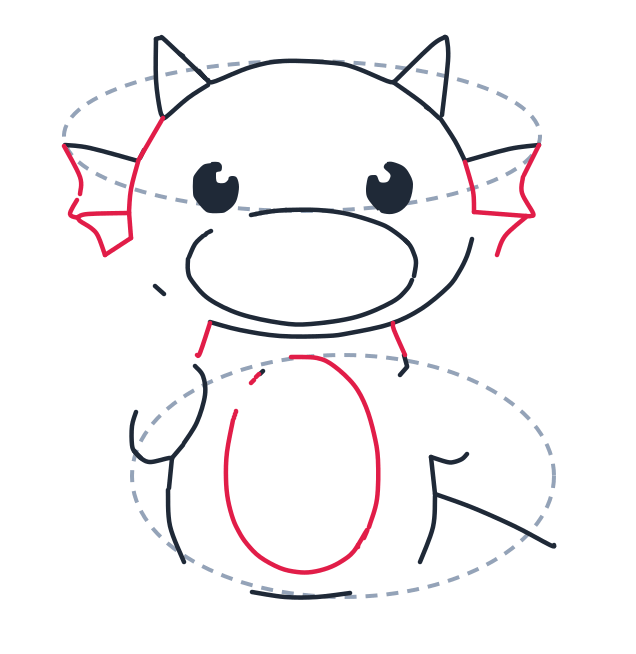
5 Step 5: Cheek fins, belly
Draw wavy triangles on both cheeks for fins, add two short neck lines, and a tall oval on the belly.
-
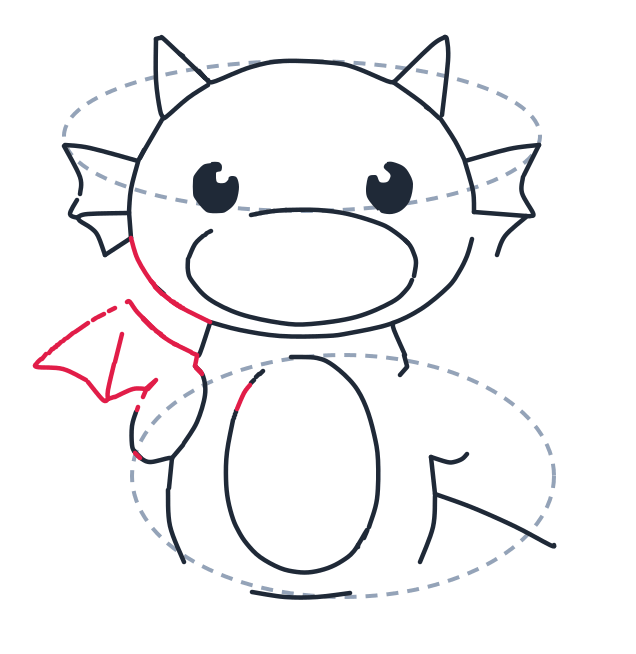
6 Step 6: Left wing
Draw a long curve from cheek to shoulder, then a wide triangle wing with two inside lines.
-
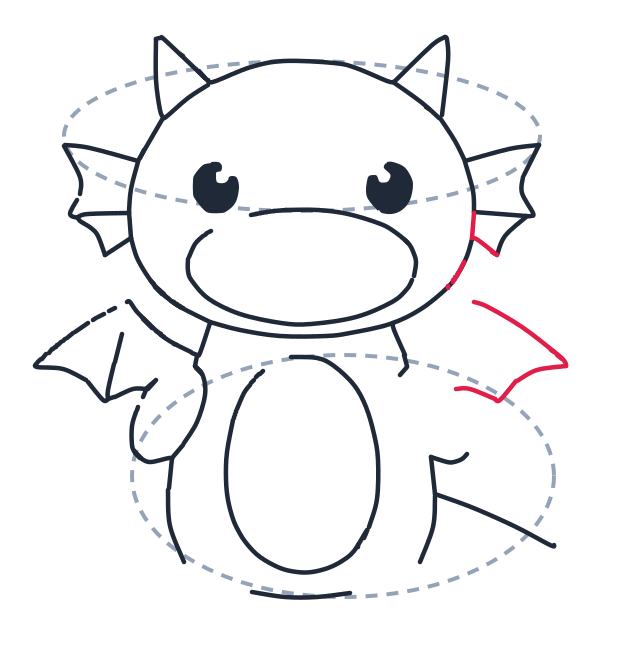
7 Step 7: Right wing
Add a short curve on the right neck, then a curved triangle for the right wing.
-
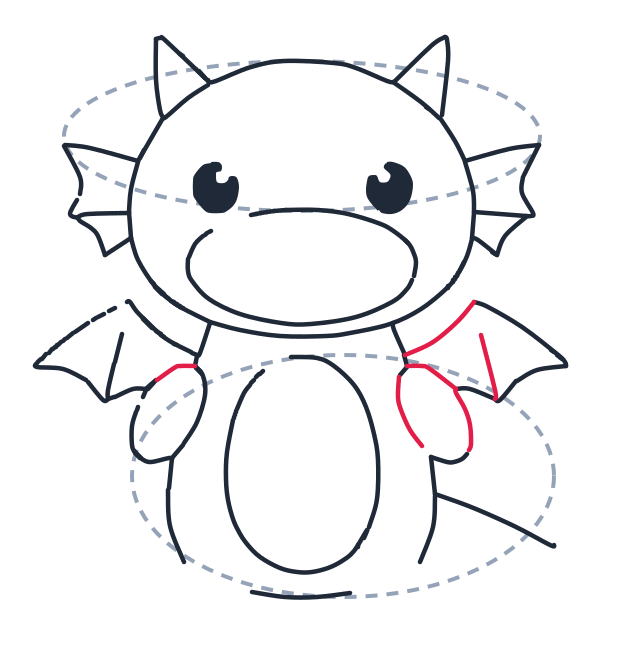
8 Step 8: Wing joints and hand
Draw small curved caps where each wing meets the body, and add a small oval for the right hand.
-
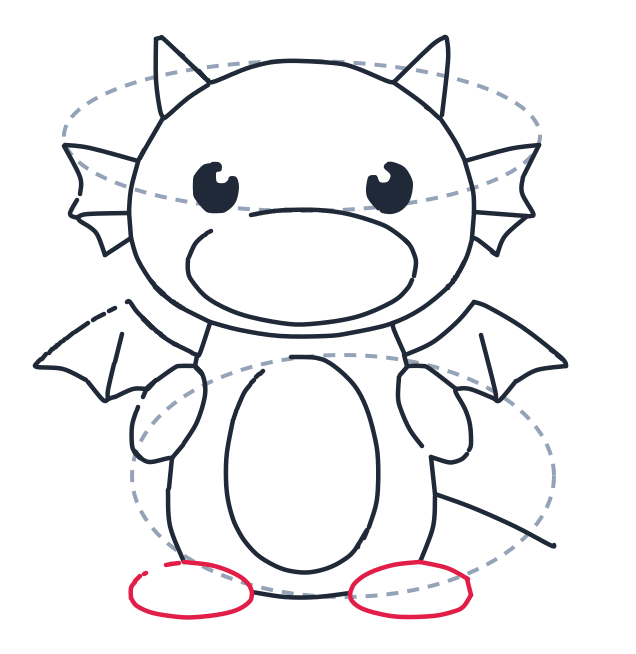
9 Step 9: Feet shapes
Draw two flat ovals on the ground for the feet.
-
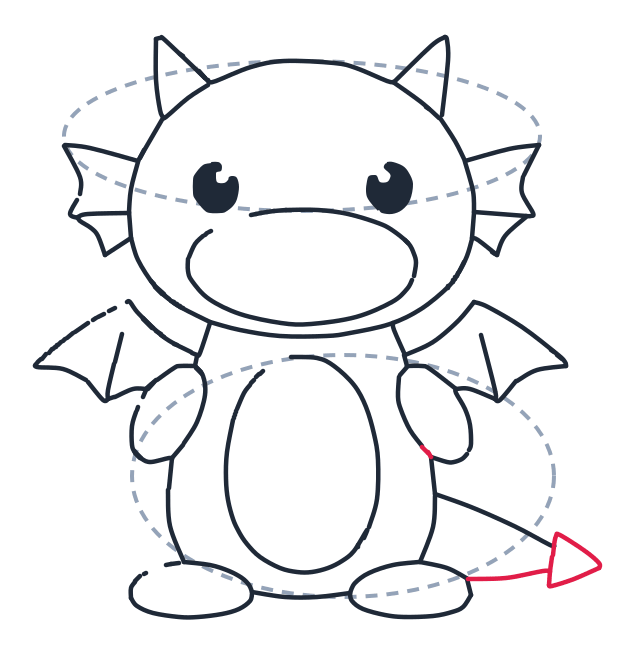
10 Step 10: Tail and tip
Draw a long curved tail and a small triangle at the end for the tip.
What you need
A pencil, paper and an eraser. Draw the whole thing lightly first, then go over the lines you want to keep. A dragon has more parts than a dog, so leaving yourself room to change your mind matters more here.
Before you start
Sketch the grey guide shapes lightly. The circle is the head and the big oval is the body. Leave space on the page for the wings and the tail, because those are what people run out of room for. Draw the guides smaller than you think you need to.
The part most people get wrong
The wings. Draw the front edge as one long curve first, like the arm of an umbrella, and only then hang the scalloped edge underneath it. Starting with the scallops is what makes wings come out lopsided, because each bump pulls the shape a little further off course and there is nothing holding the overall line together. Get the umbrella arm right and the wing works.
The far wing is smaller than the near one and sits higher. If you draw them the same size the dragon looks flat, like a paper cut-out.
Make it your own
- Change the horns. Two straight spikes for a fierce dragon, two curly ram horns for a friendly one.
- Add spikes down the back. A row of small triangles from the neck to the tail, getting smaller as they go.
- Give it fire. A curved shape coming out of the mouth, wider at the far end.
- Make it a baby dragon. Huge head, tiny wings, stubby tail.
Where dragons come from
Almost every culture on earth invented a dragon, and they are not the same animal. European dragons are usually four legged, winged and dangerous. Chinese dragons have no wings at all, they are long and serpentine, they fly without flapping, and they are lucky rather than frightening. The dragon you have just drawn is the European kind, which is why it is built like an animal with wings bolted on. If you want to draw the Chinese kind instead, throw away the wings, stretch the body into a long ribbon and keep the head.