How to draw a car
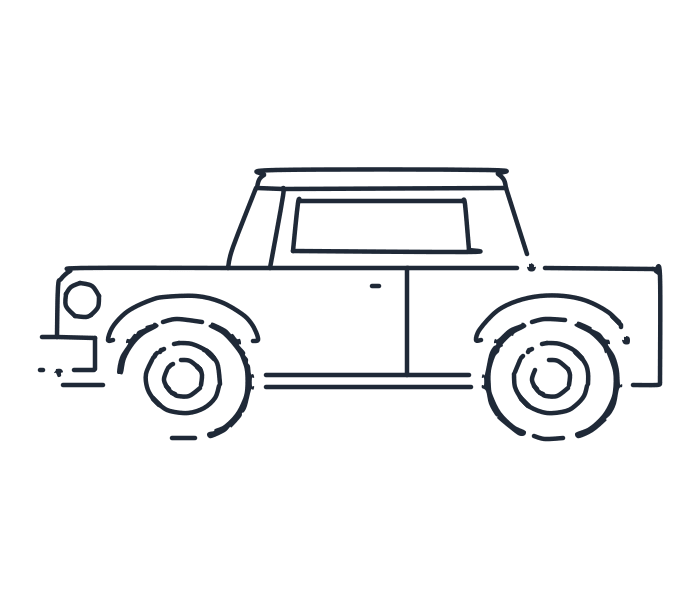
A car from the side is the most forgiving thing to draw: a long box for the body, a smaller box on top for the roof, and two circles underneath.
- 10 steps
- 12 minutes
- 4-10 Ages
- Easy
Draw it step by step
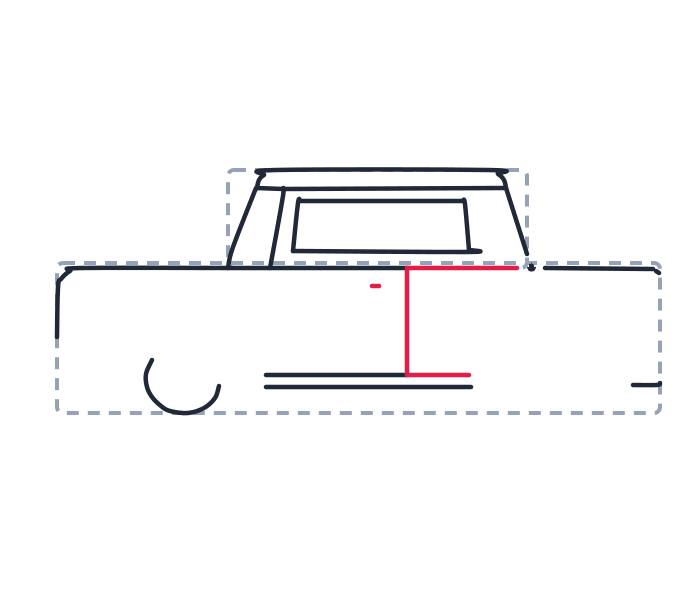
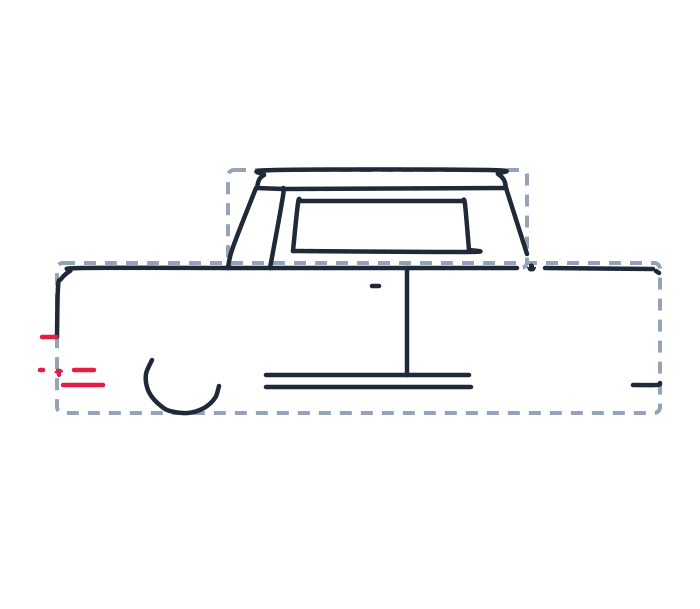
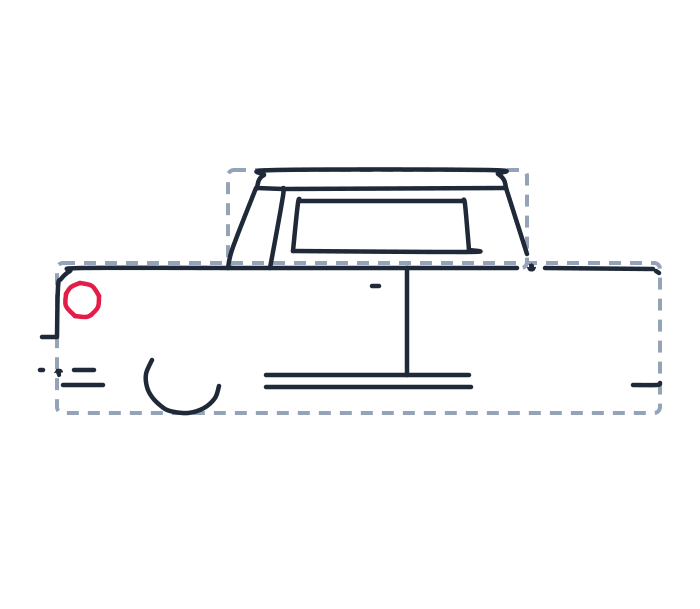
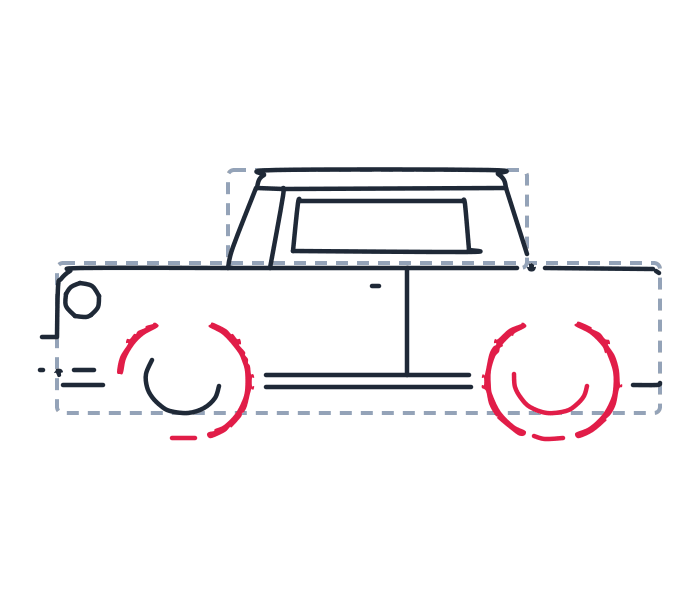
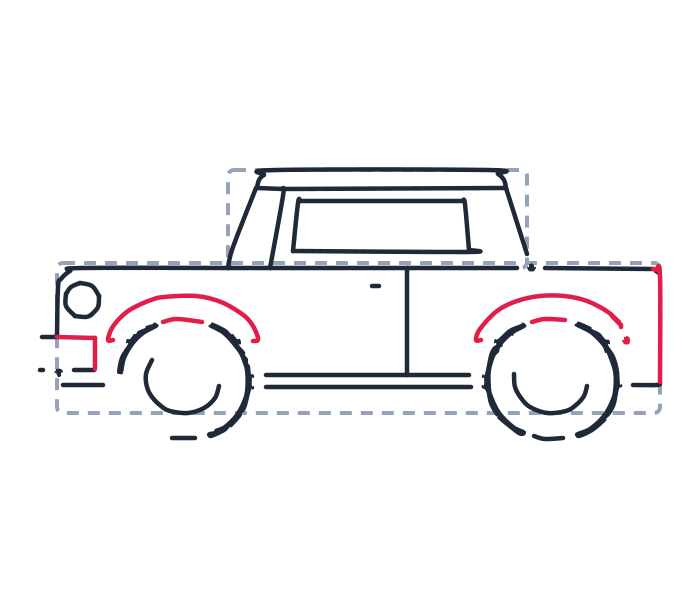
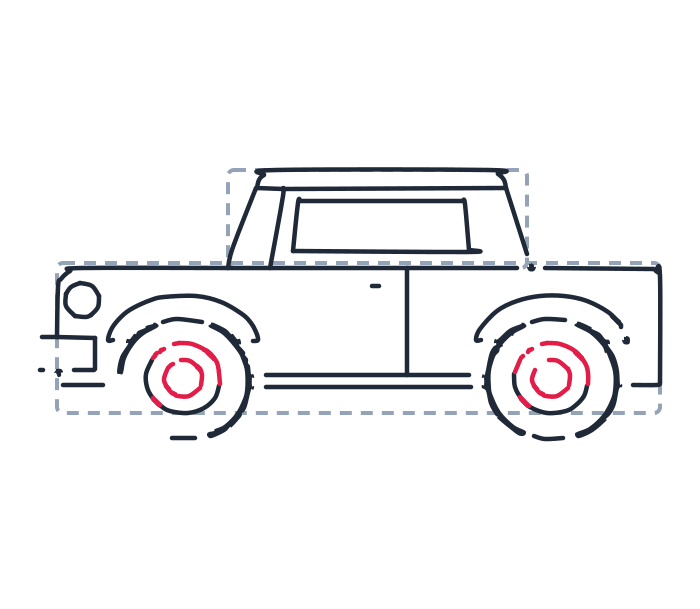
The new lines for each step are drawn in red. The grey dashed shapes are guides, sketch them lightly and rub them out at the end.
-
1 Step 1: Guide shapes
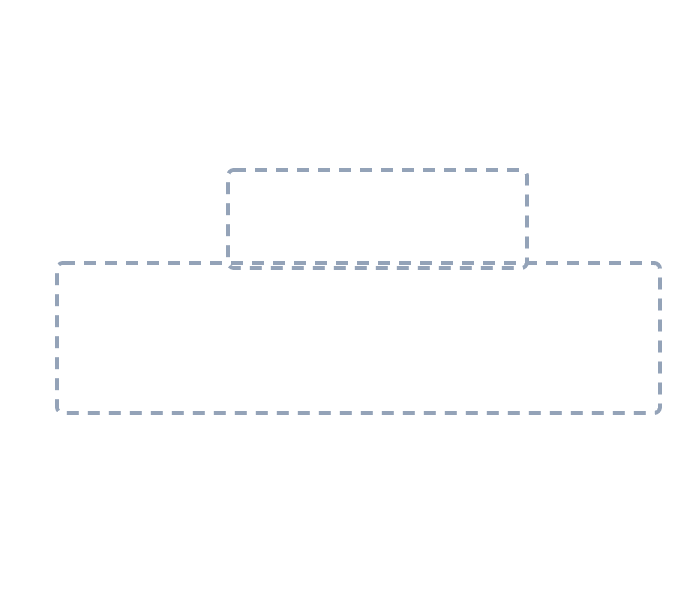
Sketch the two rectangles lightly, one big and one smaller on top.
-
2 Step 2: Top edge and stripe
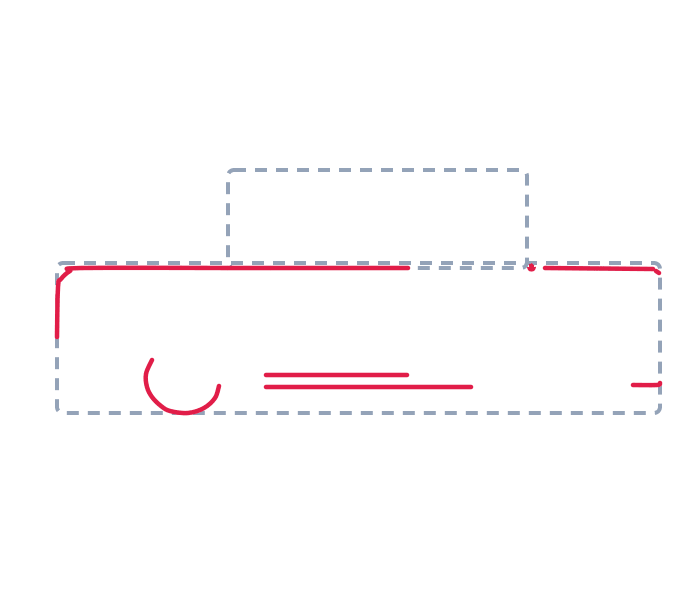
Draw a long straight line across the top, with a short straight line down at the left corner. Add a small C shape for the front wheel, two short horizontal lines for the side stripe, and a tiny dash on the right.
-
3 Step 3: Roof and pillars
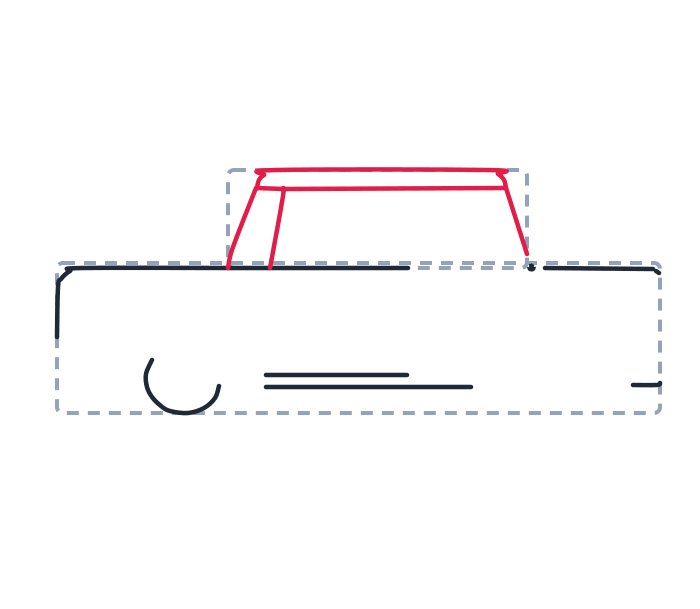
Draw a long thin rectangle for the roof. Add two slanted lines for the front and back pillars, and a short vertical line for the middle pillar.
-
4 Step 4: Side window
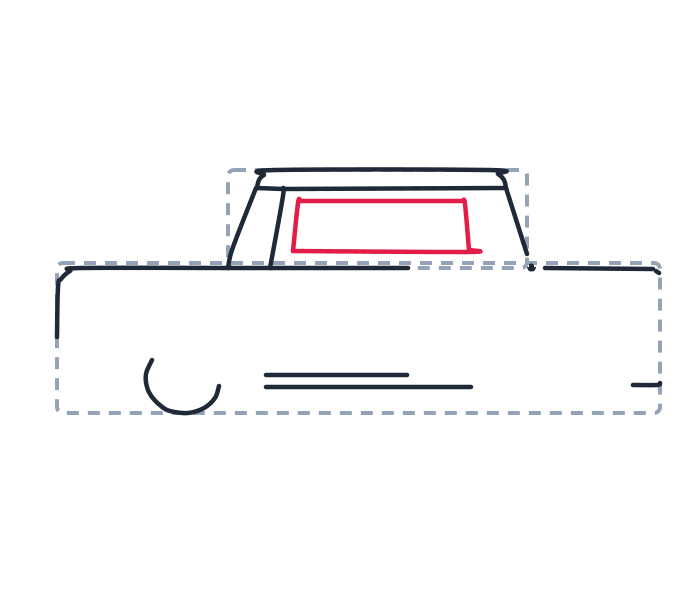
Draw a small rounded rectangle inside the roof area for the window.
-
5 Step 5: Door and handle
Draw a straight vertical line for the door edge, with a tiny short line at the bottom. Add a small dash for the handle.
-
6 Step 6: Back details
Draw two short horizontal lines and one tiny dot at the back.
-
7 Step 7: Front light
Draw a small circle near the front.
-
8 Step 8: Wheels
Draw two big circles for the wheels. Inside each, draw a small U shape.
-
9 Step 9: Fenders and back
Draw a long curved line over each wheel for the fenders. Add one short vertical line at the very back corner.
-
10 Step 10: Wheel centers
Draw a small circle inside each wheel, then a tiny spiral curve around it.
What you need
A pencil, paper and an eraser. A ruler is optional, and honestly the car looks friendlier without one. Wobbly lines are fine.
Before you start
Sketch the grey guide shapes lightly. They keep the car the same height from front to back, which is what makes it look solid instead of melted. Draw the ground line first, right across the page, and build the car on top of it.
The part most people get wrong
The wheels. Both wheels must be the same size and sit on the same line, or the car looks like it is sinking into the road. This is the single most common mistake in the whole tutorial. Draw the ground line first and rest both wheels on it, and do not draw the wheels until the body is finished, because it is much easier to fit wheels to a body than a body to wheels.
The second thing: the roof is not centred. It sits slightly back from the middle, which is what gives a car its nose. Centre the roof and you have drawn a bus.
Make it your own
- Make it a race car. Flatten the roof, stretch the body longer, add a big number in a circle on the door.
- Make it a truck. Keep the front, replace the back half with an open box.
- Add a driver. A circle head and two dots for eyes in the side window.
- Put it in motion. Three short horizontal lines trailing behind the back bumper.
Learn more about cars
The side view you have just drawn is called an elevation, and it is how car designers actually start: the silhouette gets settled before a single detail is added, exactly the order you followed. Wheels have been round for about 5,500 years and the shape has never been improved on, because a circle is the only shape whose centre stays the same height as it rolls. That is also why your two wheels have to match: change the size of one and the car would bounce.