How to draw a bird
A bird is the friendliest two-circle drawing there is: a circle for the head, a rounder one for the body, and every other part is small and simple.
- 9 steps
- 11 minutes
- 4-10 Ages
- Easy
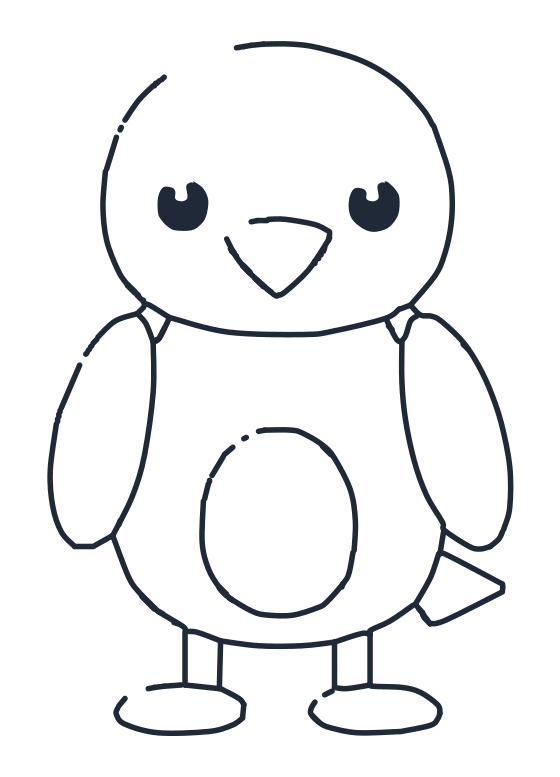
How do you draw a bird?
Sketch two overlapping circles as guides, so the head sits right on the body. Trace the head, add a small V for the beak tip and close it with one curve. Draw the round body with a little fluff at the neck, two circle eyes, two long oval wings, a triangle tail, three leg lines and two flat feet. Nine steps.
Watch it drawn, line by line
The whole drawing in under half a minute, in the same order as the steps below. No sound, so play it anywhere.
Draw it step by step
The new lines for each step are drawn in red. The grey dashed shapes are guides, sketch them lightly and rub them out at the end.
-
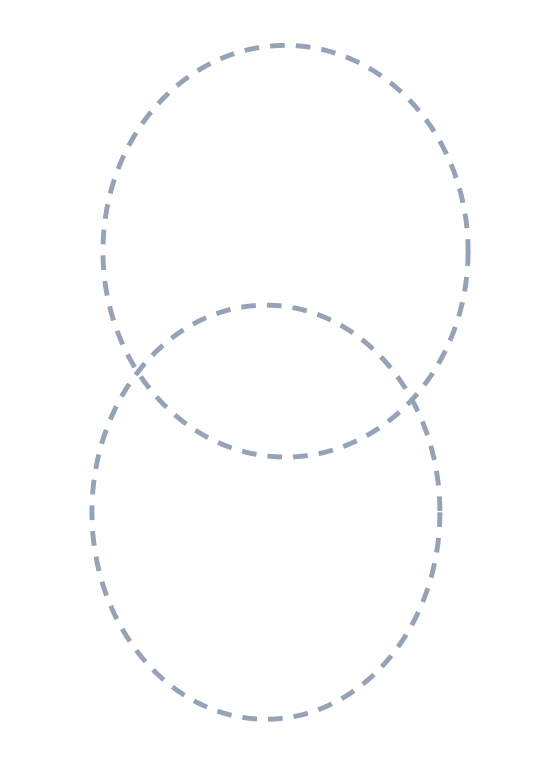
1 Step 1: Guide shapes
No red yet, lightly sketch two overlapping circles as guides.
-
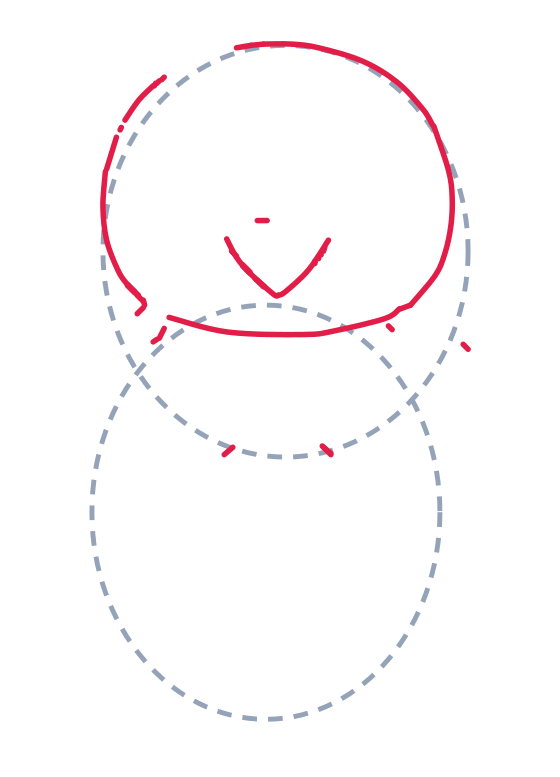
2 Step 2: Head and beak
Trace a big oval for the head, add a small V shape for the beak tip, and a short dash above it.
-
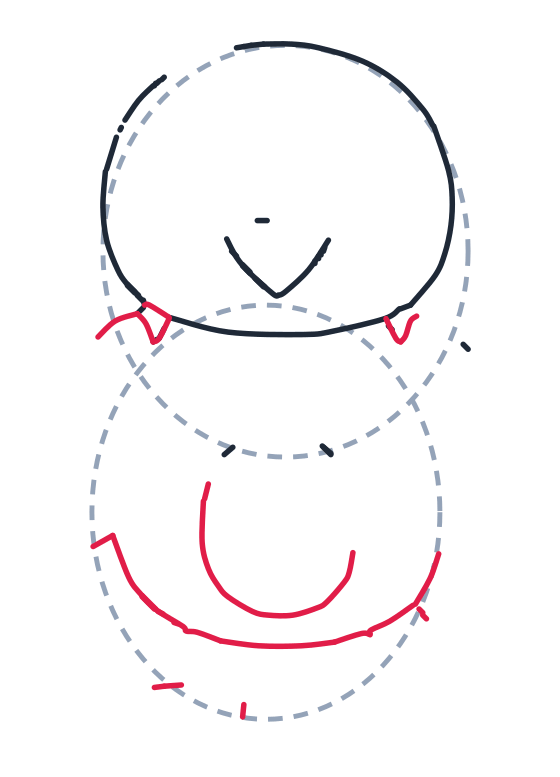
3 Step 3: Body and fluff
Draw two tiny V shapes under the head for fluffy feathers, a big curved line around the lower guide for the body, and a U shape on the belly.
-
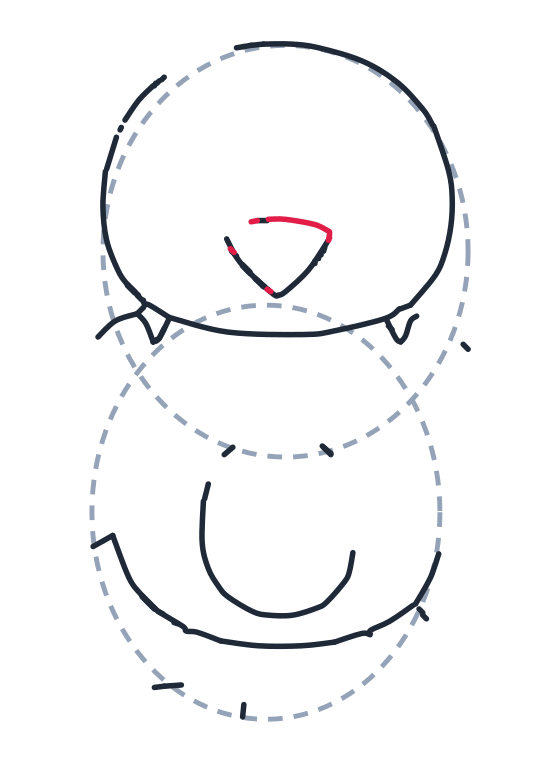
4 Step 4: Beak top
Close the beak with a curved line across the top to make a triangle.
-
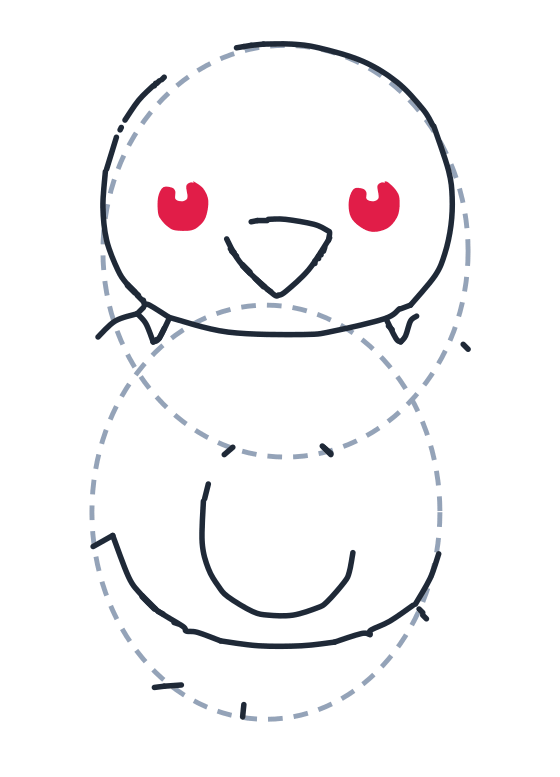
5 Step 5: Eyes
Add two small circles for the eyes.
-
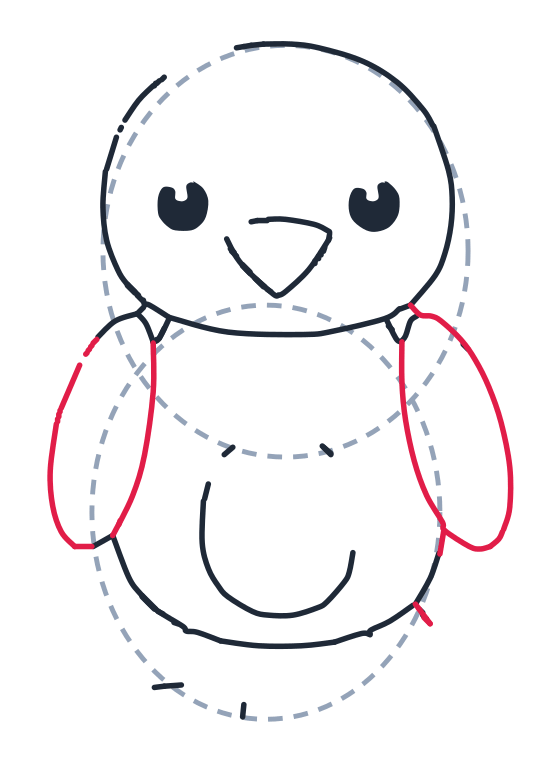
6 Step 6: Wings
Draw two long ovals on the sides for the wings.
-
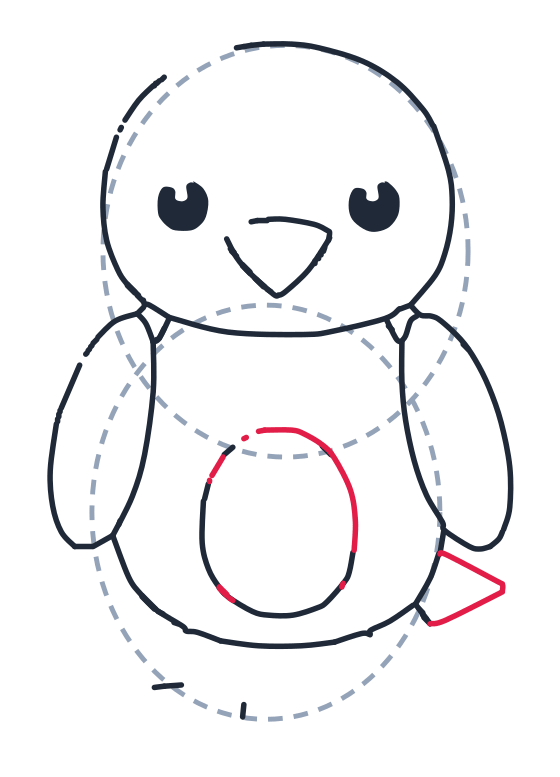
7 Step 7: Belly patch and tail
Add an oval on the tummy, then a small triangle on the right for the tail.
-
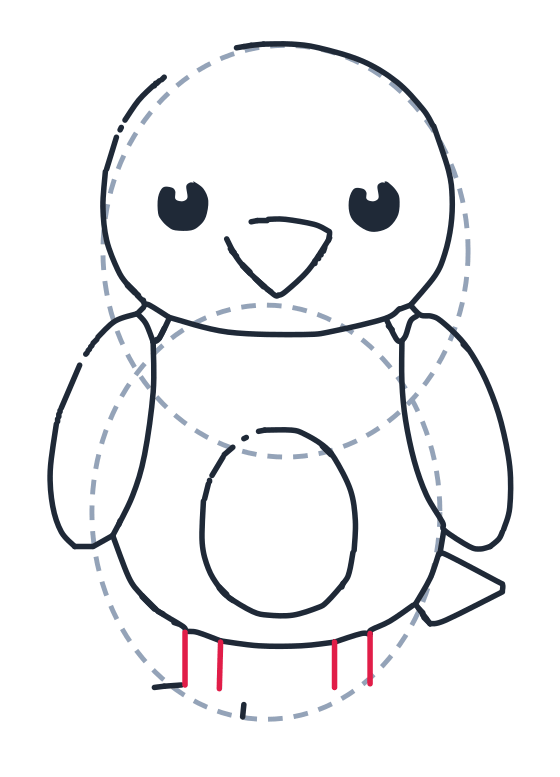
8 Step 8: Leg lines
Draw three short vertical lines down to show the sides of the legs.
-
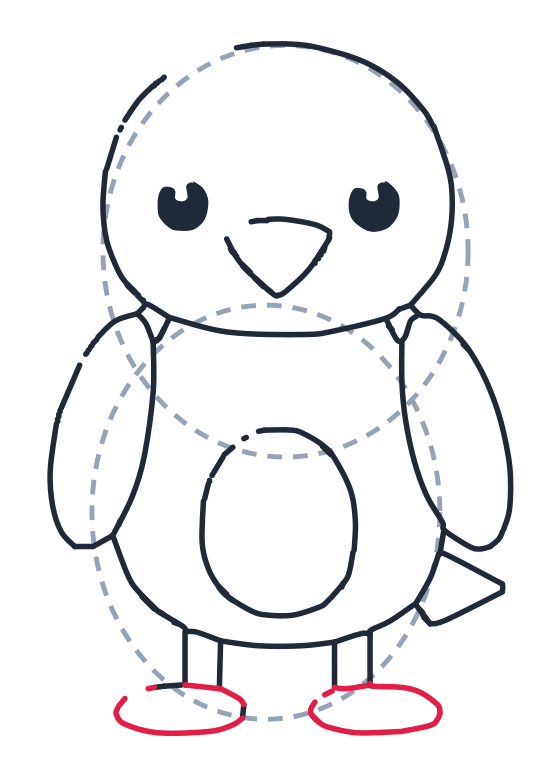
9 Step 9: Feet
Add two flat ovals on the ground for the feet.
What do you need to draw a bird?
A pencil, paper and an eraser. Nothing else: this bird is small, round and forgiving.
Where do you start?
With the two grey guide circles, sketched lightly, and let them overlap. That overlap is the secret: a bird has almost no neck, so the head sits ON the body. Guides drawn far apart produce a giraffe with feathers.
What is the hardest part of drawing a bird?
The beak, and the mistake is making it big. The tutorial splits it across two steps for a reason: a small V on the side of the head in step 2, then one curve to close it into a triangle in step 4. Keep it small. Beginners draw the beak long and pointy and the friendly bird instantly becomes angry.
Second thing: the wings are just two long ovals resting on the sides of the body, like little pockets. No feather detail is needed. The shape says wing all by itself.
How do you make it your own?
- Put it on a branch. One horizontal line under the feet, a few short twigs, done.
- Make it sing. Open the beak into a wider V and add two or three little music notes.
- Give it a friend. The same bird at half size next to it is instantly a chick.
- Colour by species. Red with a black face is a cardinal; blue with a white belly is a bluebird.
What else is worth knowing about birds?
The round belly you just drew is doing real work on a real bird: birds fluff their feathers to trap warm air, which is why they look like little balls on cold mornings, exactly the shape of this drawing. And those tiny legs are stronger than they look: a songbird locks its toes around the branch automatically when it relaxes, so it can sleep on a perch without falling off.
Questions people ask about drawing a bird
Is this a good first bird for a 4 year old?
Yes. It is two circles, an oval and a few small shapes, and the only line that has to be right is the one closing the beak. Nine steps, all of them short.
How long does it take?
About eleven minutes, but it is the fastest to repeat. Once a child has drawn it twice, the whole bird takes about three minutes.
Can I make it a specific bird?
Yes, and colour is the easiest way. The shape is a generic songbird, so red with a black face gives you a cardinal, blue with a white belly gives you a bluebird, and brown all over gives you a sparrow.