How to draw an elephant
An elephant is two circles, and then the three things everybody recognises: the trunk, the ears and the tusks. Nothing else has to be right for it to read as an elephant.
- 8 steps
- 10 minutes
- 4-10 Ages
- Easy
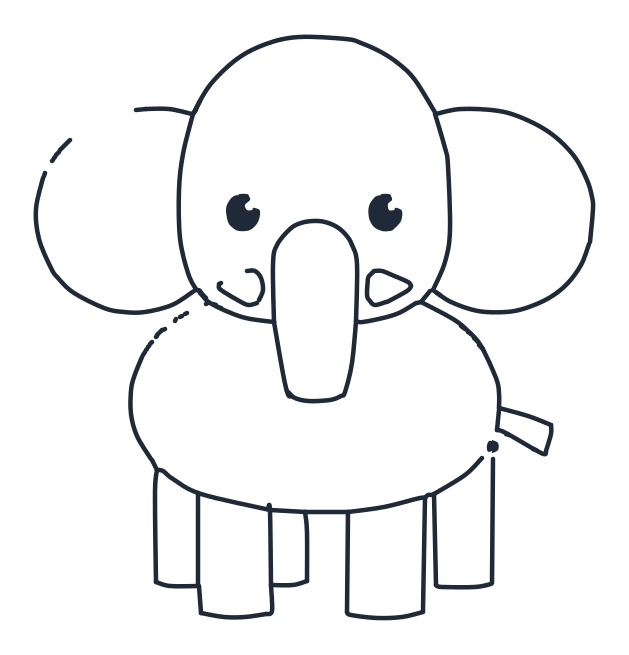
Draw it step by step
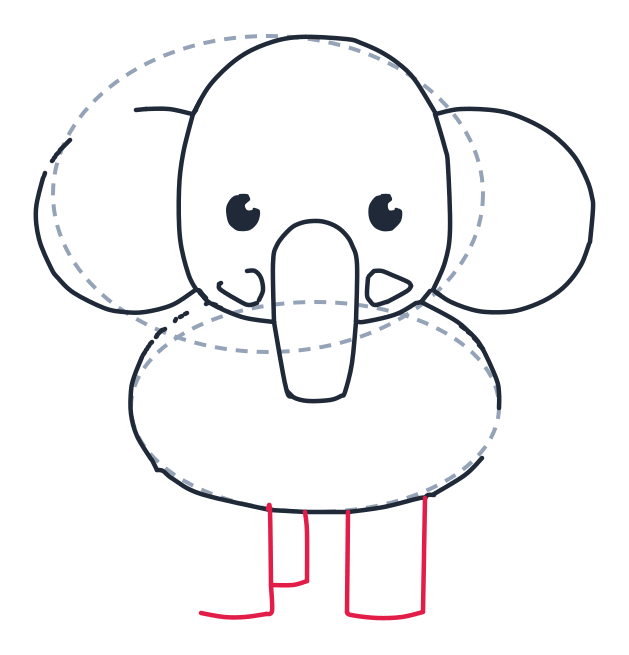
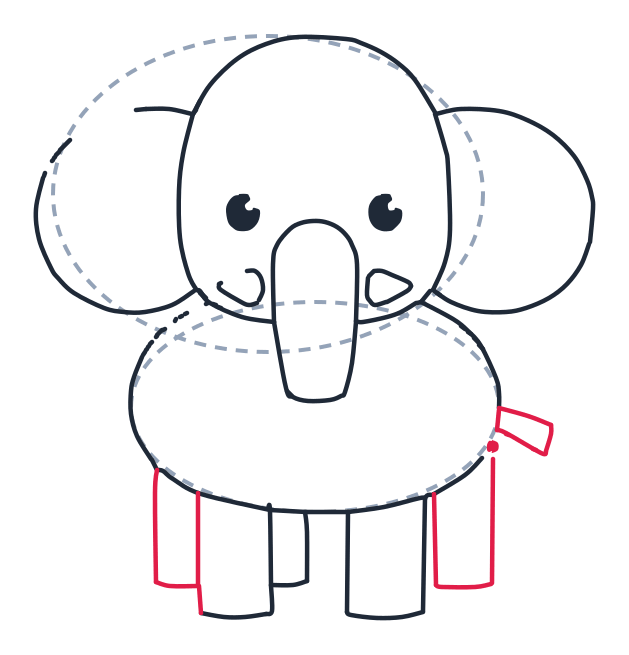
The new lines for each step are drawn in red. The grey dashed shapes are guides, sketch them lightly and rub them out at the end.
-
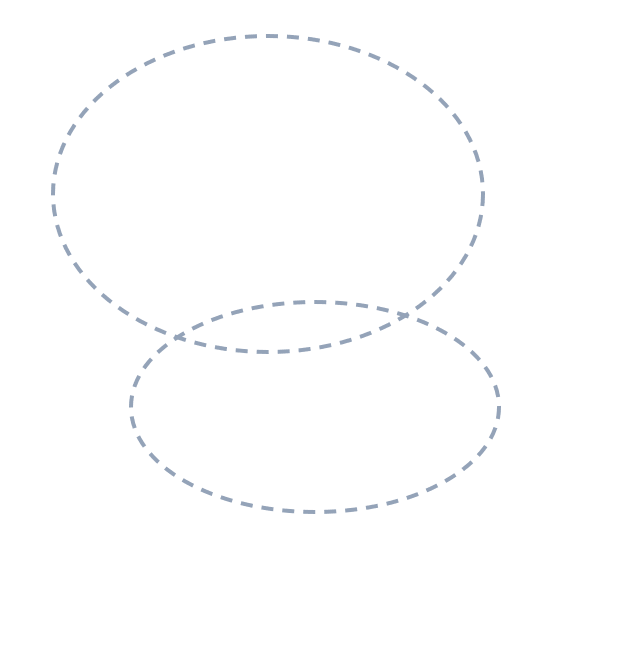
1 Step 1: Guide shapes
Lightly sketch two big ovals, one on top for the head and one below for the body. Let them overlap a little.
-
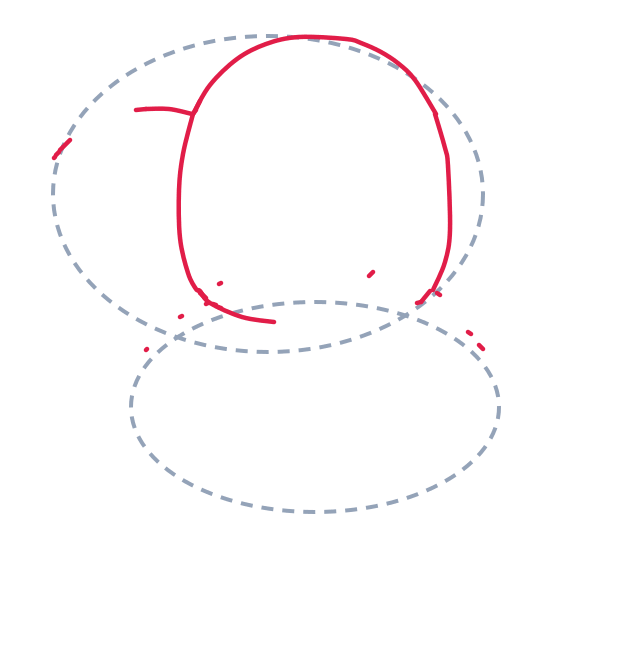
2 Step 2: The head
Draw a tall oval for the head inside the top guide. Add a small curved line under it for the chin.
-
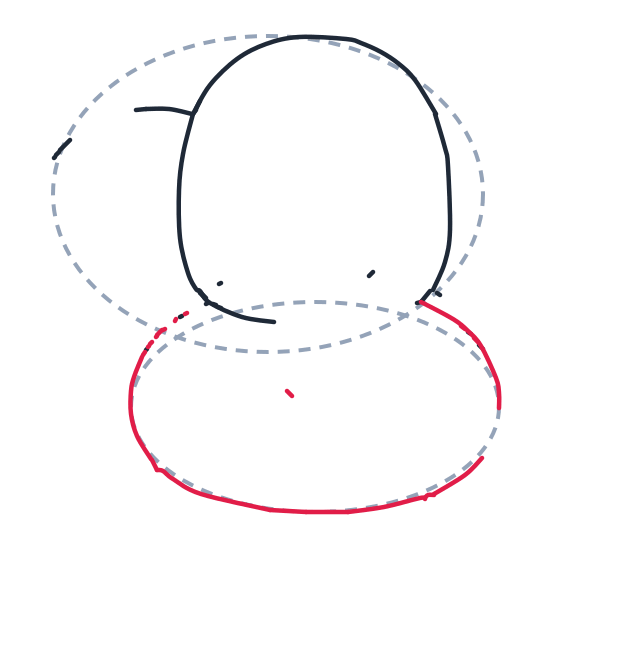
3 Step 3: The body
Trace the bottom oval to make the round body. Keep it wide and soft.
-
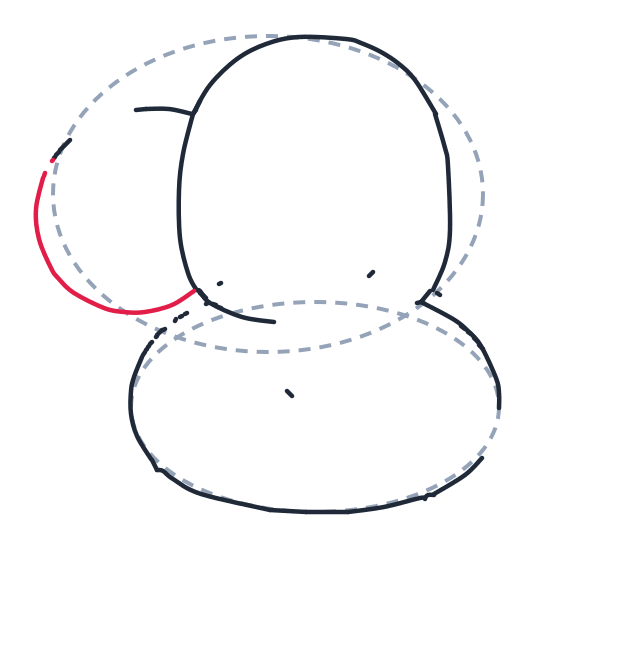
4 Step 4: Left ear
On the left, draw a big C-shaped curved line for the ear. Attach it to the head.
-
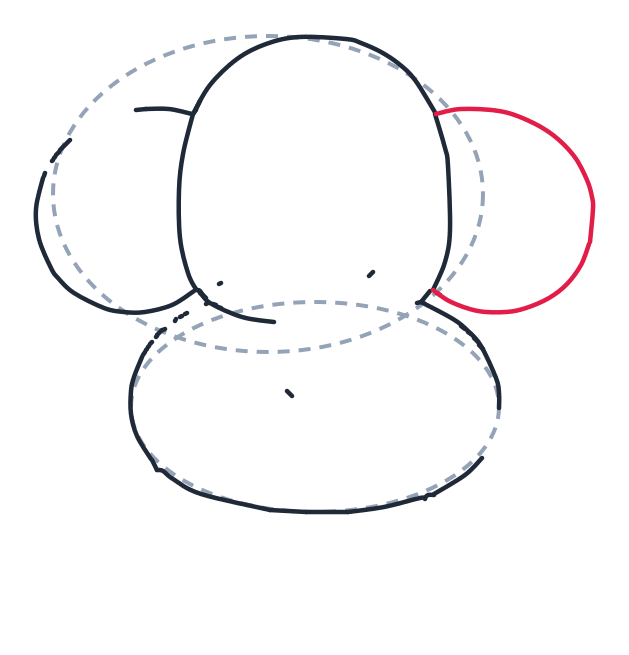
5 Step 5: Right ear
On the right, draw another big oval for the ear. Attach it to the head.
-
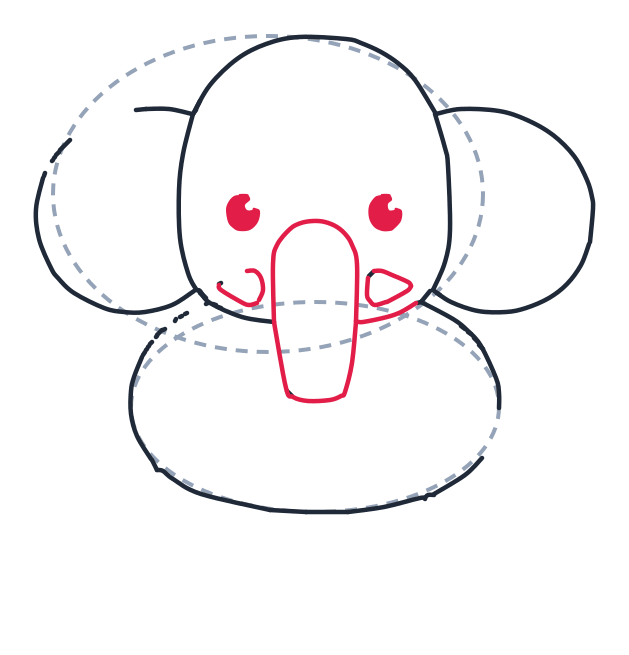
6 Step 6: Trunk and face
Draw a long U shape in the center for the trunk. Add two small circles for eyes, a tiny curved smile on the left cheek, and a small rounded triangle on the right cheek.
-
7 Step 7: Front legs
Draw two long rectangles with U bottoms for the front legs. Add a small short rectangle between them for the back leg.
-
8 Step 8: Back legs and tail
Draw two more rectangles with U bottoms for the back legs, one left and one right. Add a short tail, a little line with a tiny diamond tip.
What you need
A pencil, paper and an eraser. This is a forgiving drawing: elephants are made of big soft shapes, and big soft shapes hide wobbly lines.
Before you start
Sketch the two grey guide shapes lightly. The head circle is smaller than you expect and sits quite low, close to the body, because an elephant has almost no neck. Leave plenty of room below for the legs, which are thick columns, not sticks.
The part most people get wrong
The trunk. It comes off the FRONT of the face, between the eyes, not from the bottom of the head like a nose. And it should be thick where it joins the face and taper as it goes down. A thin trunk that starts too low turns the elephant into an anteater. Draw it as one continuous curve, wide at the top, and only then draw the little wrinkle lines across it.
The ears are the other giveaway: make them huge. Bigger than feels right, roughly as tall as the whole head.
Make it your own
- Make it a baby. Rounder body, shorter trunk, no tusks yet, and ears that look too big for it.
- Lift the trunk. Curl it up and outwards, as if the elephant is trumpeting.
- Add water. A spray of short curved lines coming out of the raised trunk.
- Draw an Asian elephant. Much smaller, rounder ears and a slightly domed head.
Learn more about elephants
The trunk you just drew has about forty thousand muscles in it, more than there are in a whole human body, and it works as a nose, a hand, a hosepipe and a snorkel. The huge ears are radiators: an elephant cannot sweat, so it flaps them to cool the blood running through them, and that is why African elephants, which live in the hottest places, have the biggest ears of any animal alive. The tusks are teeth, and like us, an elephant is usually right or left handed, wearing one tusk down more than the other.