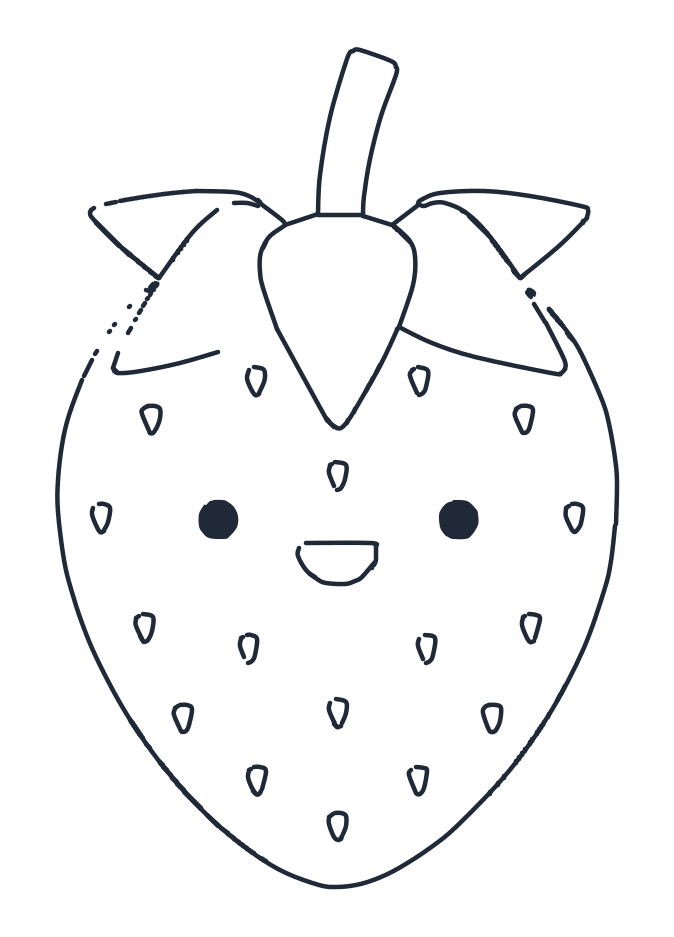
How to draw a cake
A cake is a cylinder standing on a plate, which is easier than it sounds: two straight sides, two ovals and you are most of the way there. Sketch the guides, build the body, then spend the fun part on the candles.
- 8 steps
- 10 minutes
- 4-10 Ages
- Easy
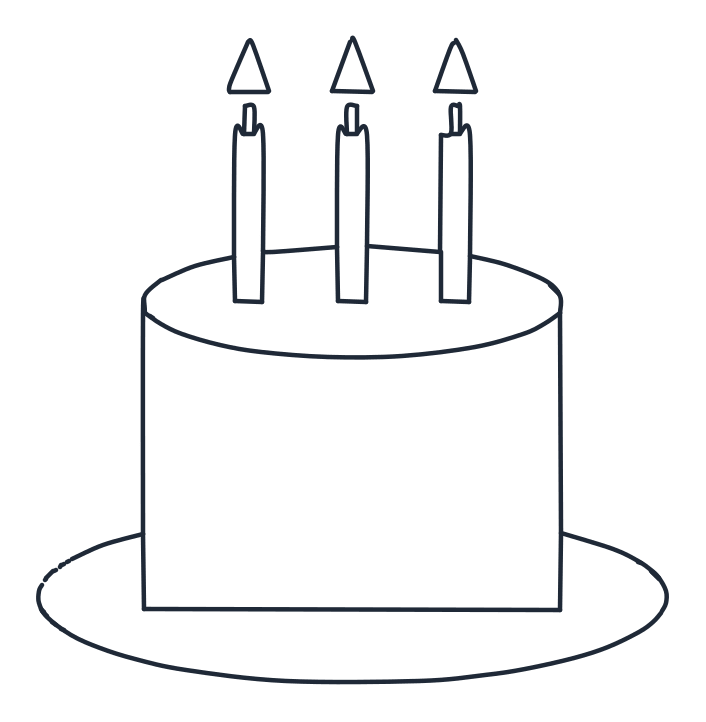
How do you draw a cake?
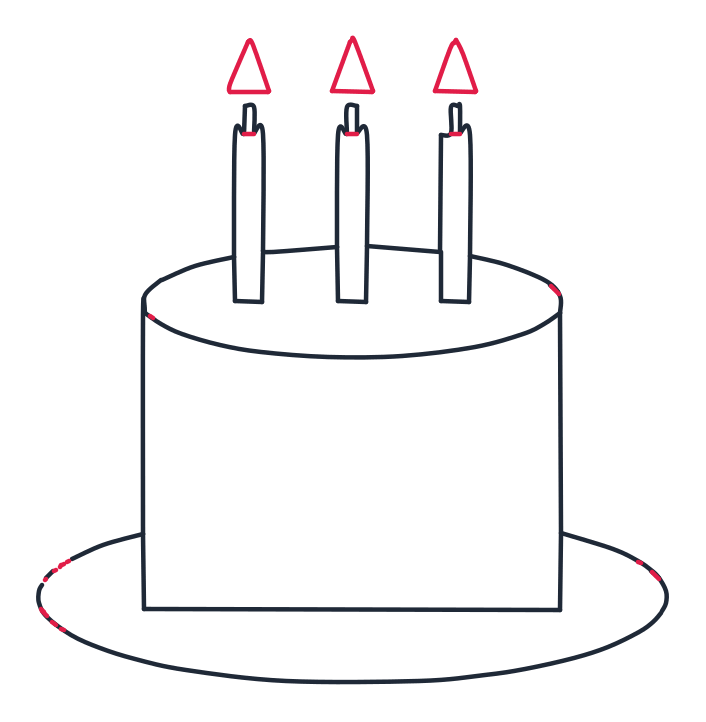
Sketch two ovals, a big one on top and a flatter one below for the plate. Trace the plate, then draw two straight vertical lines down from the top oval with a line across the bottom to close the sides. Add the icing rim with three small notches, stand a candle in each notch, add the wicks and finish with three triangle flames. Eight steps.
Draw it step by step
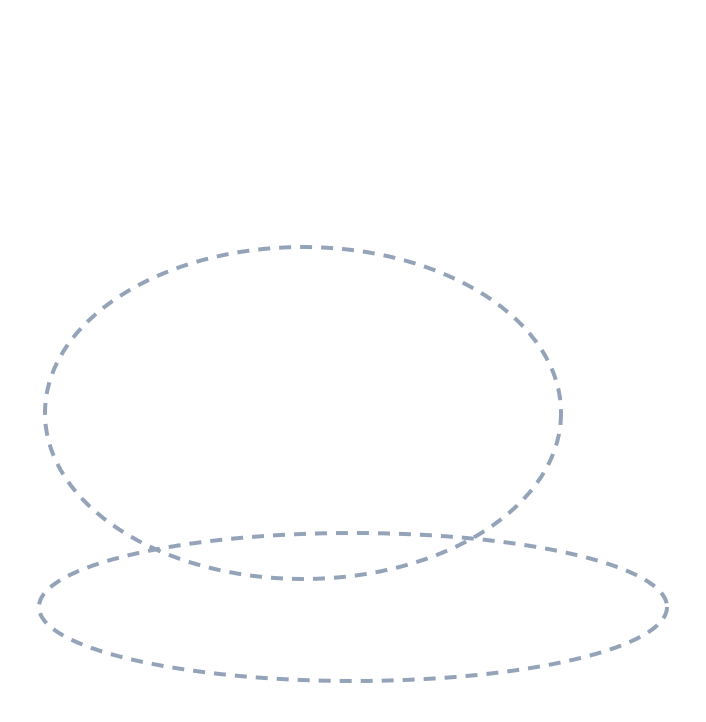
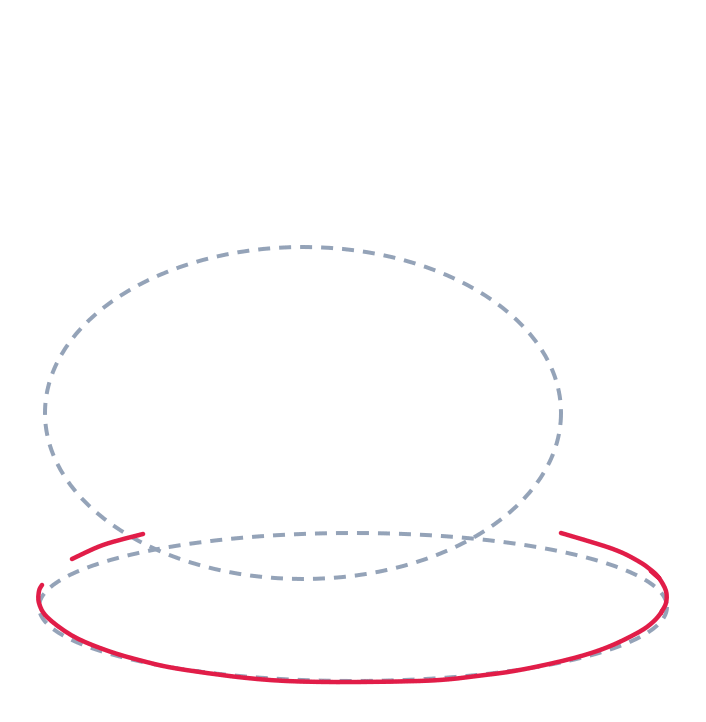
The new lines for each step are drawn in red. The grey dashed shapes are guides, sketch them lightly and rub them out at the end.
-
1 Step 1: Guide shapes
Sketch the two ovals very lightly, a tall one for the cake and a flat one for the plate.
-
2 Step 2: Plate rim
Draw a long oval curve for the front edge of the plate.
-
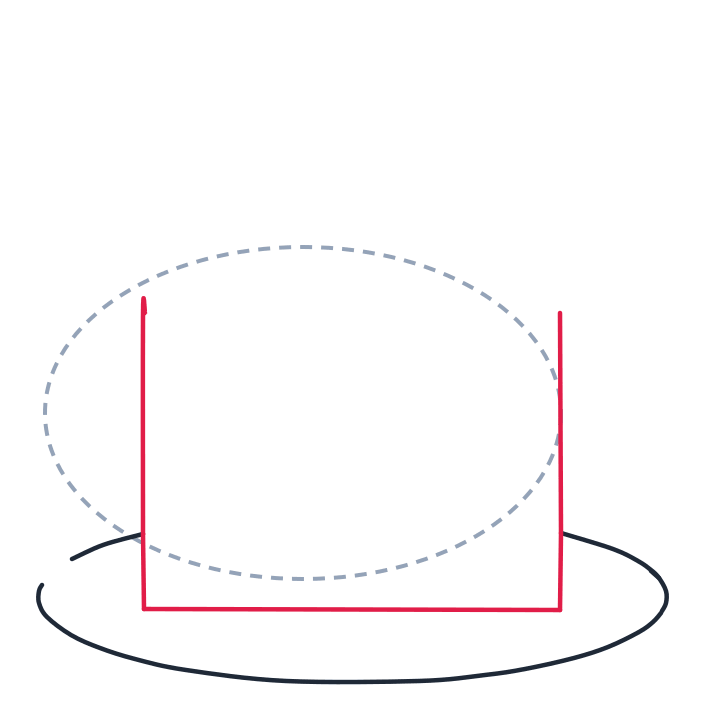
3 Step 3: Cake sides
Draw two straight vertical lines up from the plate, then a straight line across the bottom to connect them.
-
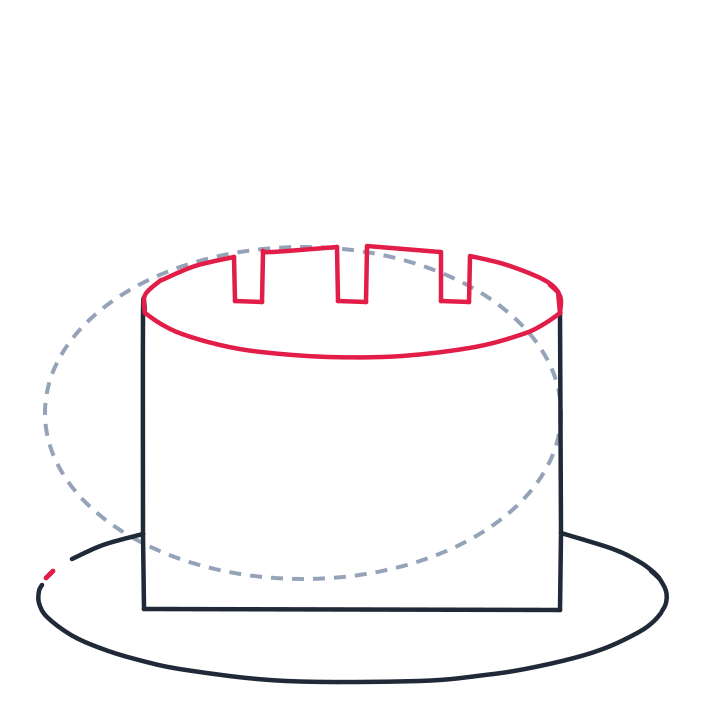
4 Step 4: Top and slots
Add a thin oval on top for the icing edge, and draw three small rectangles as slots along it.
-
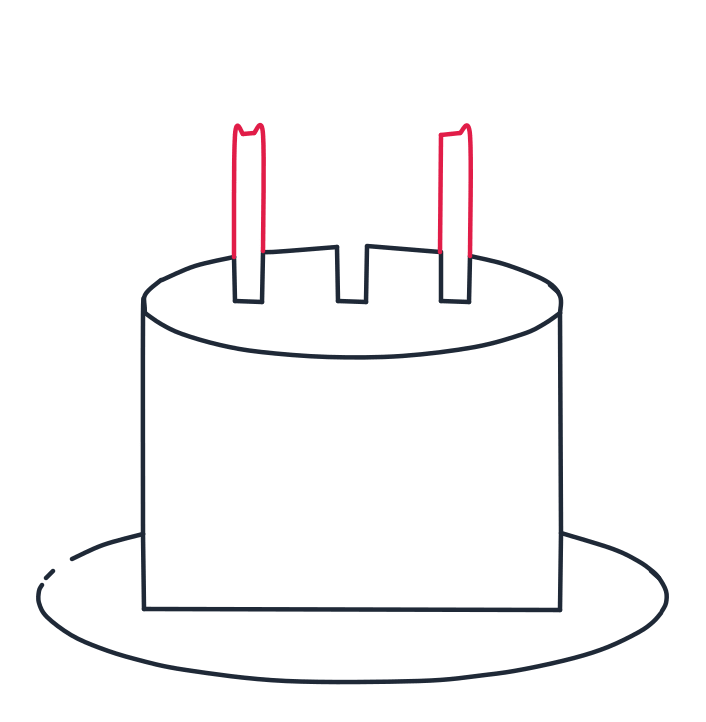
5 Step 5: Side candles
Draw two tall rectangles in the side slots for candles, each with a tiny curved dip on top.
-
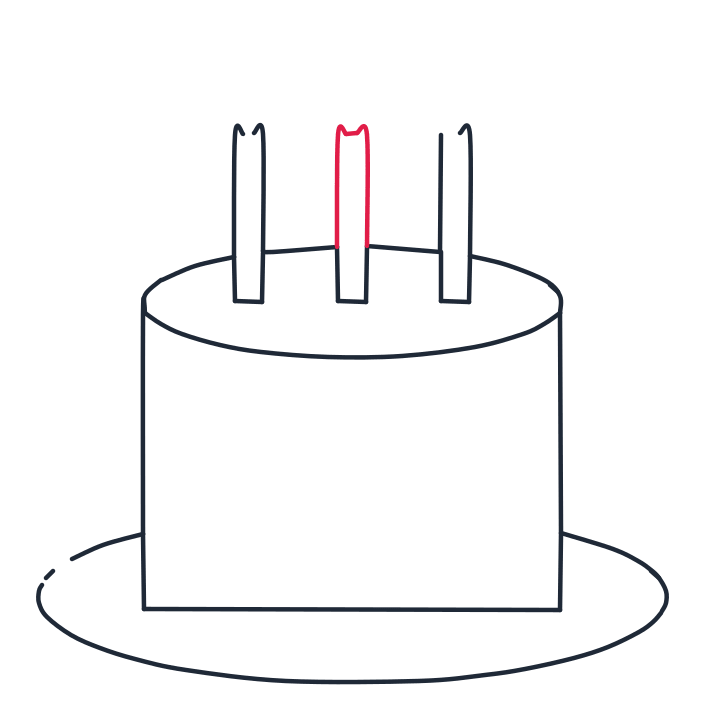
6 Step 6: Middle candle
Draw one tall rectangle in the middle slot, with a tiny curved dip on top.
-
7 Step 7: Wicks
On top of each candle, add a short little rectangle for the wick.
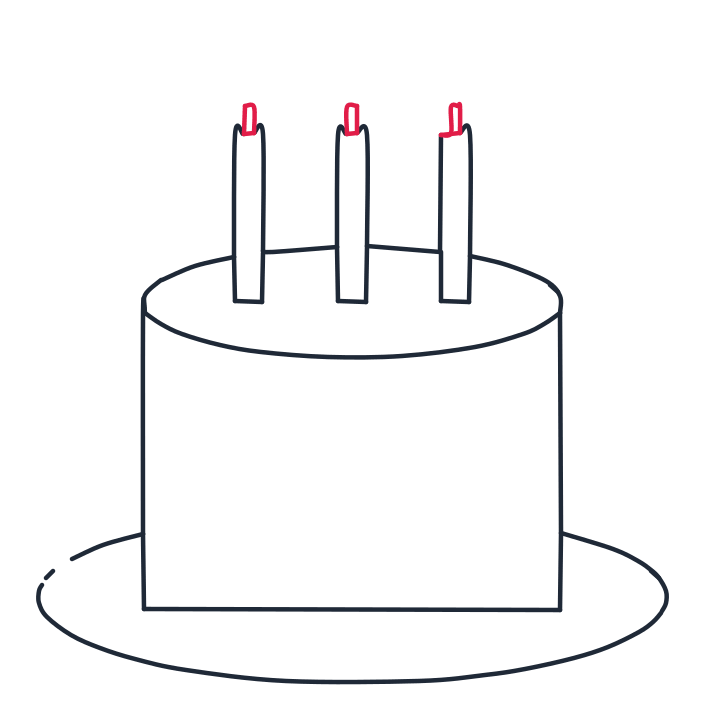
-
8 Step 8: Flames and tiny edges
Draw three triangles above the wicks for flames, and add two tiny curved lines on the cake rim and two on the plate edges.
What you need
A pencil, paper and an eraser. This is one of the most forgiving drawings on the site because almost every line is straight or a simple oval, and a cake that leans slightly just looks homemade.
Before you start
Sketch the two grey guide ovals lightly, the top one a little smaller than the plate below it. The gap between them is the height of your cake, so decide it now: a tall gap gives a party layer cake, a shallow one gives a cheesecake. Leave room above the top oval, because the candles and flames need almost as much height again as the cake itself, and this drawing runs out of paper at the top.
The part most people get wrong
The top of the cake. The instinct is to draw a straight line across, but you are looking slightly down at a round cake, so the top is an OVAL, not a line, and its curve has to match the curve of the plate below. Get those two ovals agreeing with each other and the cake instantly looks solid. Draw the top as a flat line and it collapses into a flat box.
Second thing: the candles do not float on top of the surface. Look at step 4, where the icing rim gets three small notches cut into it, and then each candle sits IN its notch in steps 5 and 6. That is what makes them look pushed into the cake instead of balanced on it.
Make it your own
- Colour the layers. A pale sponge body with a white icing rim and a coloured top reads as frosting straight away.
- Change the number of candles. Cut as many notches as the birthday needs. Keep them evenly spaced and the same height.
- Add drips. Short curved tongues hanging down from the icing rim, each a different length, and it becomes a drip cake.
- Cut a slice. Take a wedge out of the front and draw two lines inside it for the layers.
Learn more about cakes
The candles you just drew are much older than the cake under them. Putting lights on a birthday cake goes back a long way, and the tradition of blowing them out in one breath and keeping the wish quiet is a piece of folk custom that survived into almost every country. The round shape is practical rather than decorative: a round tin heats evenly from all sides, which is why classic celebration cakes are cylinders and why yours is built from two ovals and two straight lines.
Questions people ask about drawing a cake
Is this a good first drawing for a young child?
Yes, one of the easiest here. There are no curves to control except two ovals, and the candles are plain rectangles. Eight steps, and three of them are just candles, wicks and flames.
How long does it take?
About seven minutes. Most of that is the two guide ovals, because getting their curves to agree is the only part that needs care.
Why does my cake look flat?
Almost always because the top was drawn as a straight line instead of an oval. Redraw the top as a shallow oval curving the same way as the plate and it stands up immediately.