How to draw a strawberry
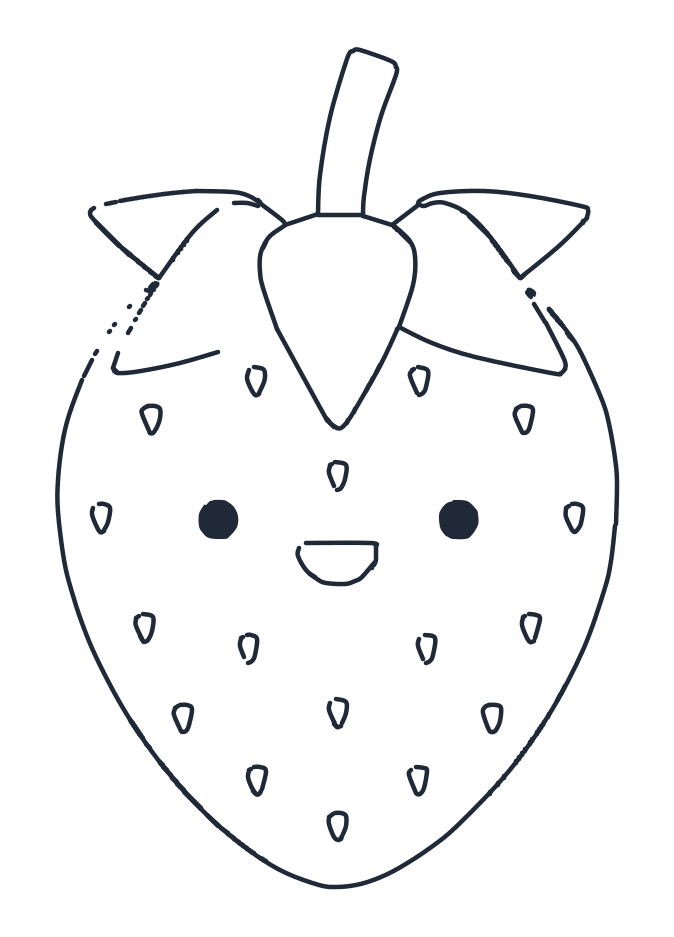
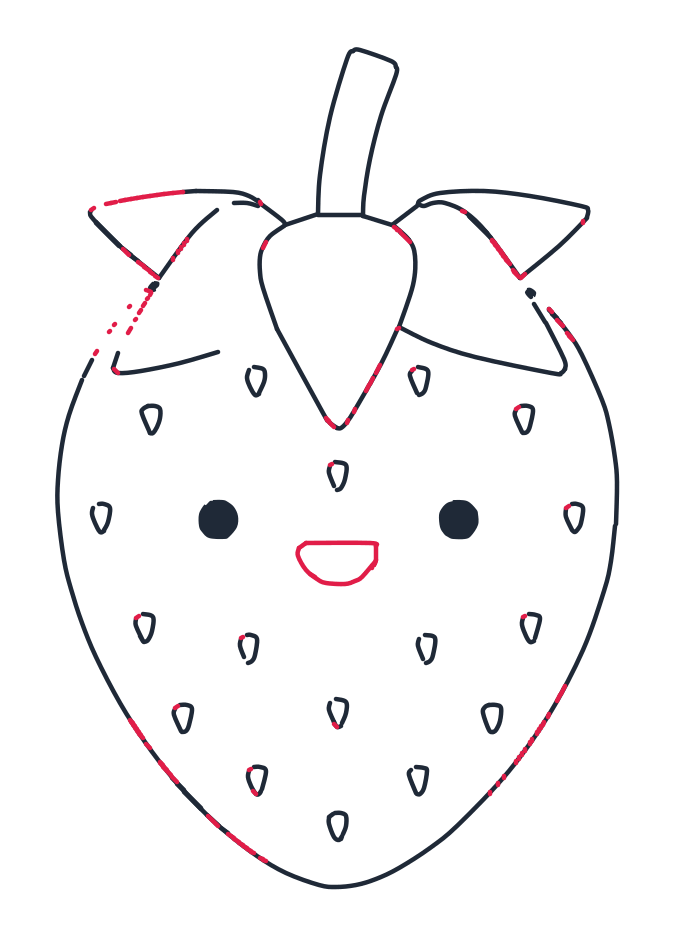
A strawberry is one rounded shape that narrows to a soft point, wearing a crown of leaves. Sketch the oval guide, hang the berry inside it, add the five calyx leaves and the little stem, and save the best part for last: the seeds.
- 9 steps
- 11 minutes
- 4-10 Ages
- Easy
How do you draw a strawberry?
Sketch a big oval as your guide, then draw a rounded berry inside it that narrows to a soft point at the bottom. Add the middle calyx leaf, then the side leaves, then the short curved stem on top. Sprinkle teardrop seeds across the berry and finish with two dot eyes and a smiling mouth. Nine steps.
Watch it drawn, line by line
The whole drawing in under half a minute, in the same order as the steps below. No sound, so play it anywhere.
Draw it step by step
The new lines for each step are drawn in red. The grey dashed shapes are guides, sketch them lightly and rub them out at the end.
-
1 Step 1: Guide shapes
Lightly sketch a big oval as your guide.
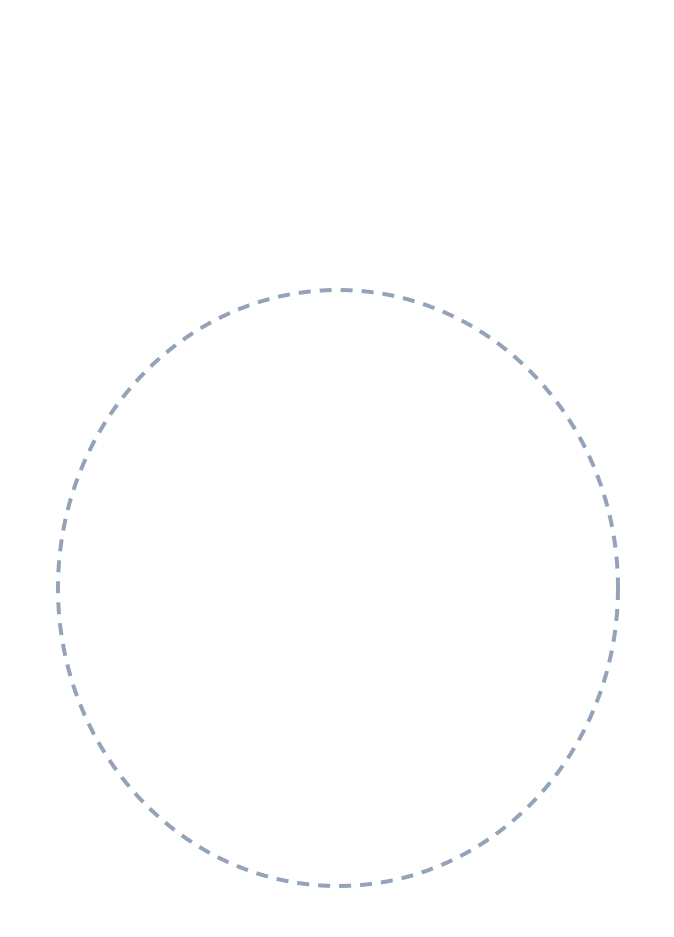
-
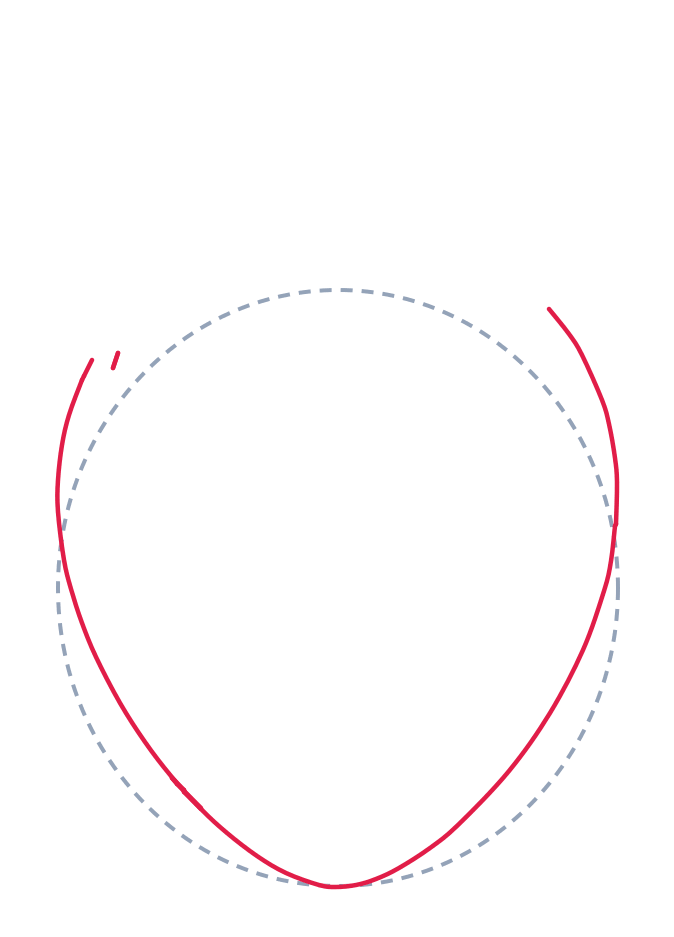
2 Step 2: Berry outline
Draw a big rounded U shape for the berry, pointed at the bottom, following the guide.
-
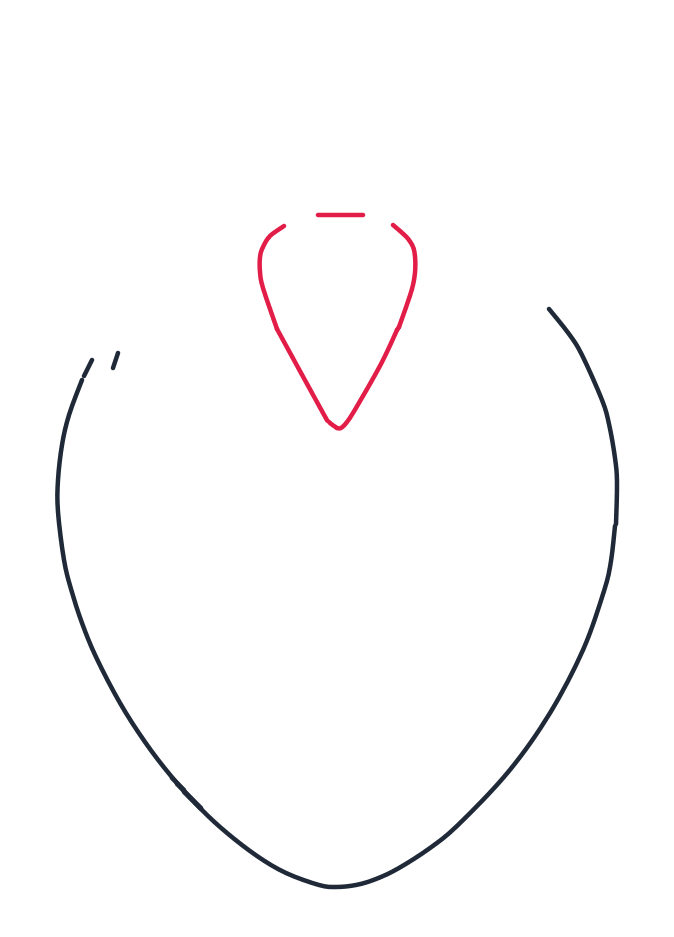
3 Step 3: Middle leaf
Draw a long upside-down teardrop for the middle leaf. Add a short line on top.
-
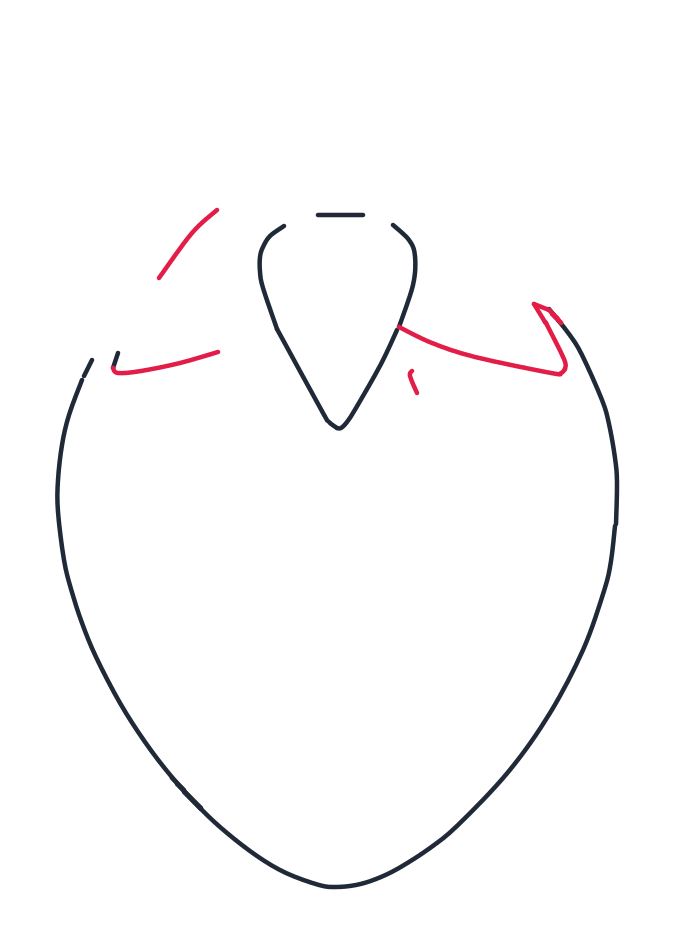
4 Step 4: Side leaf starts
On the left, add two short curved lines for a leaf start. On the right, draw a long curved triangle for another leaf.
-
5 Step 5: Side leaf tips
Add two curved triangles to form the left and right leaf tips.
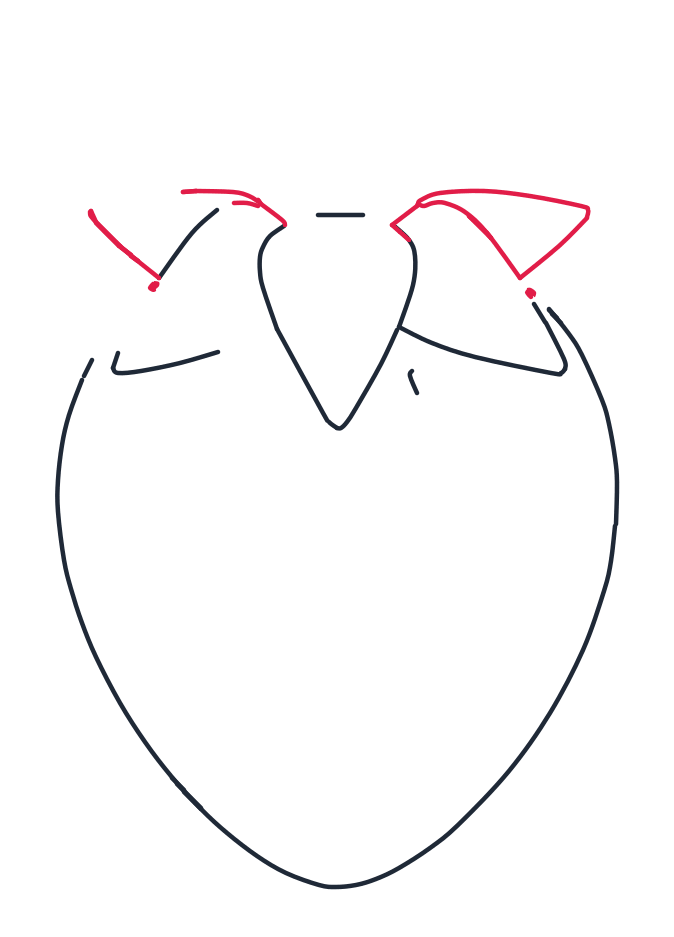
-
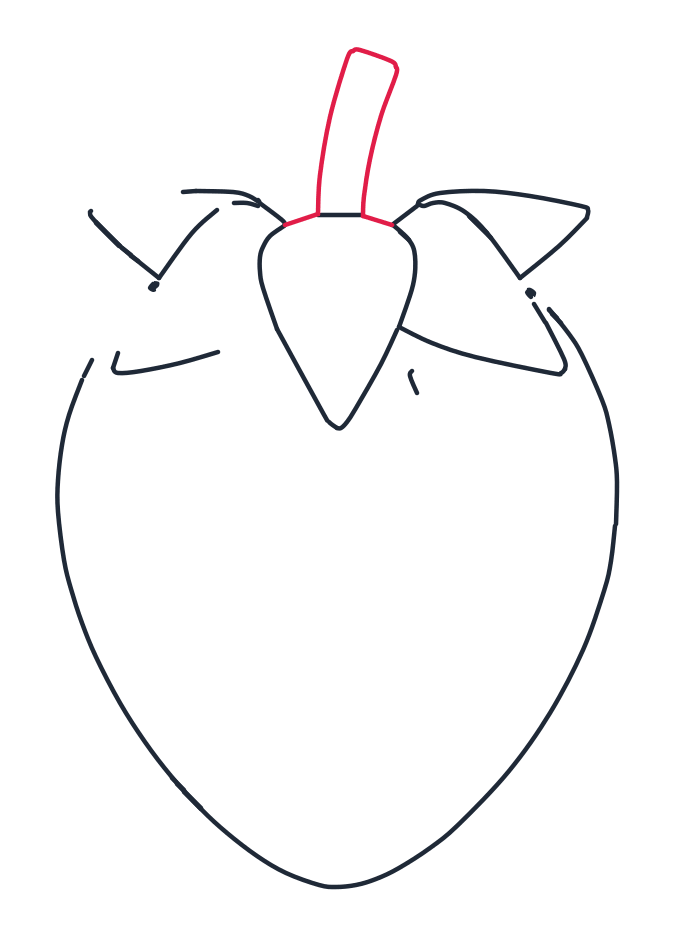
6 Step 6: Curved stem
Draw a short curved line across the top leaf, then two long curved lines with a rounded top for the stem.
-
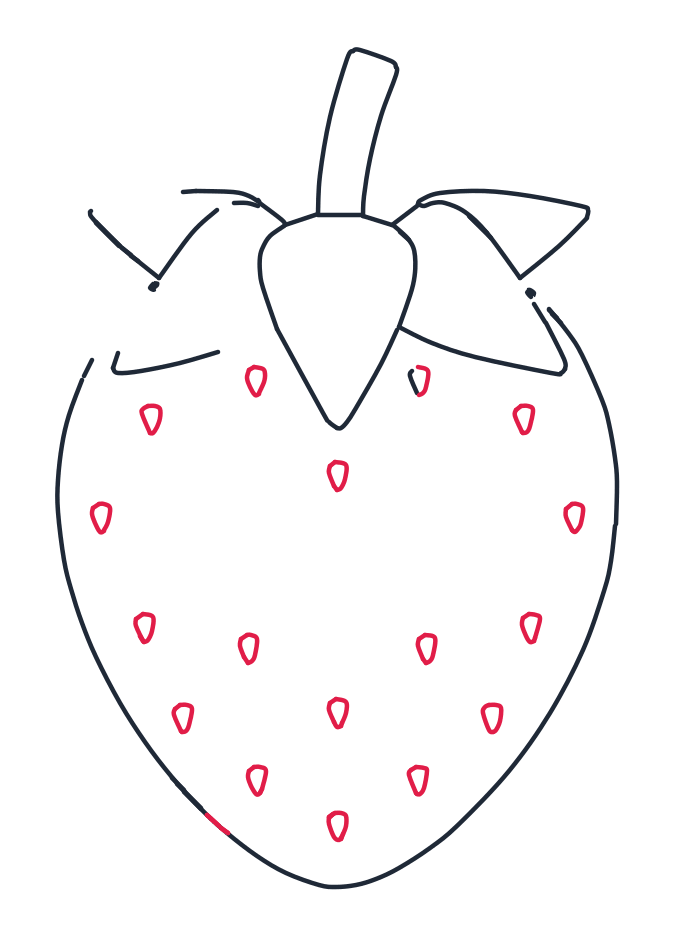
7 Step 7: Teardrop seeds
Sprinkle small teardrop shapes for the strawberry seeds across the berry.
-
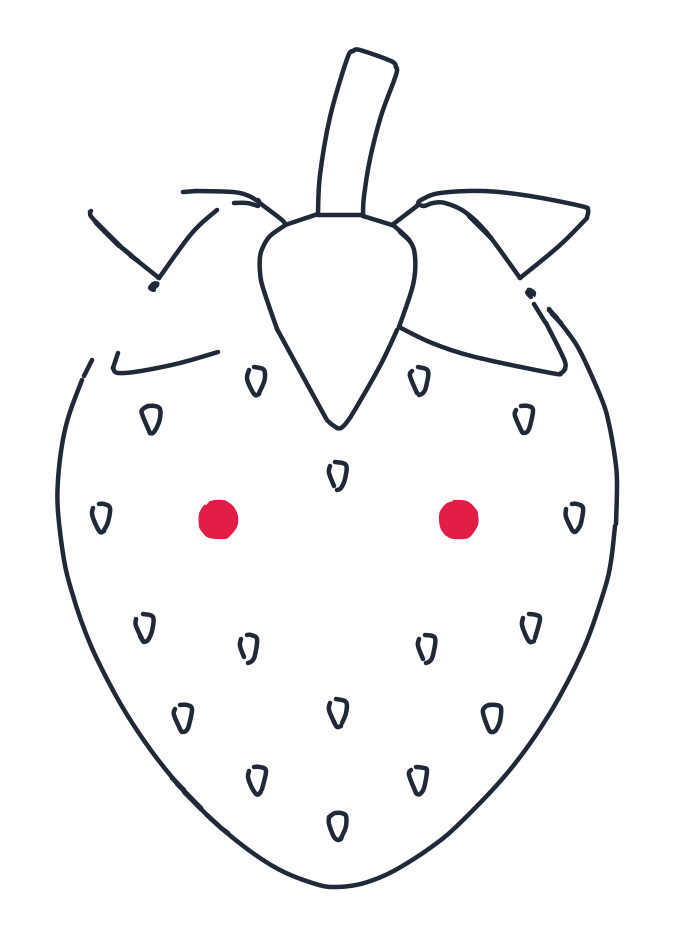
8 Step 8: Round eyes
Draw two small filled circles for the eyes.
-
9 Step 9: Smiling mouth
Draw a wide U shape for a smiling mouth, with a short line across the top. Add small touch-up lines along the leaves and berry edge.
What you need
A pencil, paper and an eraser, and something red to colour with at the end, because a strawberry begs for it. This is one of the most forgiving drawings on the site: the berry is a single soft curve, and every wobble in it just makes the fruit look more real.
Before you start
Sketch the big grey oval lightly. The berry hangs inside it, wider at the shoulders and narrowing to its point at the bottom, and the top edge of the oval is where the leaves will sit. Leave a hand of space above the oval, because the calyx leaves and the stem climb higher than people expect, and this drawing runs out of paper at the top, never at the bottom.
The part most people get wrong
The seeds. The instinct is to dot them in at random, or worse, to line them up in straight rows like buttons, and both make the berry look flat. Look at step 7: the seeds are tiny teardrops, not dots, they hang in loose rows that follow the curve of the berry, and each row is offset from the one above it like bricks in a wall. Space them generously and stop before the outline, because a seed touching the edge breaks the berry's silhouette.
The calyx is the other trap. It is not one zigzag line across the top. It is five separate leaves: a big one in the middle pointing down at you, two spreading out to the sides, and two shorter ones peeking from behind. Draw them one at a time, the way the steps do, and let them overlap.
Make it your own
- Colour it properly. Red berry, white or pale yellow seeds, green calyx. Leave a thin white shine along one shoulder and it looks freshly washed.
- Skip the face. Leave out steps 8 and 9 and you have a realistic strawberry, ready for a recipe card or a market poster.
- Draw a pair. A second, smaller berry leaning on the first turns a drawing into a picture. Let the small one tilt.
- Add a bite. Take a half-moon out of one side and let the seeds stop at the bite line. Instant story.
Learn more about strawberries
The seeds you drew in step 7 are the strangest thing about this fruit: a strawberry wears them on the OUTSIDE, around 200 of them, and each little pip is technically a complete fruit of its own with a seed inside. That is why botanists say a strawberry is not really a berry at all, while a banana, oddly enough, is. The leafy crown from steps 3 to 5 has a proper name, the calyx, and cooks call removing it hulling. And strawberry plants do not need seeds to spread: they send out long runners that touch down and grow a new plant, which is how one plant becomes a patch.
Questions people ask about drawing a strawberry
Is this a good first drawing for a young child?
Yes, one of the best. The berry is a single closed curve with no symmetry to keep, the leaves forgive every wobble, and the seeds are pure fun to sprinkle. Nine steps sounds like a lot, but most of them are one or two lines.
How long does it take?
About eight minutes the first time. The seeds are the slow part, and they are the part children refuse to hurry anyway.
Why do my seeds look wrong?
Almost always because they are round dots instead of tiny teardrops, or because they sit in straight rows. Tilt each seed a little, offset the rows, and the berry rounds itself out.