How to draw a house
A house is a box with a triangle on top. That is not a simplification to make you feel better, it is genuinely the whole drawing, and everything after it is decoration you get to choose.
- 8 steps
- 10 minutes
- 4-10 Ages
- Easy
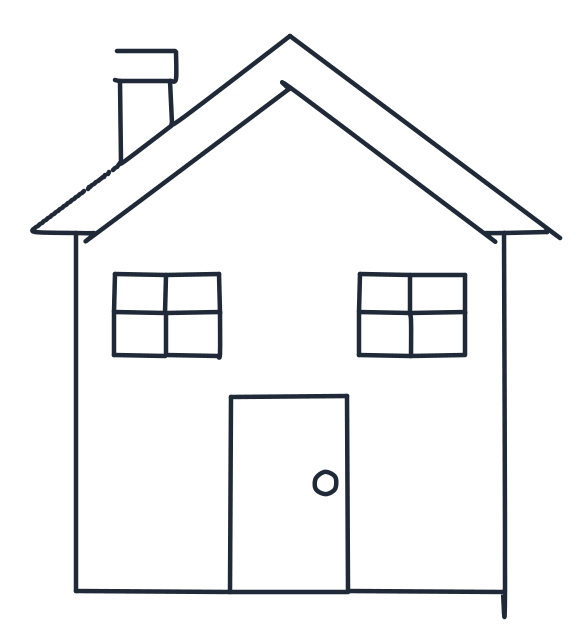
Watch it drawn, line by line
The whole drawing in under half a minute, in the same order as the steps below. No sound, so play it anywhere.
Draw it step by step
The new lines for each step are drawn in red. The grey dashed shapes are guides, sketch them lightly and rub them out at the end.
-
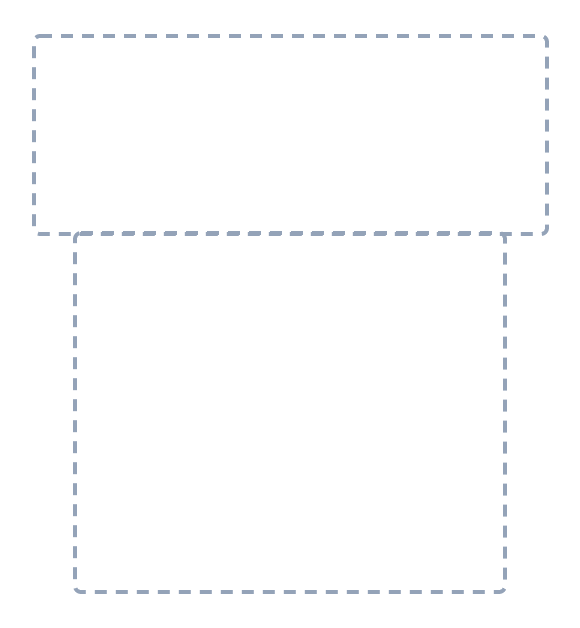
1 Step 1: Guide shapes
Lightly sketch a big rectangle for the house and a wider one on top as a roof guide. Keep the lines soft.
-
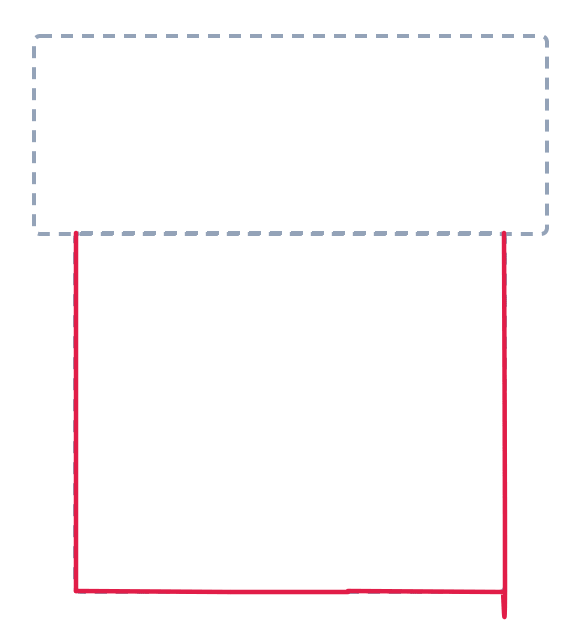
2 Step 2: House walls
Draw two long straight lines down for the sides, then a straight line across the bottom to make the walls.
-
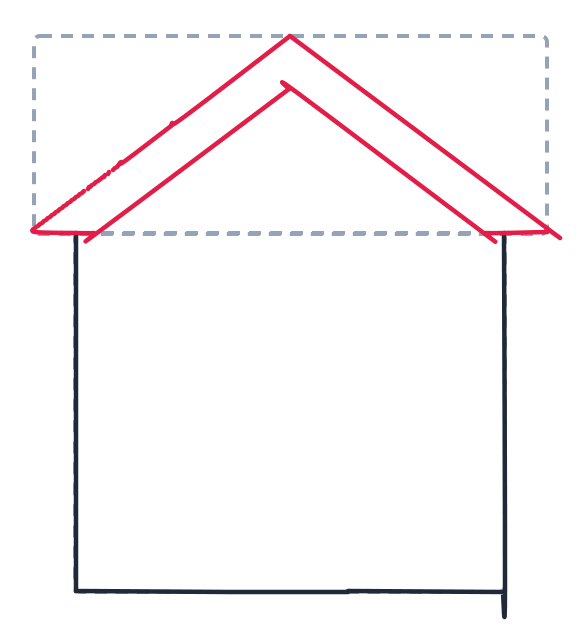
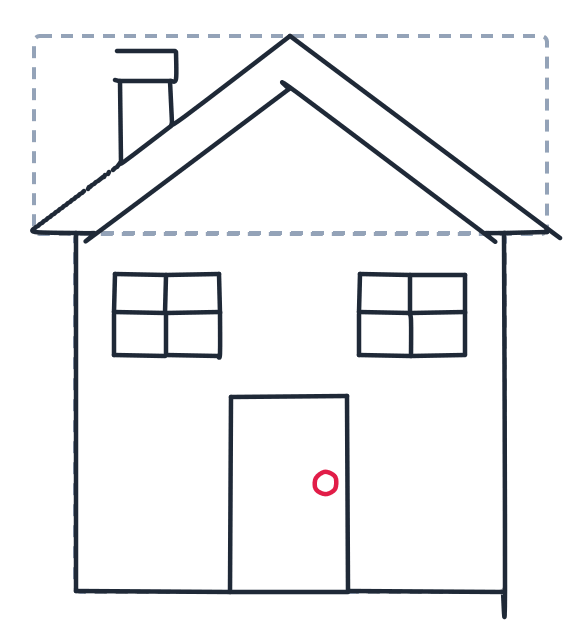
3 Step 3: Triangle roof
Draw two long slanted lines that meet at the top to make a big triangle roof. Add a smaller V shape underneath for the roof edge.
-
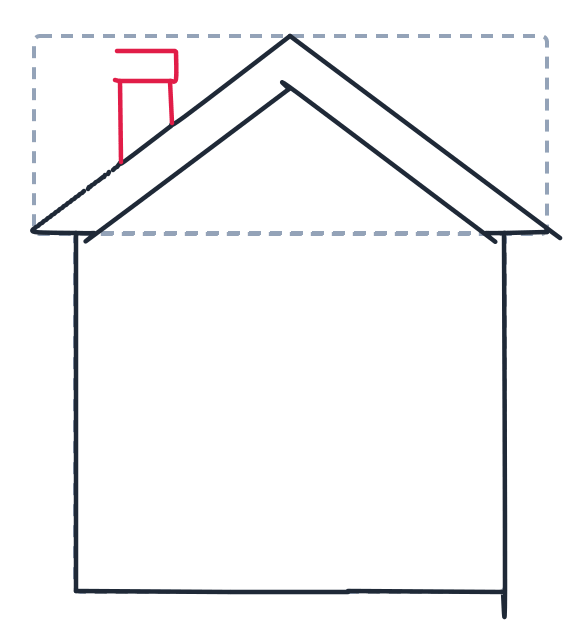
4 Step 4: Chimney
Draw two short vertical lines for the chimney. Add a small skinny rectangle on top for the cap.
-
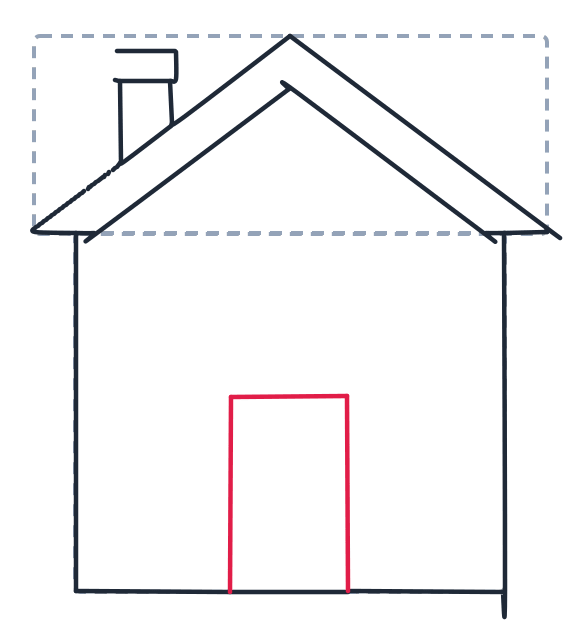
5 Step 5: Front door
Draw a tall U shape for the front door. Make the sides straight.
-
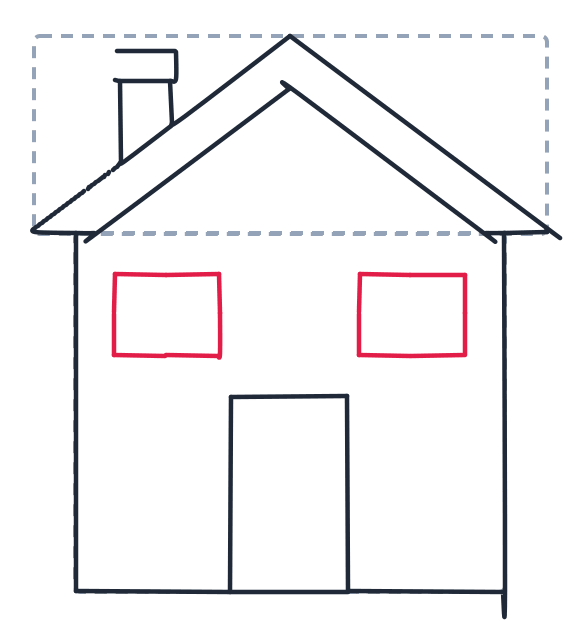
6 Step 6: Two windows
Draw two squares for the windows, one on each side. Keep them the same size.
-
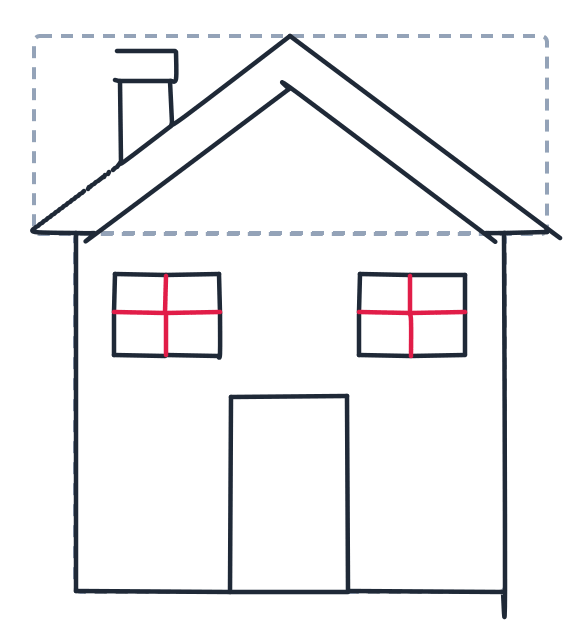
7 Step 7: Window panes
Inside each window, draw a vertical line and a horizontal line to make a plus sign.
-
8 Step 8: Door knob
Draw a small circle on the door for the knob.
What you need
A pencil, paper and an eraser. You may reach for a ruler here and you should not: hand-drawn walls that lean a little look like a home, and ruled ones look like a form.
Before you start
Sketch the grey guides lightly: one big rectangle for the walls, and a WIDER shape above it for the roof. Wider is the important word, and it is the reason the guides here are boxes and not ovals.
The part most people get wrong
The roof, and it is always the same mistake: the roof is drawn exactly as wide as the walls, so the triangle sits on the box like a hat two sizes too small. A real roof overhangs. Let the two slanted lines run PAST the walls on both sides before they stop, so the eaves stick out. That single overhang is the difference between a drawing of a house and a drawing of a tent.
Second thing: the chimney. Beginners centre it on the peak, where it looks like a plume of smoke coming out of the top of a triangle. Slide it off to one side so it sits ON the slope, and the roof instantly reads as a three-dimensional thing with a near side and a far side.
Make it your own
- Add a path. Two lines widening as they come toward you from the door, and the house is standing on ground instead of floating.
- Change the windows. Round the tops into arches and it is a cottage. Add more rows and it is a block of flats.
- Put smoke in the chimney. Three small clouds, each bigger than the last, drifting sideways.
- Build a street. The same house three times at different widths, roofs at different heights, and you have a town.
Learn more about houses
The slanted roof you just drew is not a style choice, it is a machine: rain and snow slide off a slope instead of sitting on it, which is why roofs get steeper the snowier the country. Look at houses in the Alps and then at houses in the desert, where roofs are often flat because nothing needs to slide anywhere. And the two windows either side of the door are so common that children in every country draw a house this way without being taught to, which is a small hint that a symmetrical face is a shape our brains like before we know why.