How to draw an airplane
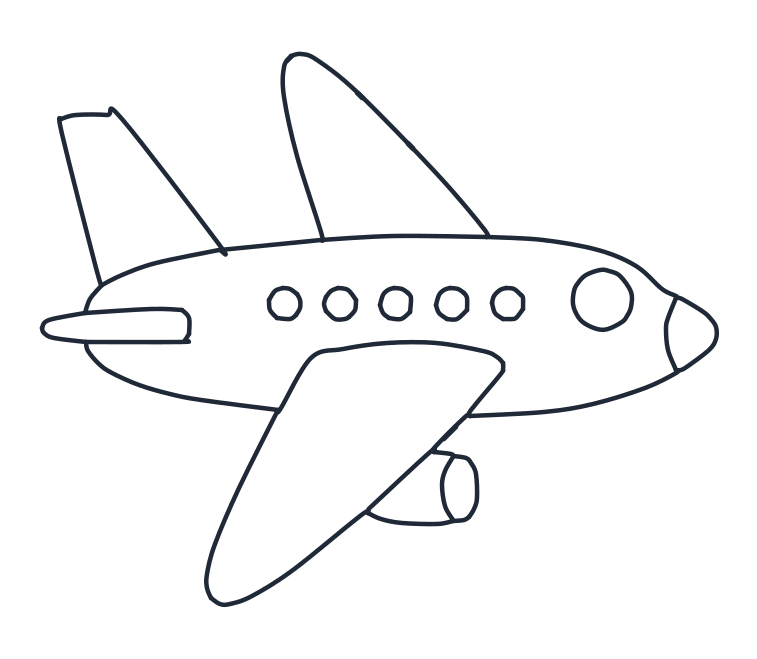
An airplane is one long oval with parts bolted onto it: a fin standing on top, a big wing sweeping underneath, an engine hanging off the wing. Draw the body first and every other part has something solid to sit on.
- 8 steps
- 10 minutes
- 4-10 Ages
- Easy
How do you draw an airplane?
Sketch a wide oval and a tall oval crossing it. Draw the body over the wide one with a pointed nose at the right, then stand the tail fin on its back, sweep the big wing underneath, add the small tail wing, hang the engine below, and finish with the cockpit circle and five passenger windows. Eight steps.
Watch it drawn, line by line
The whole drawing in under half a minute, in the same order as the steps below. No sound, so play it anywhere.
Draw it step by step
The new lines for each step are drawn in red. The grey dashed shapes are guides, sketch them lightly and rub them out at the end.
-
1 Step 1: The two guide ovals
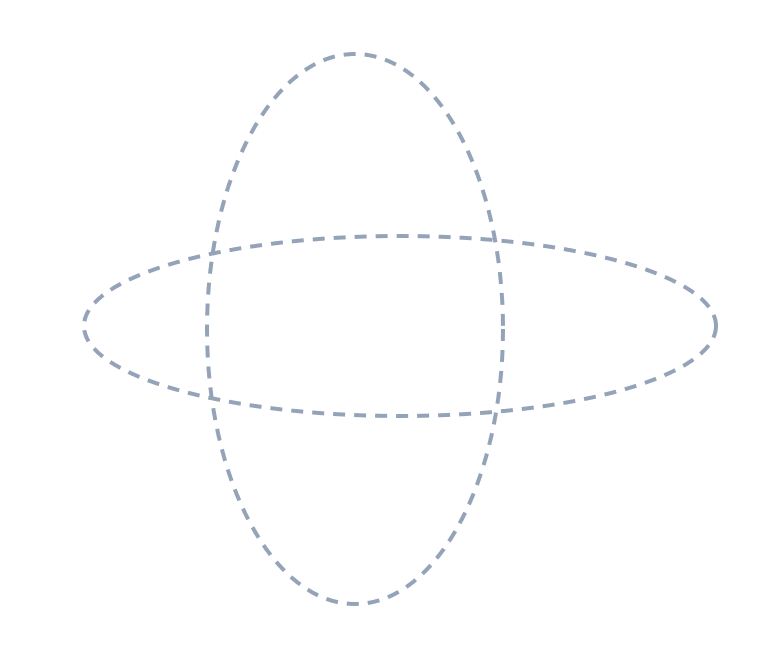
Sketch two ovals very lightly. A wide one lying down for the body of the airplane, and a taller one standing up across it, reaching above the body where the tail fin will go and below it where the wing will go. These are only guides, so press softly and rub them out at the end.
-
2 Step 2: The body of the airplane
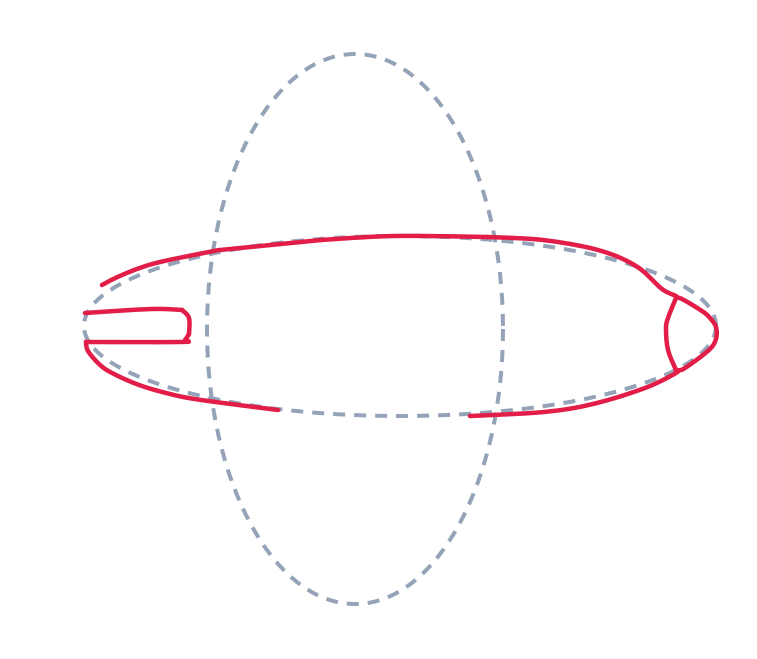
Draw the body over the wide oval: one long curve for the top, one long curve for the bottom, and bring them together in a point on the right. That point is the nose. At the back, on the left, add a small flat tube sticking out past the end of the body.
-
3 Step 3: The tail fin
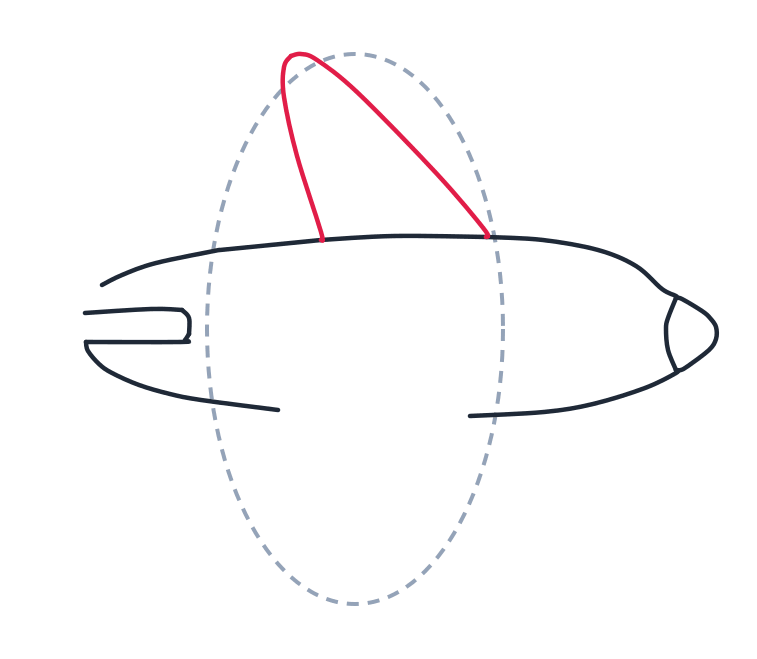
Stand the tail fin on the back half of the body. A short line climbs straight up from the body, a longer curved line comes up from further forward, and the two meet at one point high above. It ends up looking like a tall curved triangle leaning back.
-
4 Step 4: The big wing
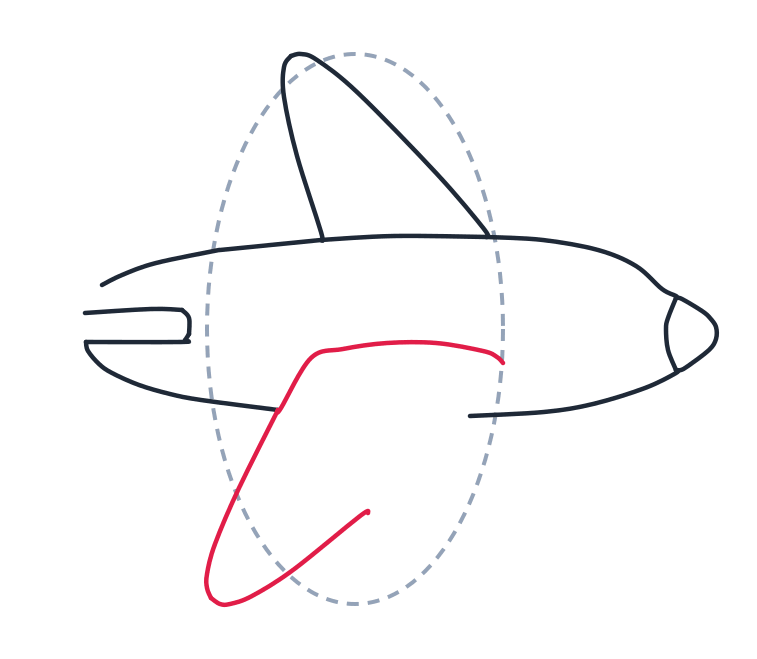
Now the wing, under the body. Run one curve from the middle of the body out to the right, drop a long line down to the left, round off the tip at the bottom, and bring the last line back up to the right. Leave the right end open, because the engine hangs there.
-
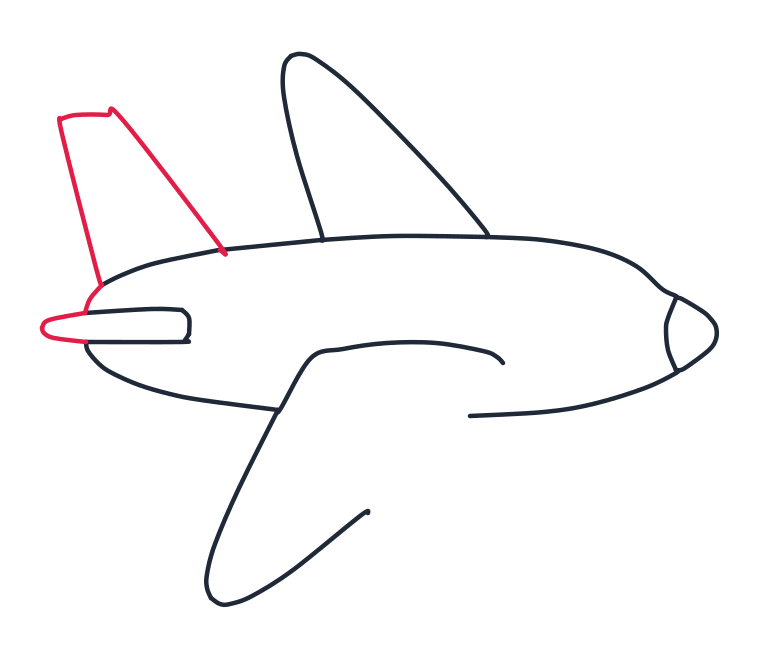
5 Step 5: The small tail wing
Add the small tail wing behind the body: a narrow four sided shape that leans up and to the left, sitting just above the little tube. Then round off the left tip of that tube with one short curve, so the back of the airplane is closed.
-
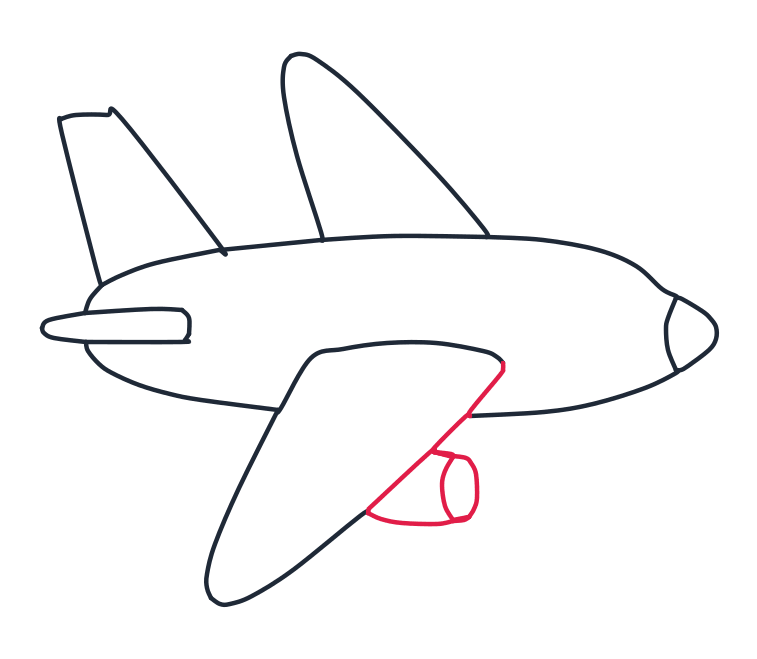
6 Step 6: The jet engine
Hang the engine under the wing. Draw a slanted line down from the right end of the wing, then a rounded capsule shape below it, closed at the bottom. Finish with one short curve inside its right side for the open front where the air goes in.
-
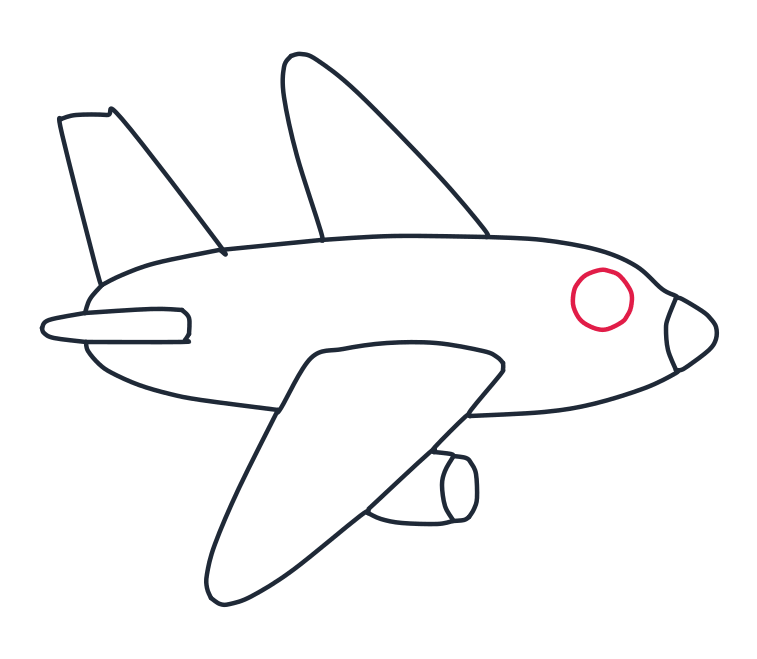
7 Step 7: The cockpit window
Draw one big circle near the front of the airplane for the cockpit window, where the pilots sit. Keep a gap between it and the nose, and set it a little above the middle line of the body so it does not touch either curve.
-
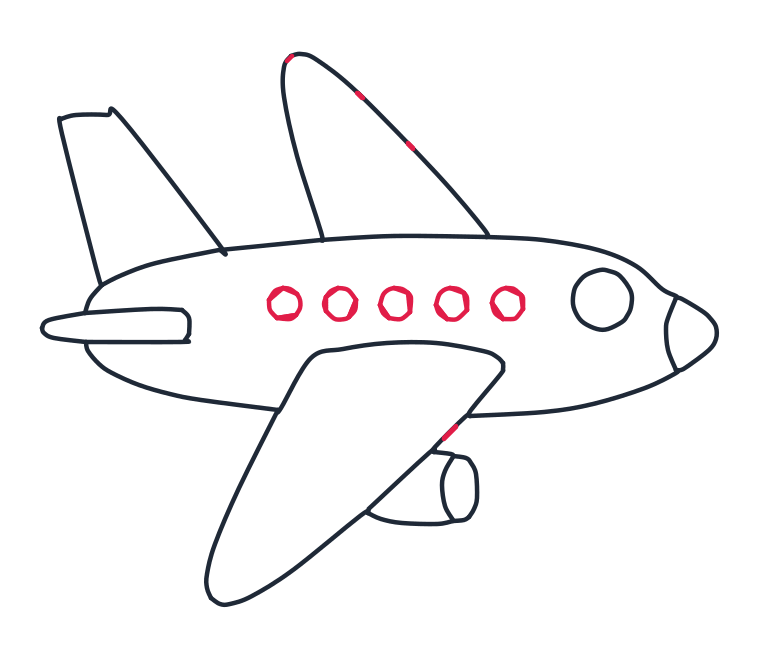
8 Step 8: The row of passenger windows
Draw five small circles in a row along the body for the passenger windows, all the same size, evenly spaced, stopping before the big cockpit window. Go over the few tiny red ticks on the tail fin and the wing as well, so no line is left open, and your airplane is done.
What you need
A pencil, paper and an eraser. Nothing in this airplane is harder than a curve and a circle, and the two long lines of the body are the only ones worth slowing down for. If your small circles come out slightly lopsided, the passenger windows are little enough that nobody will ever know.
Before you start
Sketch the two guides from step 1 lightly: a wide oval lying down for the body, and a taller oval standing across it. The tall one is doing two jobs at once, marking how high the tail fin reaches above the body and how far the wing drops below it. Turn the paper landscape. An airplane runs out of room sideways long before it runs out of room top to bottom, and the nose has to finish well inside the edge.
The part most people get wrong
The wing. The instinct is to draw it poking straight out of the side of the body like the arm of a plus sign, and the whole drawing goes flat. Look at step 4: the wing leaves the middle of the body and sweeps DOWN and to the left, finishing in a rounded tip that sits lower than the body itself. That one choice is what tells the eye it is looking at a real airplane from slightly above and behind, instead of at a paper cutout.
The tail fin is the other trap. Its base is wide and its point sits above the BACK of that base, so the fin leans towards the tail, exactly as it does in step 3. A fin leaning the other way makes the airplane look like it is flying backwards, and it is the first thing an adult notices.
Make it your own
- Add a stripe. One long line from the nose to the tail, running just under the row of windows, with colour below it. Every airline does it and it takes ten seconds.
- Give it a second engine. Copy the shape from step 6 a little further along the wing and draw it slightly smaller. The airplane reads as a big jet instead of a small one.
- Put a face in the cockpit. The circle from step 7 is exactly the right size for two dots and a smile, and the airplane becomes a character.
- Send it somewhere. Three rounded clouds behind the tail and a dotted curve trailing off the wing turn the drawing into a flight rather than a diagram.
Learn more about airplanes
Look at the five windows you drew in step 8. Every one of them is a circle, and that is not a cartoon shortcut. Real passenger windows are rounded because a sharp corner is where the pressure inside the cabin pulls hardest, and the earliest jets with square windows learned that the expensive way. The wing is doing something invisible too: it is not a flat board but a curve, higher on top than underneath, and that shape is a large part of what holds the airplane up. The engine you hung under the wing in step 6 is mostly a giant fan. It pulls air in through the open front you drew and throws it out of the back, and that push is what moves the whole machine.
Questions people ask about drawing an airplane
Is an airplane a good drawing for a beginner?
Yes, and it is one of the friendliest subjects here. There is no face to get right and no anatomy to fail, so a wobbly line just reads as hand drawn, the same way it does in our car and truck tutorials.
How long does it take?
About ten minutes. The body and the wing take half of that between them, and the last two steps, the cockpit circle and the row of windows, go by in a minute.
Why does my airplane look flat?
The wing again, almost every time. Rub it out and redraw it sweeping down and back from the middle of the body instead of straight out to the side, and leave its right hand end open so the engine has somewhere to hang.