How to draw a bear
A bear is the friendliest pile of circles you can draw: a round head, a rounder body, two round ears and two big feet. Get the shapes overlapping and the cuddliness takes care of itself.
- 9 steps
- 11 minutes
- 4-10 Ages
- Easy
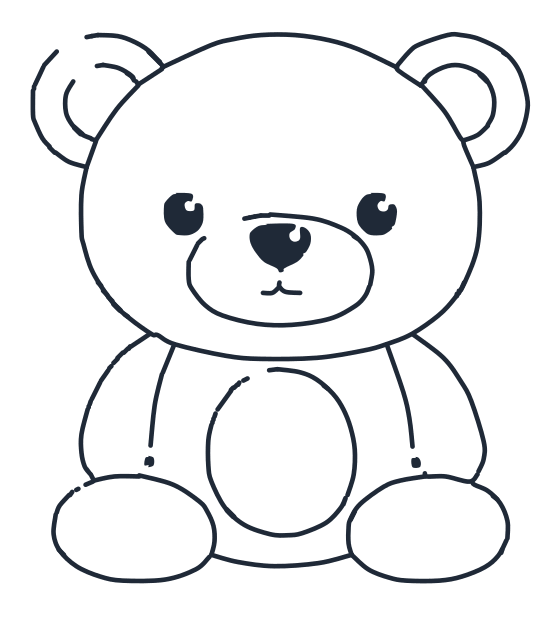
How do you draw a bear?
Sketch two overlapping ovals, the head on top of the body. Trace the head circle, add two round ears with a small inner curve, then an oval snout with a smile under it. Add two eyes, a triangle nose, the belly curve and an oval tummy patch, two arms and two wide oval feet. Nine steps.
Watch it drawn, line by line
The whole drawing in under half a minute, in the same order as the steps below. No sound, so play it anywhere.
Draw it step by step
The new lines for each step are drawn in red. The grey dashed shapes are guides, sketch them lightly and rub them out at the end.
-
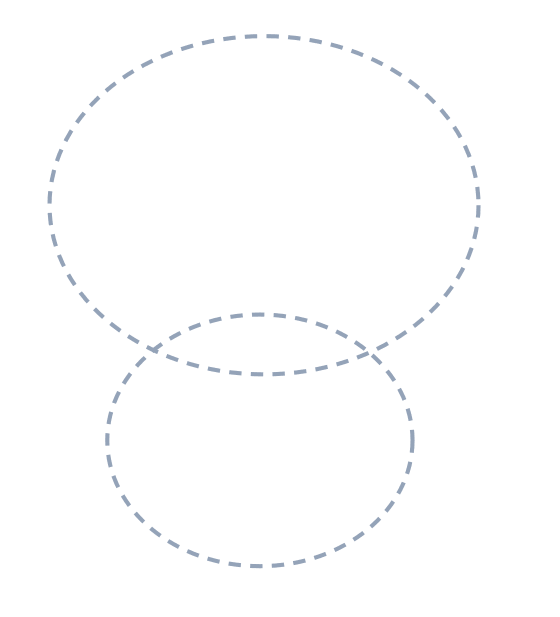
1 Step 1: Guide shapes
Lightly sketch two big ovals that overlap, one on top for the head and one below for the body.
-
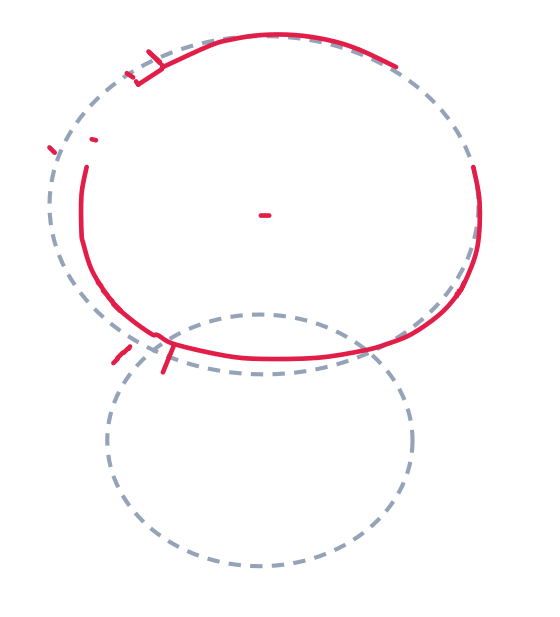
2 Step 2: The head
Trace a big curved circle for the head along the top guide.
-
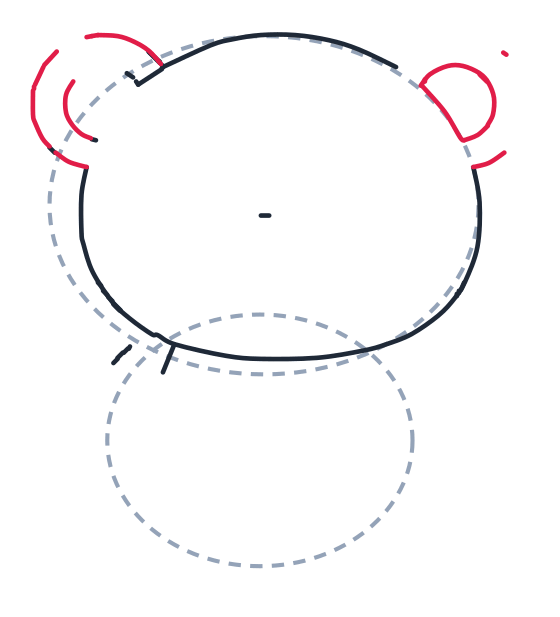
3 Step 3: Round ears
Add two C shapes on the sides for ears, and a small curved line inside the left ear.
-
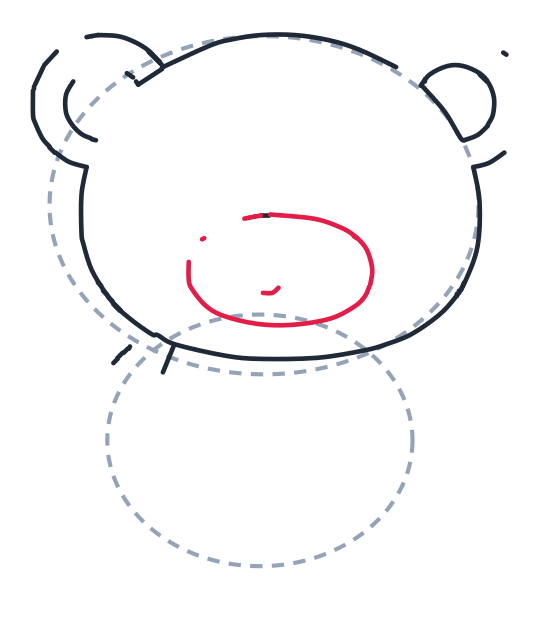
4 Step 4: Round snout
Draw an oval in the middle for the snout, then a small curved smile under it.
-
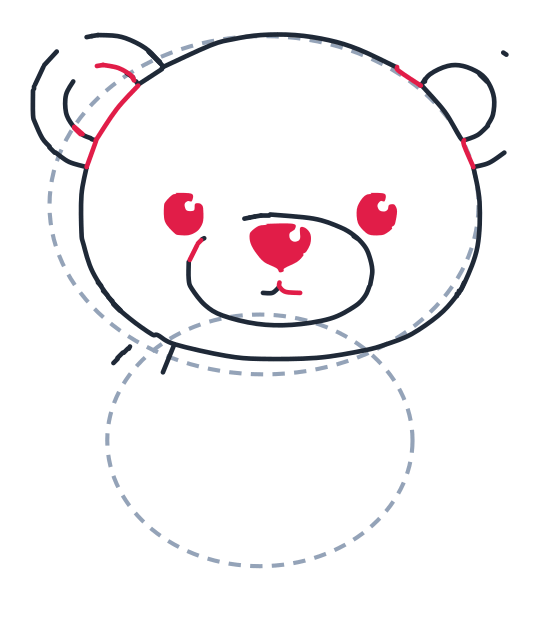
5 Step 5: Eyes and nose
Add two small circles for eyes, a tiny triangle for the nose, and a short curved line above the snout.
-
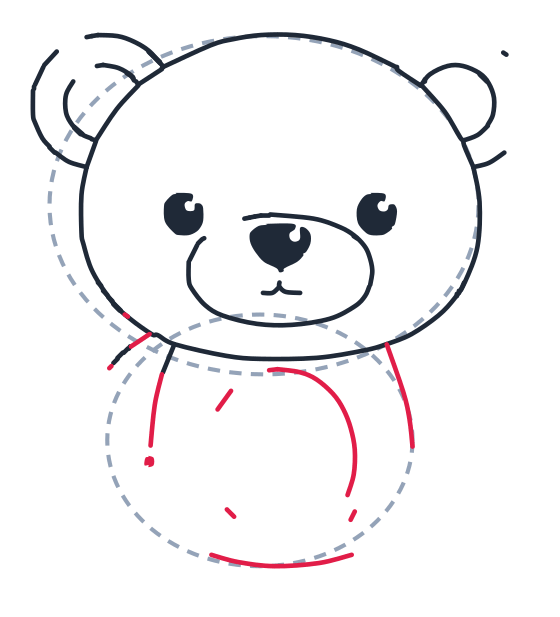
6 Step 6: Body and arm
Draw a short curved line down for the left arm with a dot at the paw. Add a long curved line for the right side, a big belly curve, and a small curve at the bottom.
-
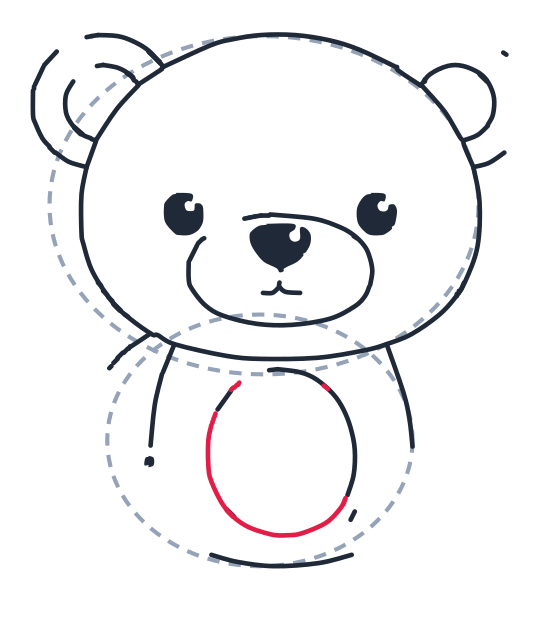
7 Step 7: Tummy patch
Draw a medium oval on the tummy.
-
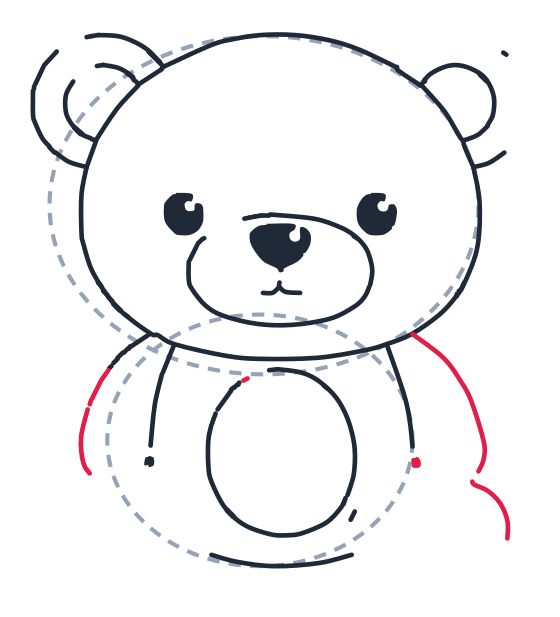
8 Step 8: Both arms
Add a curved line on each side for the arms, with a small hook curve at the end of the right arm.
-
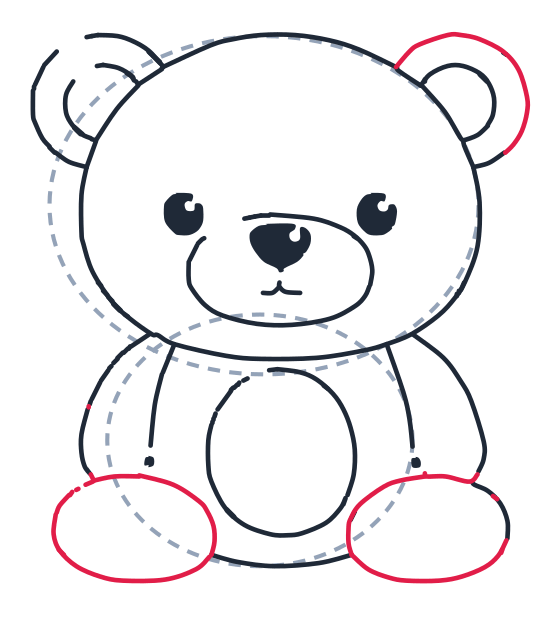
9 Step 9: Feet and ear
Draw two wide ovals at the bottom for the feet, and a big circle around the right ear.
What do you need to draw a bear?
A pencil, paper and an eraser. A bear is all circles and ovals, so a steady hand is not needed and a wobbly line just looks like fur.
Where do you start?
With two grey guide ovals, sketched lightly and overlapping: a big one on top for the head and a bigger one below for the body. The overlap is the whole point. A bear has almost no neck, so the head sinks onto the body; guides drawn with a gap give you a person in a bear suit.
What is the hardest part of drawing a bear?
The snout, and the mistake is floating the nose in the middle of the face. On this bear the nose sits at the TOP of an oval snout, low and centred, with the smile tucked underneath. Draw the oval first, then the nose on its top edge, and the muzzle pushes forward the way a real bear does.
Second thing: the ears. They are big, round and sit high on the corners of the head, not out on the sides. One small curve inside each one turns a flat circle into an ear.
How do you make it your own?
- Colour the fur. Brown is a brown bear, black with a pale chest is a moon bear, black and white is a panda.
- Give it a honey pot. A small pot between the feet with a few drips over the side.
- Make it a teddy. Add stitch lines down the tummy and across one arm.
- Add a bow. A little bow tie under the chin or a ribbon on one ear.
What else is worth knowing about bears?
The wide flat feet you just drew are true to life: bears walk on the soles of their feet the way people do, not up on their toes like a dog or a cat, which is why a bear can stand up straight and even take a few steps on its back legs. The round shape is real too. A bear stores a thick layer of fat for winter, so a well fed bear really is as round as this drawing before it sleeps through the cold months.
Questions people ask about drawing a bear
Is this a good first bear for a 4 year old?
Yes. Every part is a circle or an oval and nothing has to line up perfectly. Nine short steps, and the two guide ovals do most of the work.
How long does it take?
About eleven minutes the first time, and less once the shapes are familiar. The face takes the longest because the eyes and nose are small.
How do I make it a teddy bear instead of a real one?
Add stitch lines down the middle and a small patch on one ear, and the same drawing reads as a stuffed toy instead of a wild bear.